Hi friends,
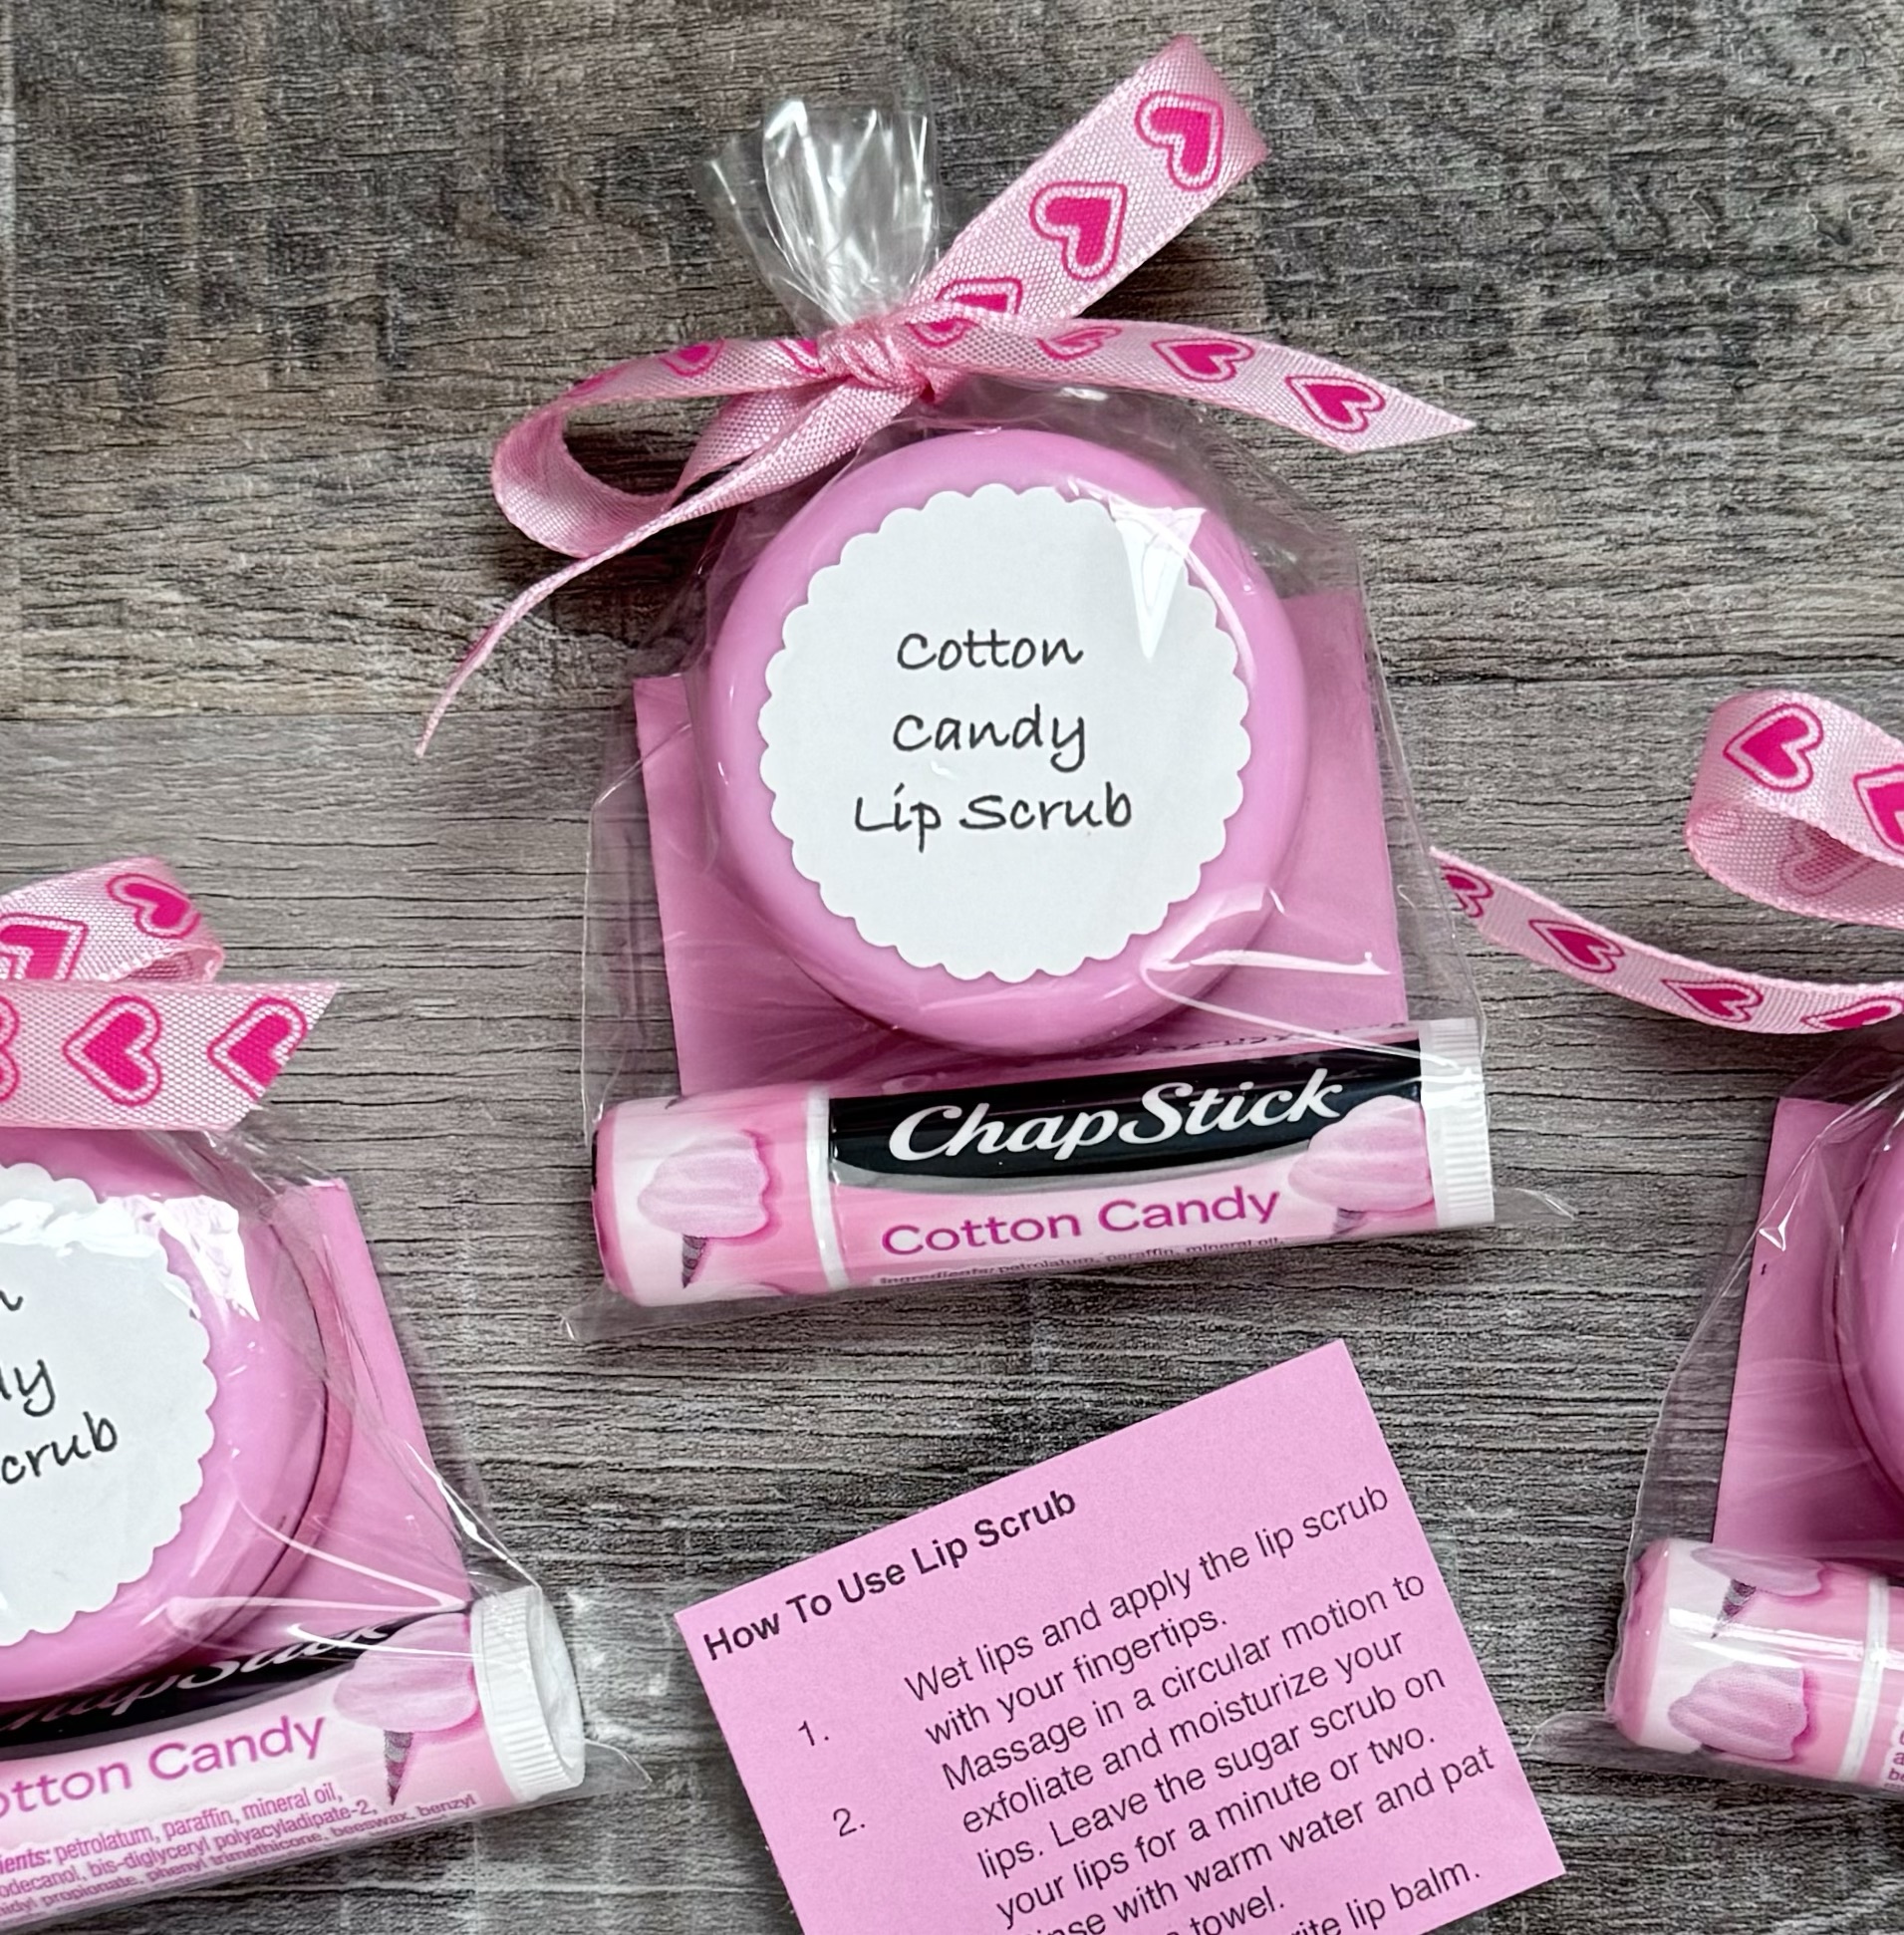
This is a quick Valentine Treat Tag that is perfect to tie onto a little bag of chocolate to give for Valentine’s Day. ❤️
Disclosure: Some of the links on my site are affiliate links, meaning, at no additional cost to you, I will earn a small commission if you click through and make a purchase. As an Amazon Associate I earn from qualifying purchases.
They only take minutes to make and will be great for your kids to give to their friends – or you can give them to your friends or anyone who needs a little smile. 🥰


I punched a 2.5 inch scalloped circle from pink card stock and embossed it with a small dot embossing folder. I stamped “Happy Valentine’s Day” with red ink and punched around it with a 1.75 inch heart punch. (The stamp I used is no longer available 😕, use your favorite Valentine stamp.)
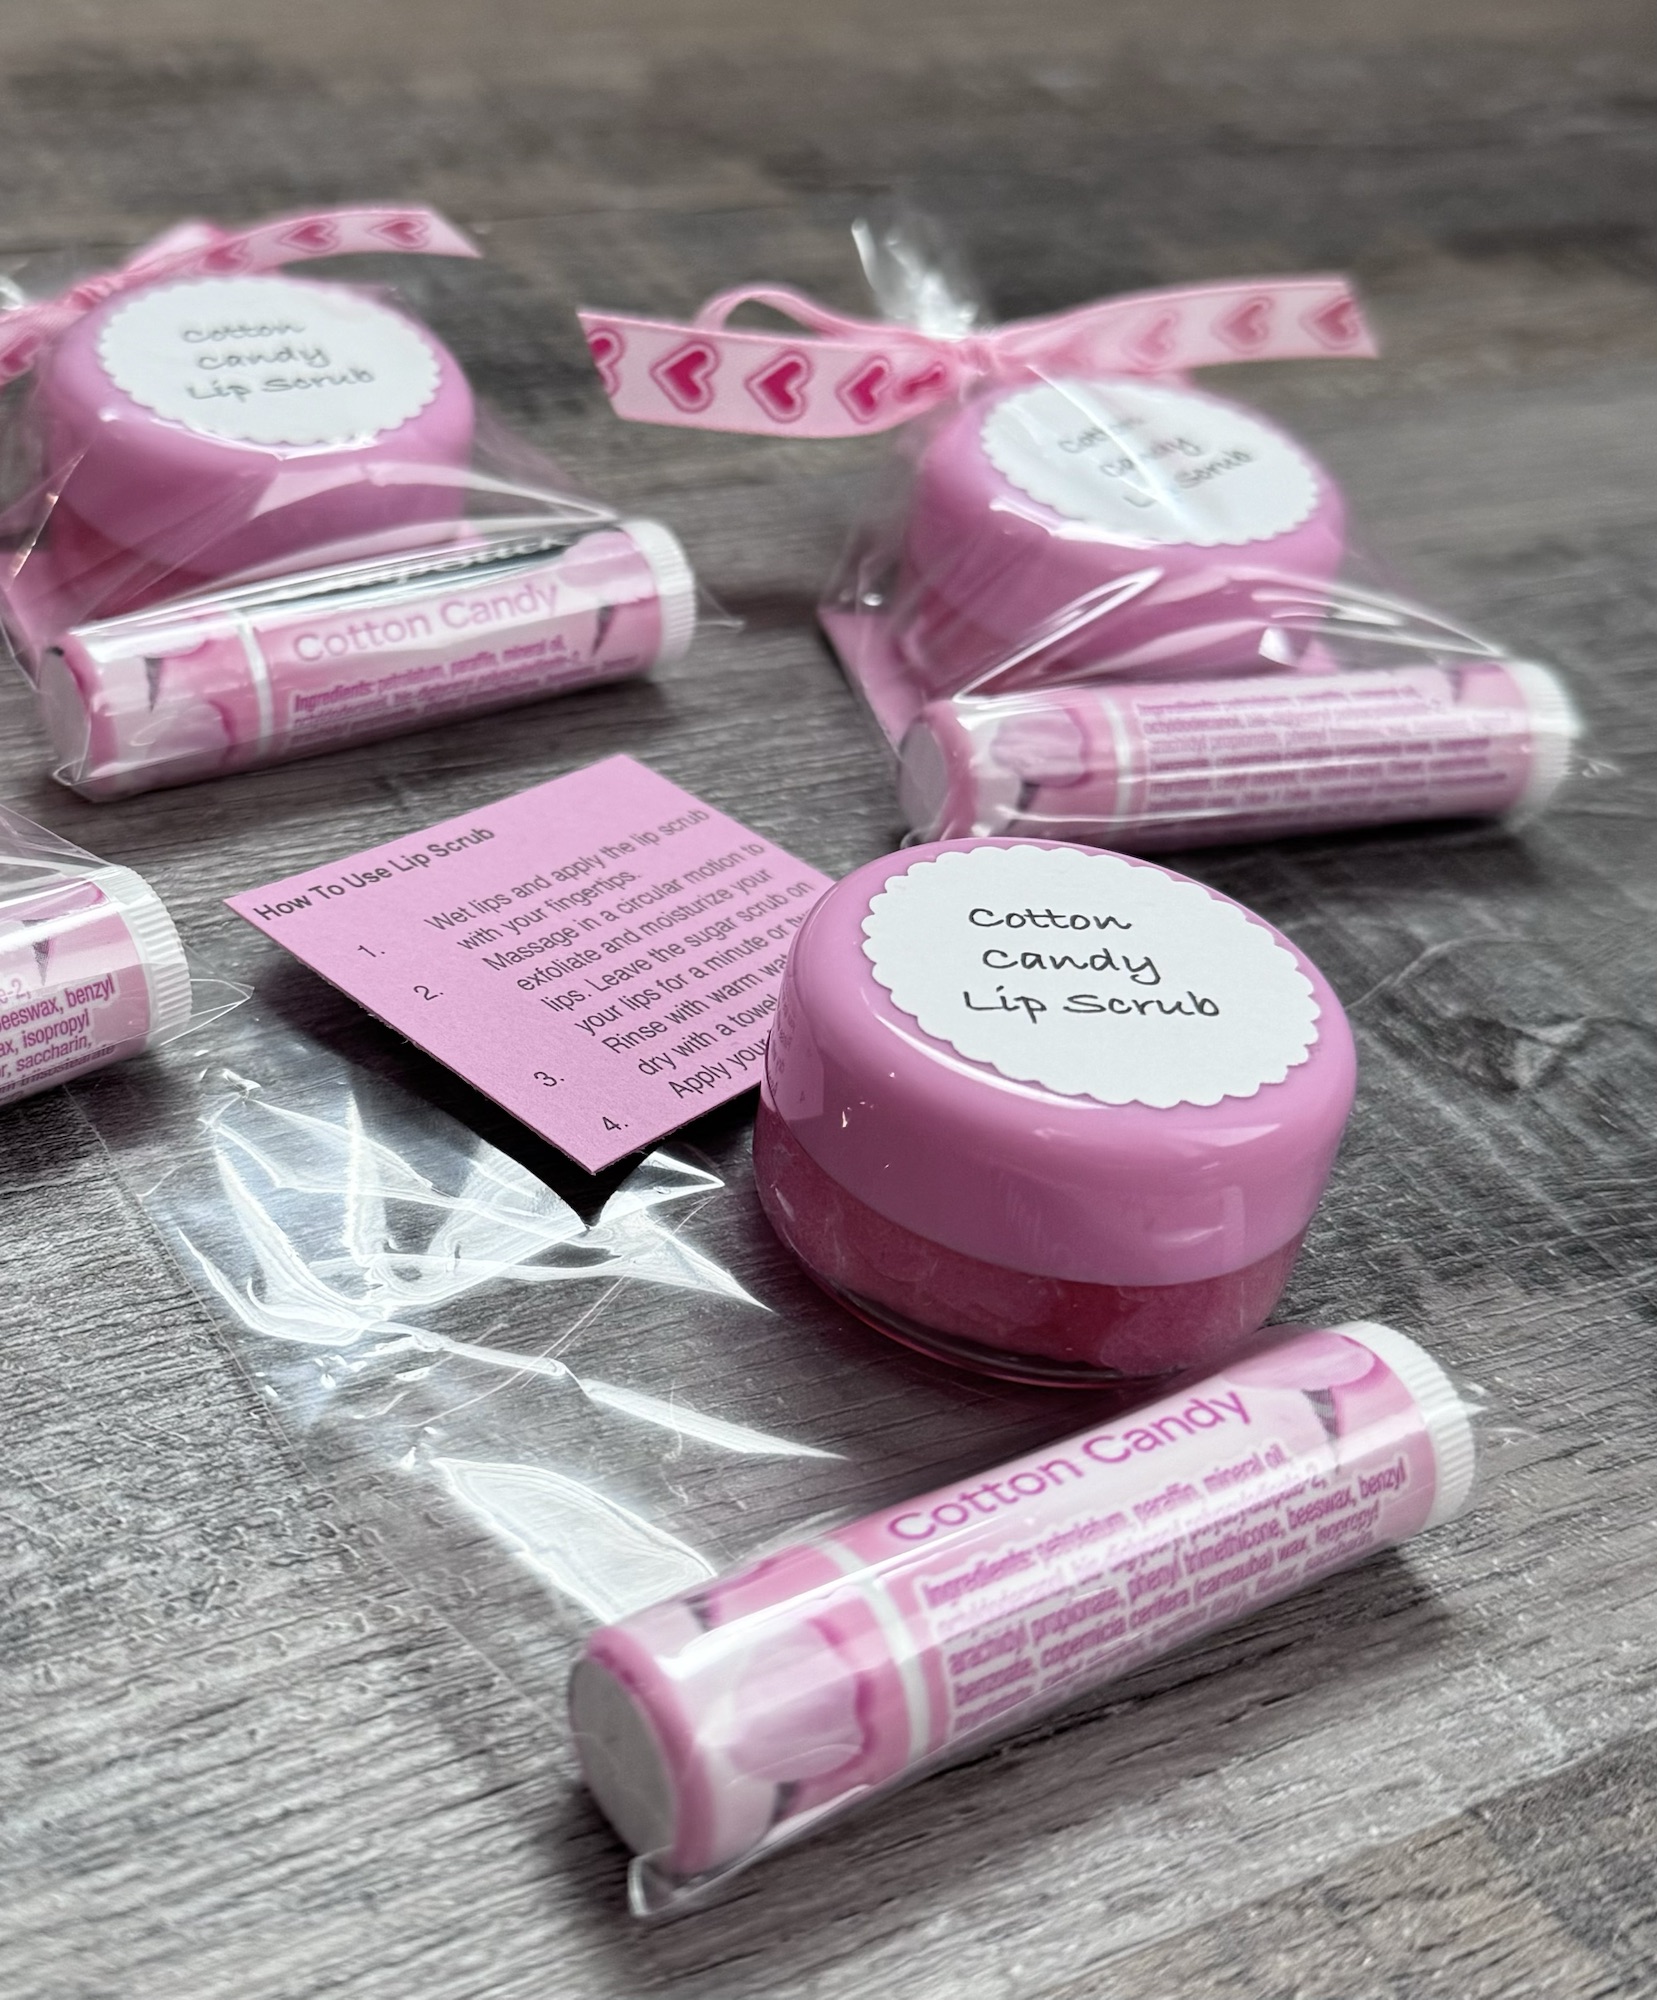
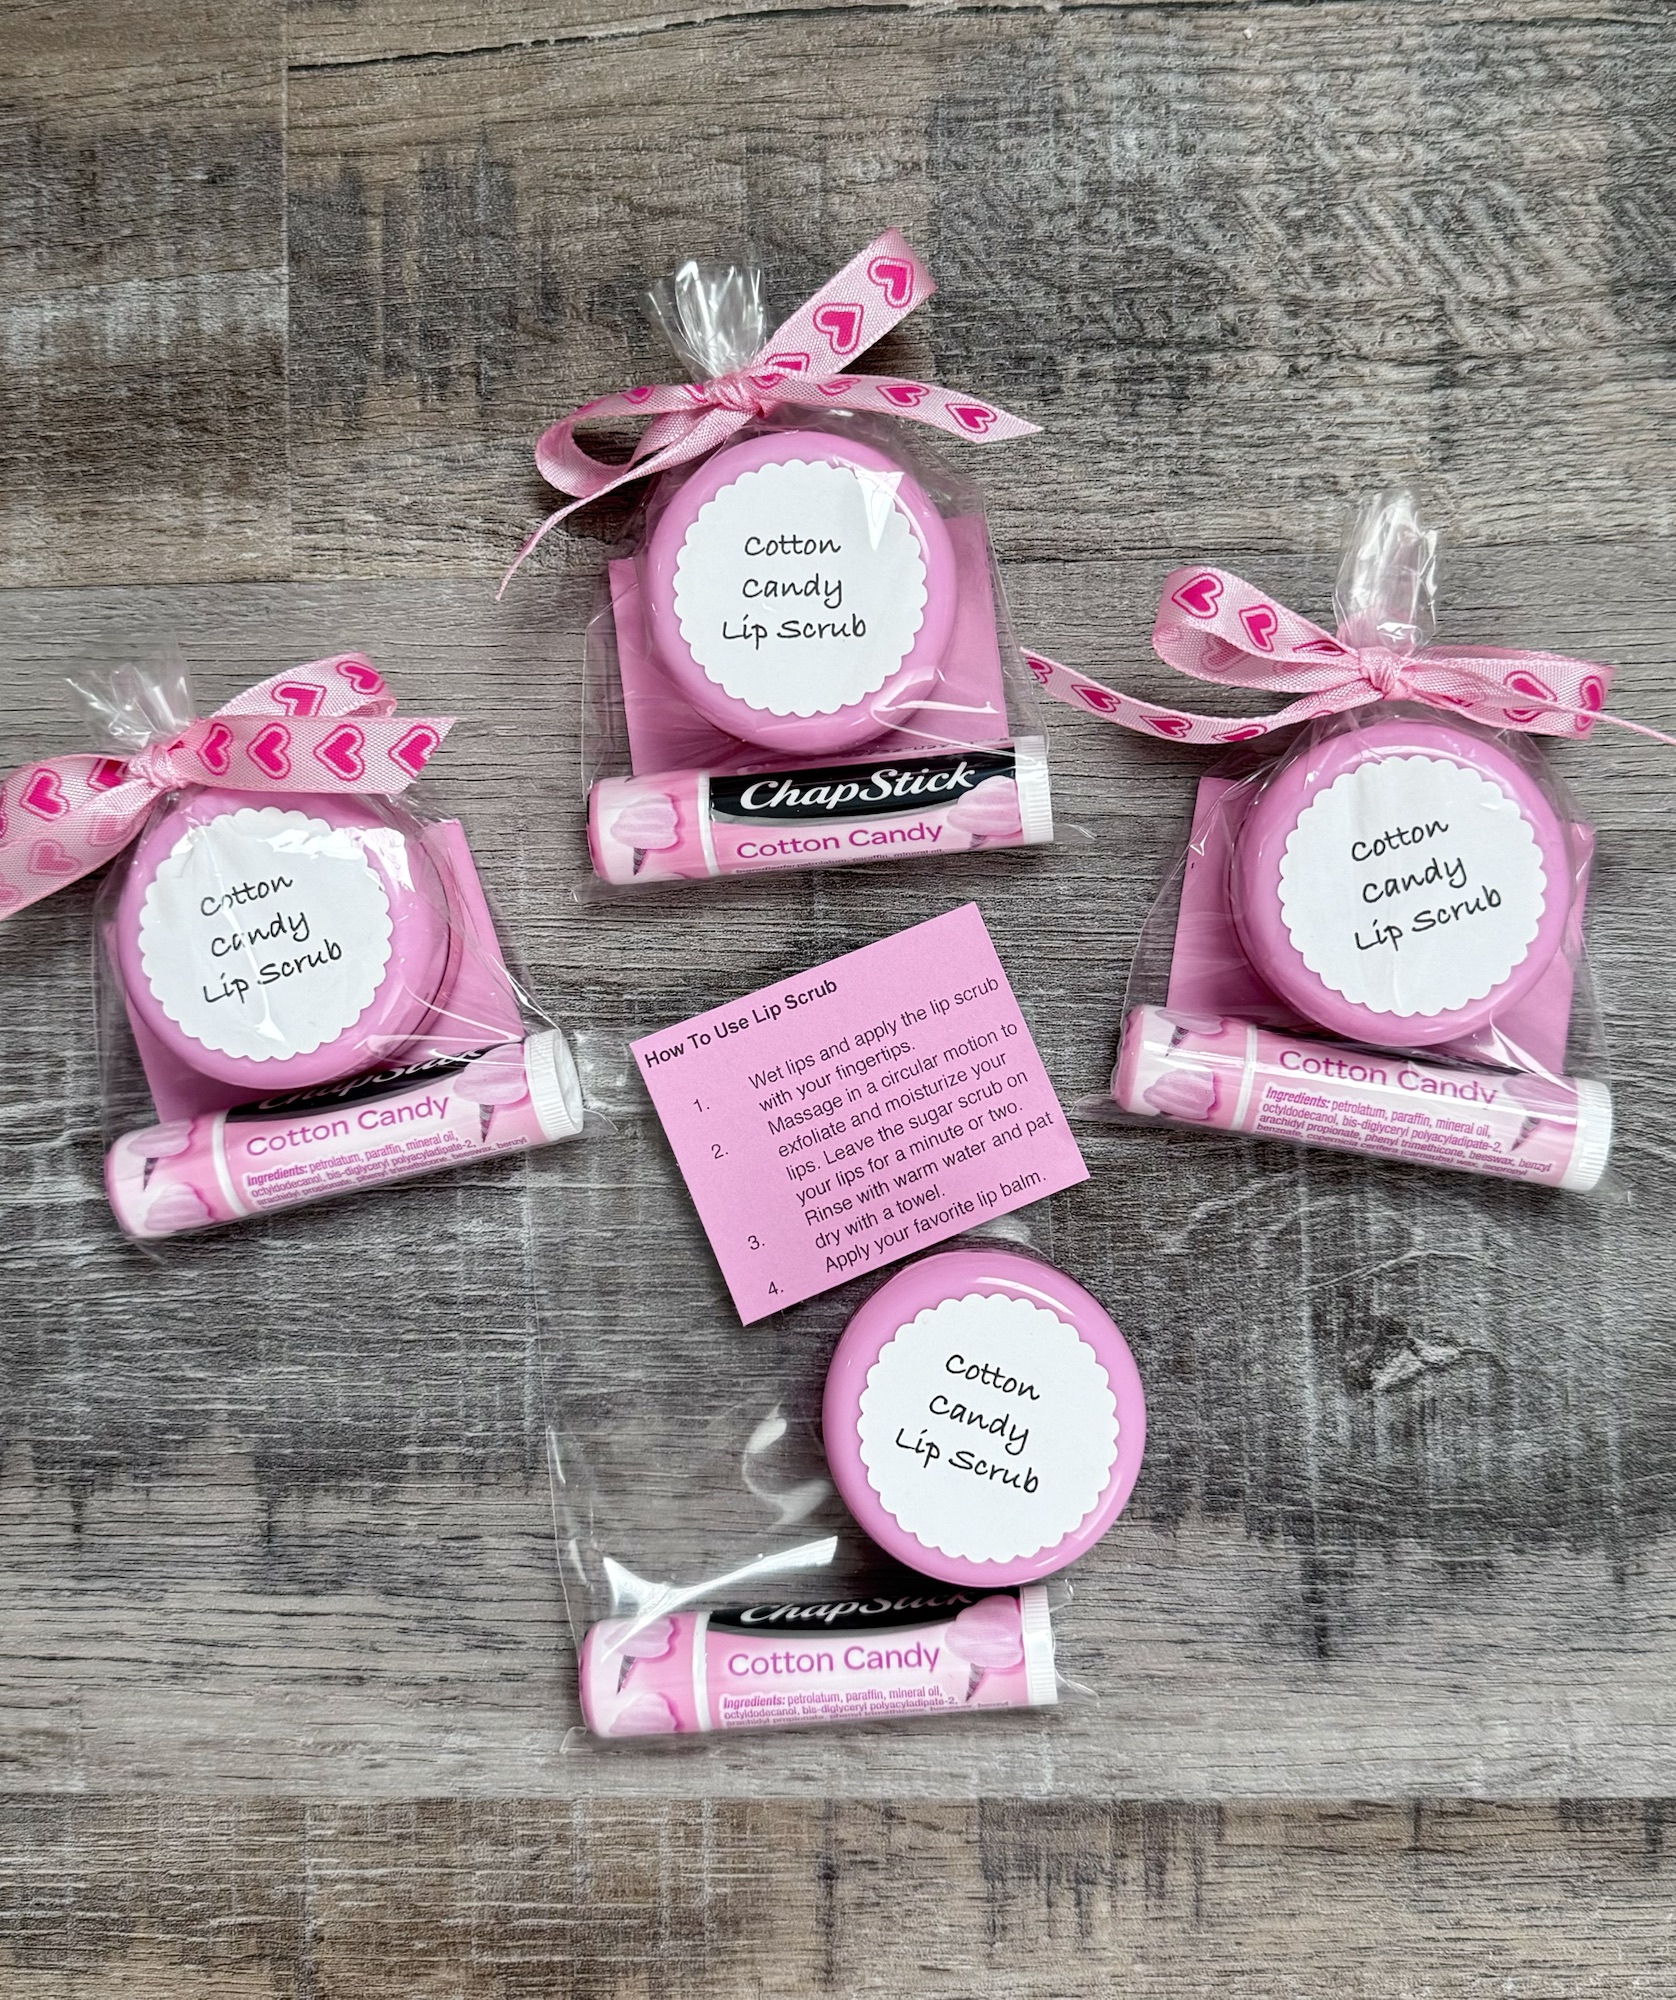
The heart is attached to the pink scalloped circle and I added a small heart button. I used my Crop-A-Dile to punch a small hole at the top of the tag. I added a few chocolate kisses to a small treat bag and tied the bag closed, adding the tag, with red and white baker’s twine.
Sweet treats are always fun to give – and to receive! Make a few treat bags and share a little love this Valentine’s Day. ❤️
Anita