Seaside, FL Getaway

Disclosure: Some of the links on my site are affiliate links, meaning, at no additional cost to you, I will earn a small commission if you click through and make a purchase. As an Amazon Associate I earn from qualifying purchases.

Hi friends,

We took a few days at the end of August to get away and celebrate my husband’s birthday. One of our favorite places to go is the Gulf Coast in Florida. The beaches are amazing, the water is warm, and the food is wonderful. It is the perfect place to relax and get away from everything for a few days!

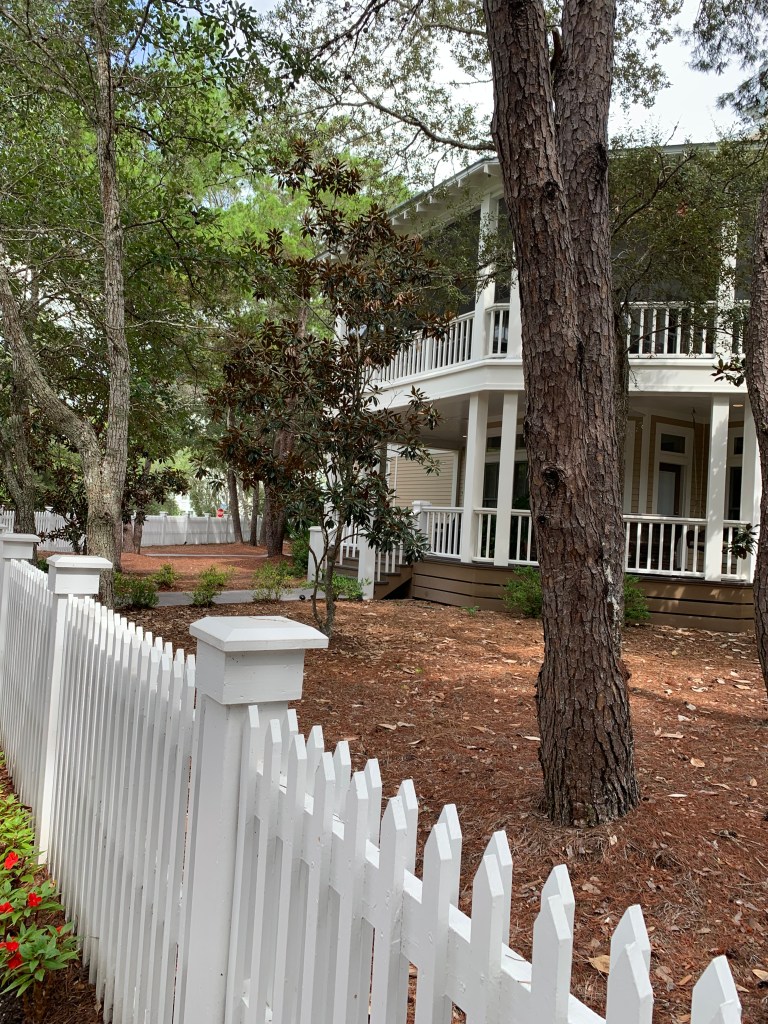
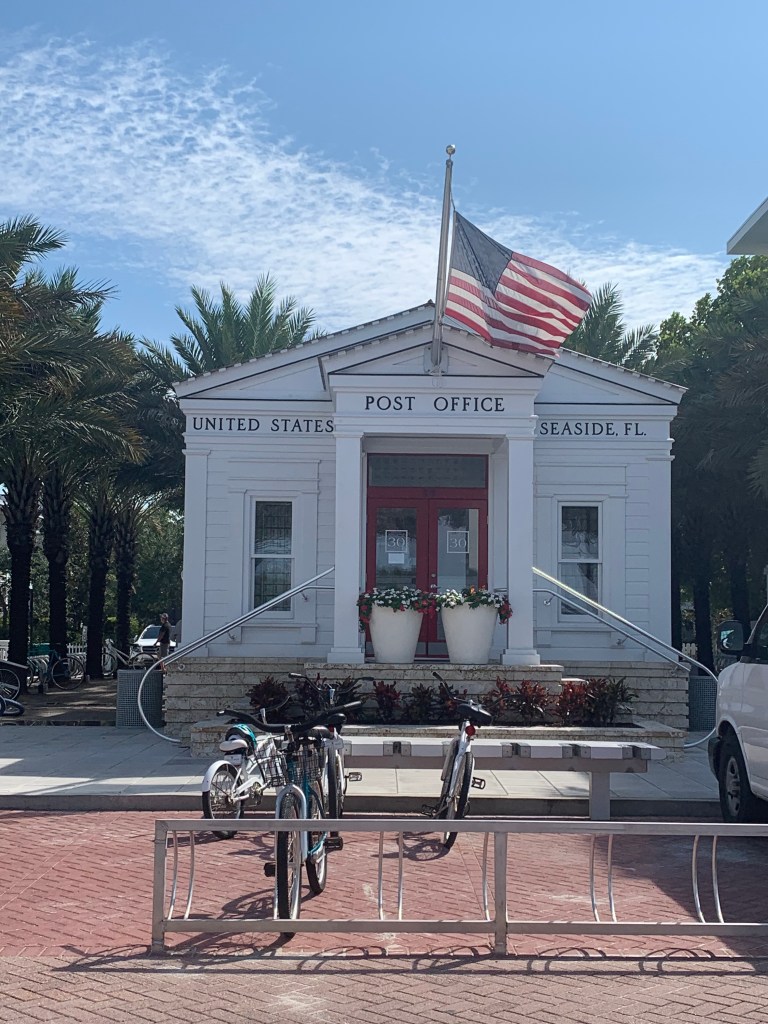
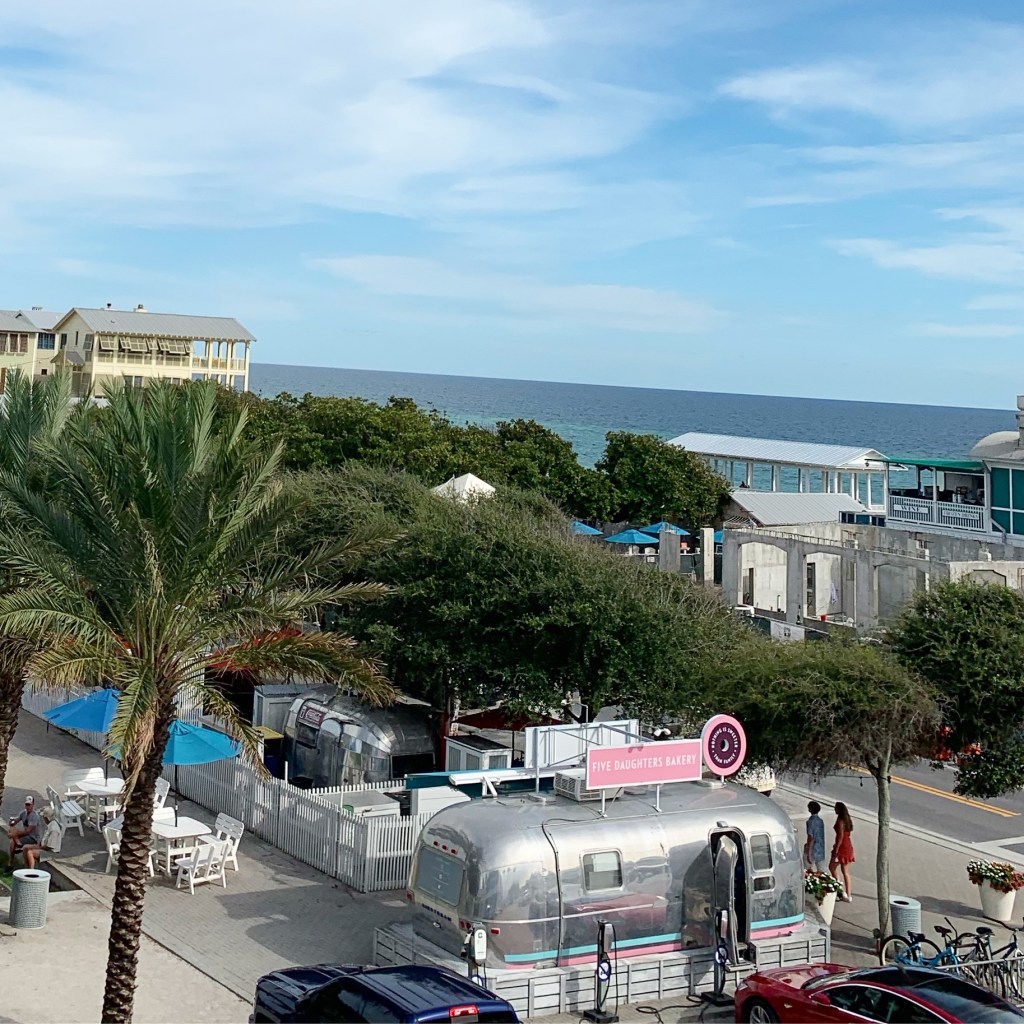
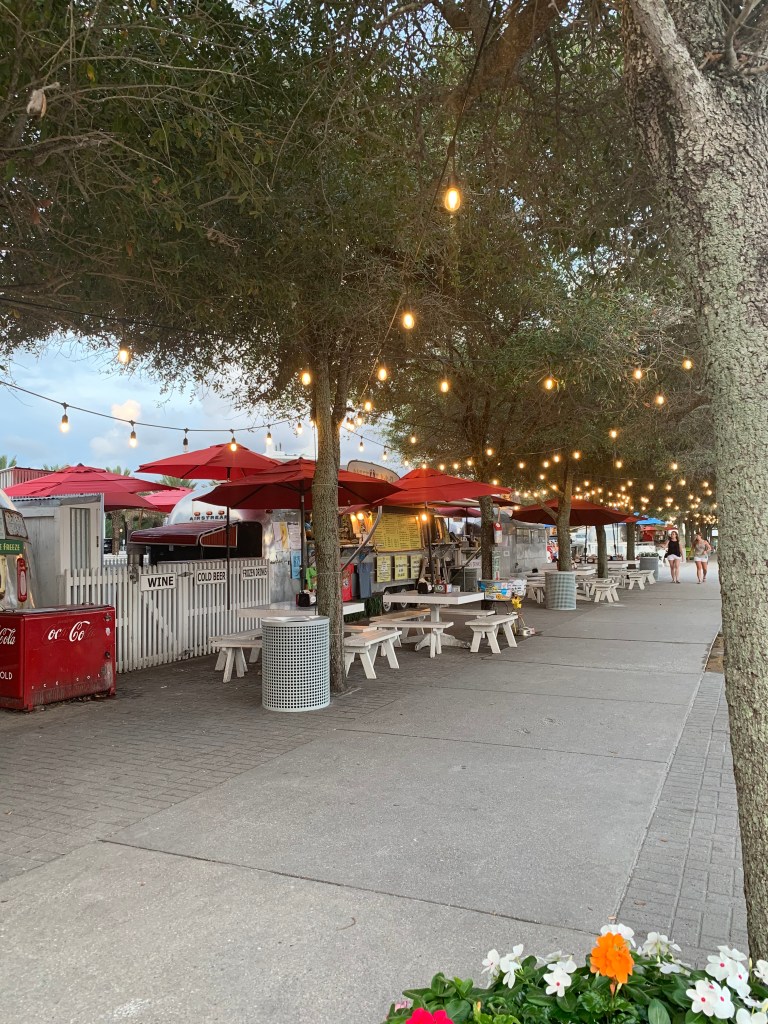
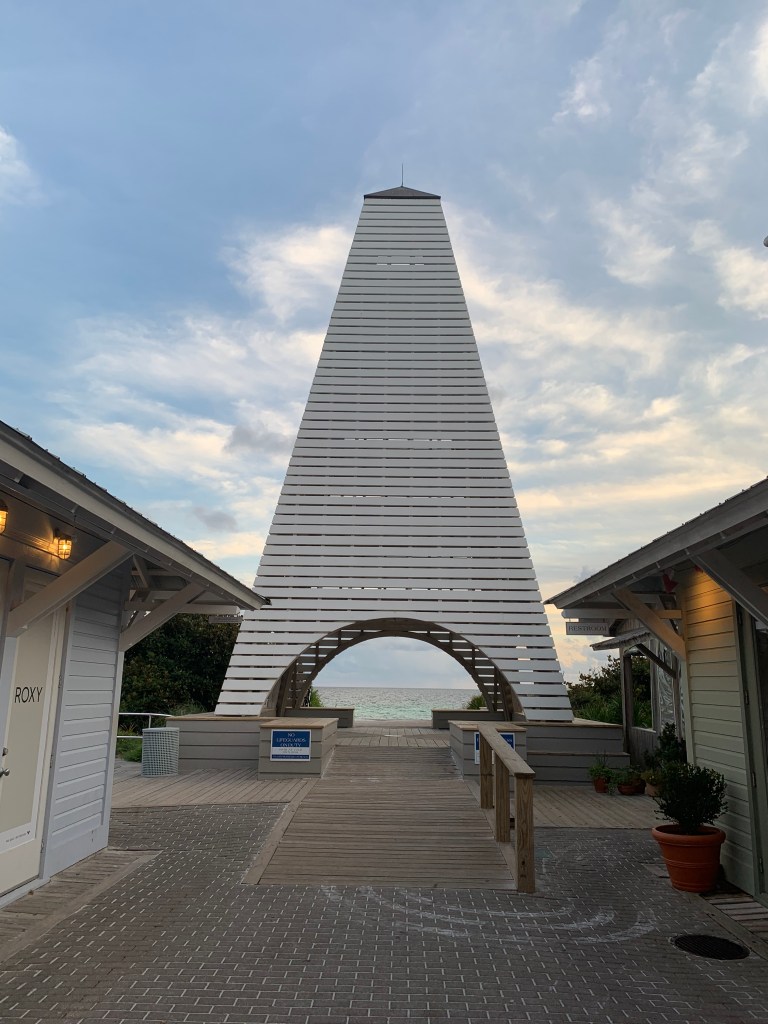
This time we decided to stay in Seaside, FL. It’s a quaint little town with a relaxed feel along scenic 30A. It’s a planned community with beautiful beach homes, a town center with shops, restaurants, Airstream food trucks, an outdoor amphitheater, and the cutest little Post Office. And in case you didn’t know, the movie The Truman Show starring Jim Carrey was filmed there back in 1998.

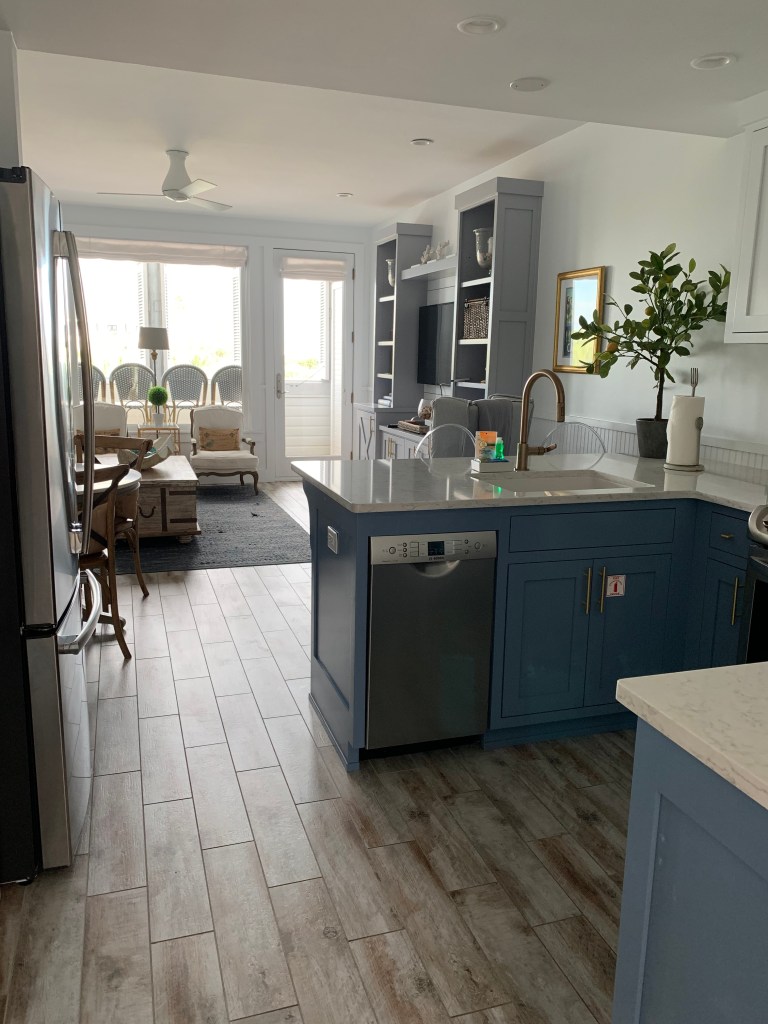
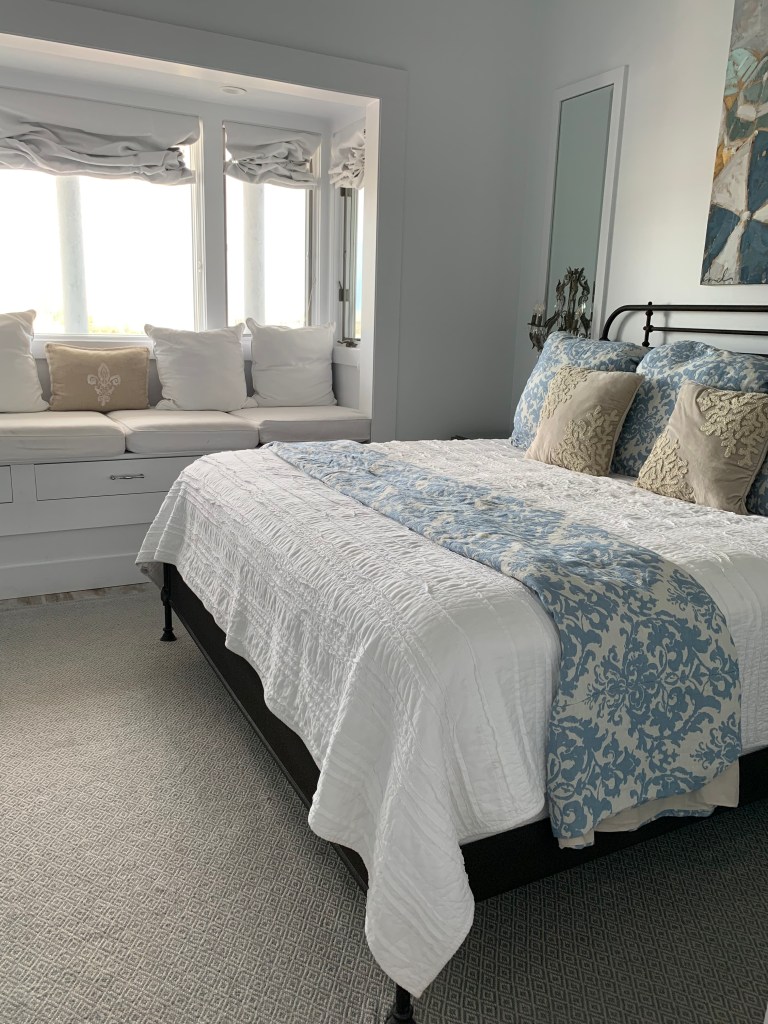
We stayed in a beautiful 2 bedroom condo above the shops in the town center. Our balcony overlooked the Airstream food trucks and we were directly across 30A from one of the entrances to the beach. The name of our condo was Trésor de la Mer and we rented it through Sunburst Beach Vacations. The condo was fully equipped with everything we needed and was perfect for the 2 of us. The second bedroom included a set of bunk beds so it would be great for a smaller family.

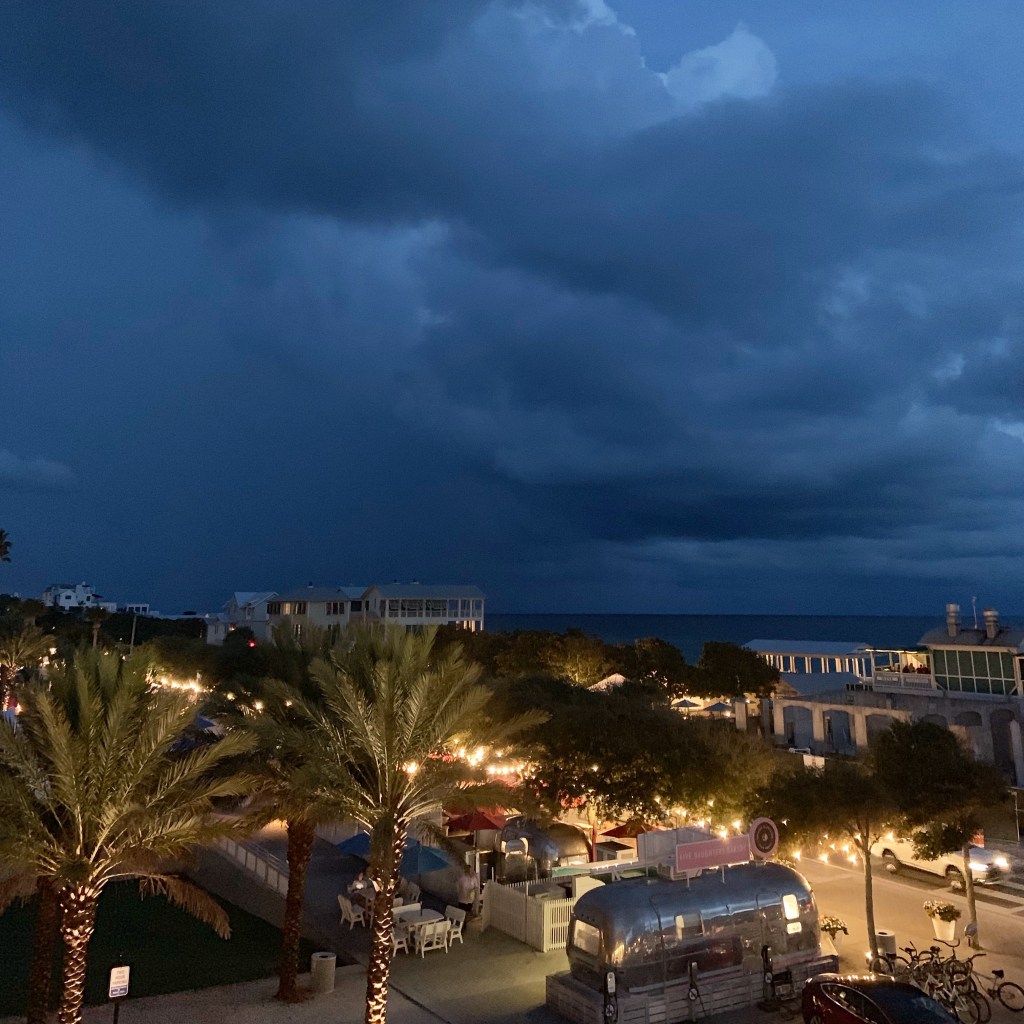
Our condo was directly across 30A from an entrance to the beautiful beach. The sunsets on the Gulf are always amazing!

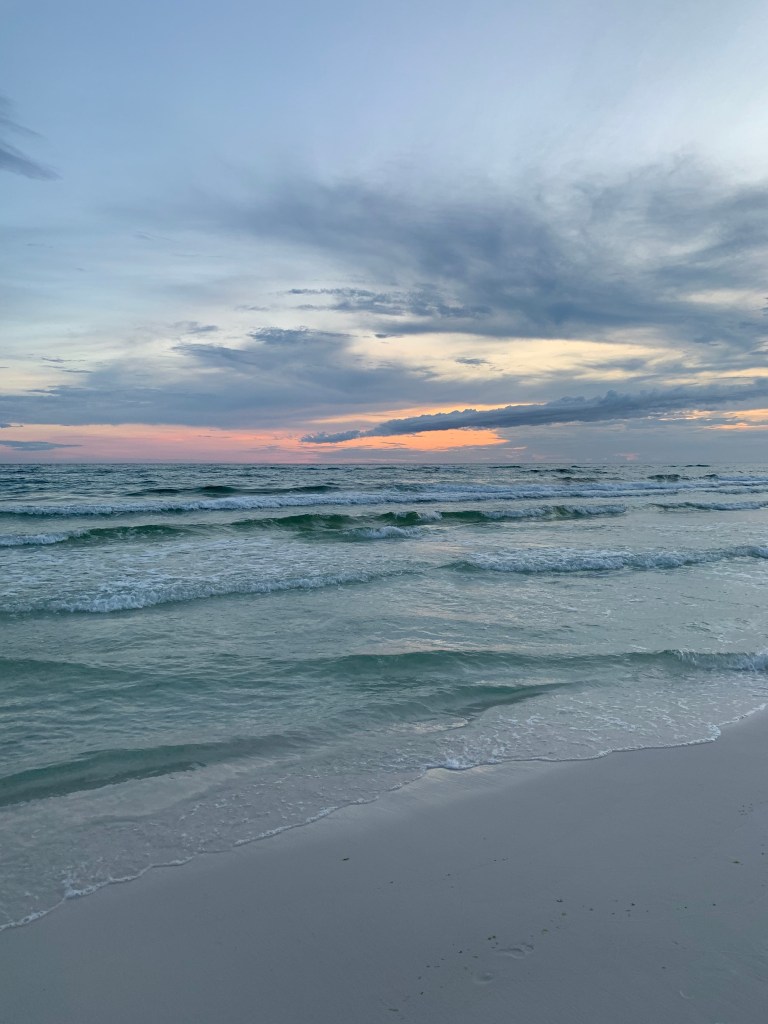
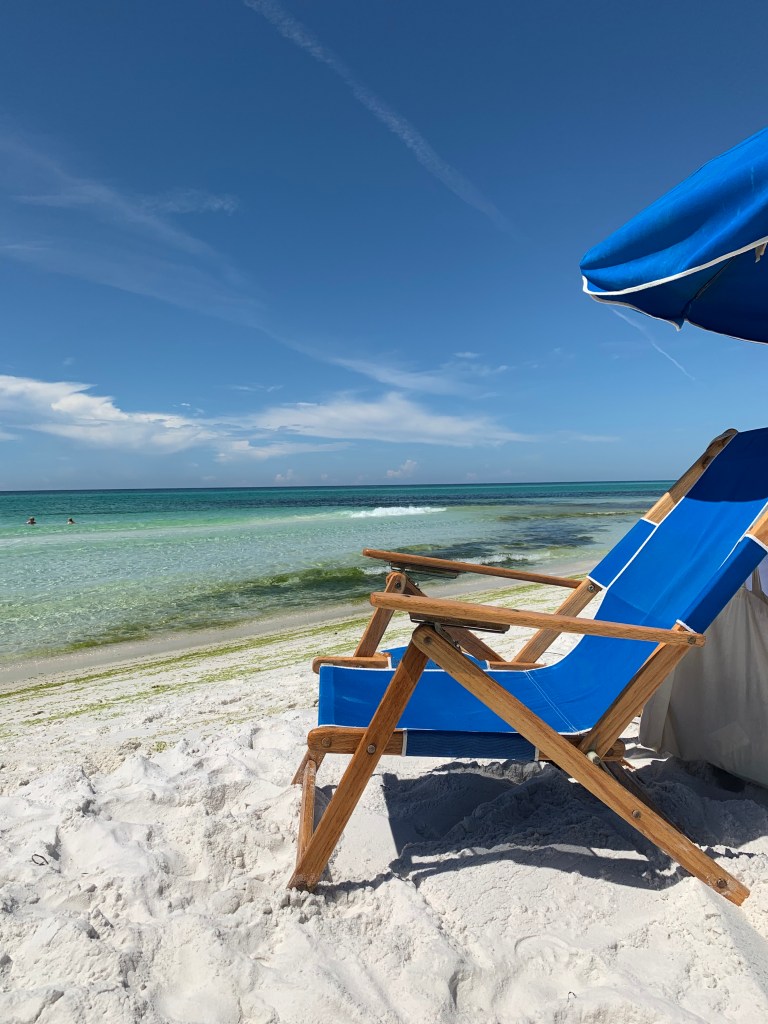
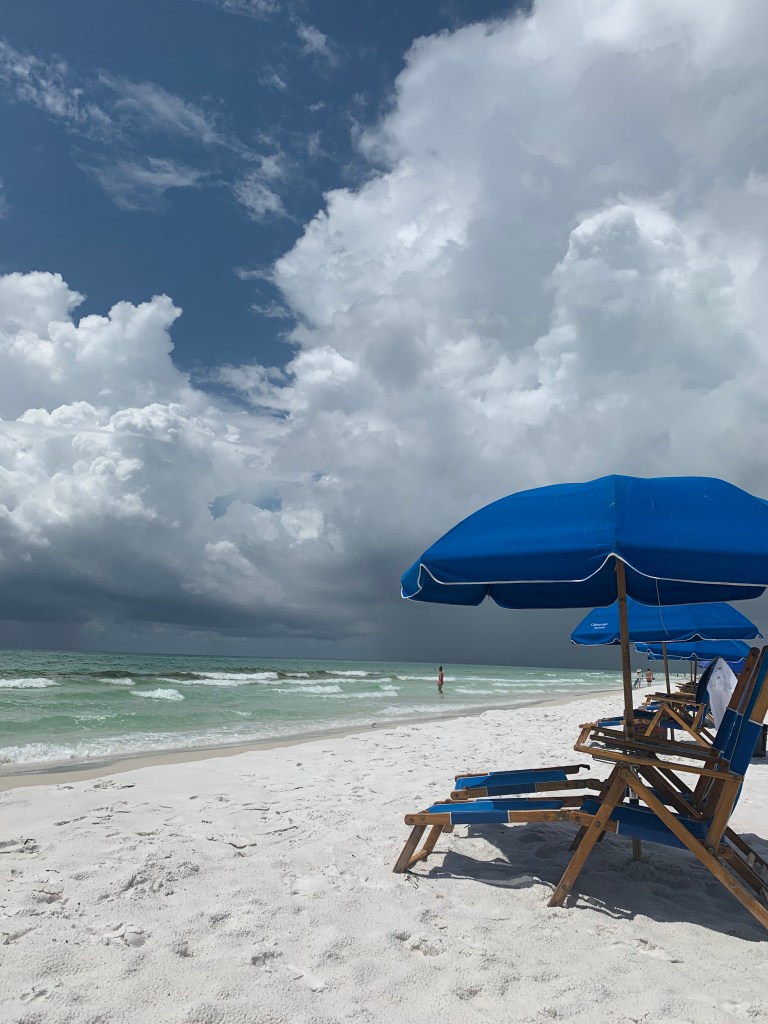
Beautiful skies or storms rolling in…everything is better at the beach!!

I didn’t get pictures of our food – what was I thinking?? – but we ate well in Seaside! One of our favorite restaurants is Great Southern Cafe. The Airstream Food Trucks have several yummy choices including Five Daughters Bakery and The Meltdown on 30A that has wonderful and different grilled cheese sandwiches. There is also a really great little market called Modica Market that has breakfast, sandwiches, and dessert (oh, the cakes!) as well as any other necessity you might need during your visit.

We are fortunate that it is only about a 5-6 hour drive to get to the Gulf. We try to go to the beach at least once a year – it is definitely our happy place!

Thanks for stopping by,

Anita

Posted in Travel | 1 Comment

To My Spooktacular Friend

Disclosure: Some of the links on my site are affiliate links, meaning, at no additional cost to you, I will earn a small commission if you click through and make a purchase. As an Amazon Associate I earn from qualifying purchases.

Hi friends,

Here’s another fun Halloween card using stamps from Unity Stamp Company. This set is called Mummy. It’s one from their adorable Cuddlebug line – you just have to check them out!

I stamped the Mummy with Memento Tuxedo Black ink on white card stock and colored him with Copic markers. I trimmed the image, brushed on some of the black ink using these Blender Brushes from Taylored Expressions, and layered it to black card stock. I stamped the sentiment with black ink on white card stock, punched it with an oval punch, and brushed on some black ink with the Blender Brushes.

To make the card, I embossed a panel of white card stock with a spider web embossing folder (here’s a similar one), and brushed on black ink with the Blender Brushes. I attached the panel to a green card. The stamped Mummy image is attached to the card with foam tape and the sentiment is attached to the upper left corner of the image.

Happy Halloween, my spooktacular friends!

Anita

Posted in Cards, Fall, Stamping | Tagged , | Leave a comment

Caramel Apple Dump Cake

Hi friends,

When I think of the tastes of Fall, caramel apple is one of the sweet things that comes to mind. This yummy Caramel Apple Dump Cake just shouts Fall to me. 🙂 🍁🍂

I found the recipe here at Recipes Chasing the Queen. It’s super easy to make and my kitchen smelled Ah-mazing! while it was baking!

It just takes a few simple ingredients and about an hour to make. The full recipe can be found here.

All set to go in the oven…

I wish you could smell this fresh from the oven…

Warm with a dollop of whipped cream. So good!!! 😋

A perfect Fall dessert! 🍁🍂

Happy Baking!

Anita

Posted in Fall, Recipes | Tagged | 4 Comments

Frank and his Bride

Hi friends,

I have 2 more fun Halloween cards for you today. Both Frank and Bride of Frank are stamp sets from Unity Stamp Company – one of my favorite companies! 🙂

To make both cards, I stamped the images with Memento Tuxedo Black ink on white card stock and colored them with Copic markers. I trimmed the images and then brushed on black ink using these Blender Brushes from Taylored Expressions. The images are layered to black card stock. The sentiments are stamped with black ink on white card stock. I used an oval punch to punch out the sentiment for Frank and trimmed the “Halloween Greetings” close. (This sentiment is from the Cuddlebug Bat set also from Unity.) Then I used the Blender Brushes to add black ink to each of them.

I added a panel of patterned card stock to purple cards and attached the images with foam tape. The sentiment on Frank is attached with foam tape and the sentiment on his Bride is attached directly to the patterned paper. I added 3 gems to finish off the Bride of Frank card.

Happy Halloween!

Anita

Posted in Cards, Fall, Stamping | Tagged , | Leave a comment

Crochet Modern Granny Blanket

Hi friends,

This was such a fun blanket to make! The pattern is called Modern Granny Blanket and the free pattern is from Daisy Farm Crafts. It works up quickly and you can make it in any color combo you’d like.

I used Yarn Bee Soft Secret yarn in Sky Blue, Cognac, and Biscuit with an H/5mm hook to stitch up my blanket. I had 2 skeins of each color, but used maybe 1/3 of the 2nd skein of blue (because of the border) and only a little of the 2nd skein of the other 2 colors.

I changed colors every 2 rows, beginning and ending with Cognac. I worked the border with Sky Blue.

My blanket has a total of 56 rows before adding the border. Once the border was added, it measures approximately 34 by 34 inches. The pattern has instructions for changing the size of the blanket and, of course, the yarn and hook you choose to use will also change the finished size.

This pattern worked up really quickly and I love the way it turned out! I hope a sweet little boy will like it, too. 🙂

Happy stitching!

Anita

Posted in Crochet, Gifts, Uncategorized | Tagged , , | 2 Comments

Flying by with Halloween Greetings

Hi friends,

I have another Halloween card for you today using this cute Cuddlebug Bat stamp set from Unity Stamp Company. If you like this stamp, you need to check out their entire Cuddlebug line – so many cute images to choose from!

I stamped the bat with Memento Tuxedo Black ink on white card stock and colored it with Copic markers. I trimmed it and brushed some of the black ink around the edges using these amazing Blender Brushes from Taylored Expressions. I layered the image to green card stock. I stamped the sentiment with black ink, trimmed it, and brushed the edges with black ink.

To make the card, add a panel of patterned paper to an orange card. Attach the bat image to the card with foam tape. Attach the sentiment over the corner of the bat image with foam tape.

Happy Stamping!

Anita

Posted in Cards, Fall, Stamping | Tagged , | Leave a comment

Dollar Tree Pumpkin Jar

Hi friends,

I saw this jar at the Dollar Tree and the first thing I thought was “That looks like a pumpkin”! And since it was only a dollar (of course 🙂 ), I decided to bring it home to see what I could come up with. (My jar had a metal lid, the ones on the Dollar Tree website have plastic lids but they would work fine.)

You’ll need some chalky finish paint, I used burnt orange and spanish moss. Use your favorite orange and green paint – just be sure it’s chalky finish or it won’t stick to the jar. You may also want some natural twine to tie around the jar.

First, wash the jar and lid – dry them thoroughly. Then paint 2 to 3 thin coats of paint on the jar and lid, making sure to let each coat completely dry before adding the next.

After the first coat.

After you’ve finished with the 2 to 3 coats of paint and they are dry, add a thin coat of clear wax to seal the paint and to help keep it from chipping. Let it dry completely. If desired, wrap the twine several times around the jar and tie in a bow.

I think it turned out so cute! Fill it with some chocolates for a sweet hostess gift for all your Fall gatherings. Or add it to your Fall table for a little touch of whimsey.

Happy Crafting!

Anita

Posted in Decor, Fall | Tagged , | 2 Comments

Halloween Greetings

Hi friends,

It’s October! Time to get the Halloween cards made! 🎃

Unity Stamp Company has some of the most adorable Halloween stamps! This one is called Count – the set includes 2 sentiment stamps along with the Count. The Halloween Greetings stamp is from another set called Cuddlebug Bat – stay tuned for a card using that set soon.

I stamped the Count with Memento Tuxedo Black ink on white card stock and colored it with Copic markers. I trimmed it close and brushed on black ink using these amazing Blender Brushes from Taylored Expressions.

I have to take a minute and gush over these Blender Brushes from Taylored Expressions! They are so amazing! Add a little ink from your favorite ink pad, and it just flows onto the card stock. The brushes are so soft – it takes very little effort to add color to your card stock. I didn’t get them when they first came out, but I am so glad I decided to purchase them…I just love them!! I think they are on pre-order again, because they keep selling out. But if you are interested in them, go ahead and pre-order – they are worth the wait!!

Back to the card… I die cut a frame using the Dotted Scallop Rectangle Dies from Elizabeth Craft Designs from green card stock and attached the stamped image. I added a black ribbon to a panel of patterned card stock, tied one side with a thin orange ribbon, and attached it to an orange card. The stamped image of the Count is attached to the card with foam tape. I stamped the sentiment with orange ink on white card stock, brushed on orange ink with the Blender Brushes, and attached it to the card.

Happy Halloween! 🎃

Anita

Posted in Cards, Fall, Stamping | Tagged , | 2 Comments

Farmhouse Buffalo Plaid Pumpkin Plaque

Hi friends,

Do you need a little something extra to add to your Fall decor? This Farmhouse Buffalo Plaid Pumpkin Plaque may be just the thing to fill that space. It’s super easy to make and takes no time at all to put together.

Here are the supplies you’ll need to make the project:

  • A wood plaque – mine is 5 inches by 5-1/2 inches and I found it at Michael’s
  • 3 (3 inch by 2 inch) oval unfinished wood shapes, which I found at Michael’s, too. 
  • A scrap of black buffalo plaid fabric
  • A piece of a black chenille stem for the stem of the pumpkin
  • Mod Podge to attach the fabric to the oval pieces
  • E6000 glue to attach the pieces together and to the plaque
  • White chalk finish paint – I used this one
  • A small piece of natural twine

Trace the oval shape 3 times on the back of the fabric, making sure the pattern is straight, and cut them out.

Using the white chalk finish paint, brush a thin layer onto the plaque, feathering it out on the edges. You don’t want to completely cover the wood, just enough to give it a distressed look.

Using the Mod Podge, brush a thin layer onto each oval shape and smooth the cut fabric pieces onto the shapes. Then brush a thin layer of Mod Podge over the fabric. Trim any excess fabric from the ovals if needed.

Using the E600 glue, glue one oval shape on top of the other 2. Put the 2 bottom ovals close together and glue the 3rd on top, slightly lower to get a pumpkin shape.

Cut a small piece of a black chenille stem and glue it to the back of the pumpkin, bending it slightly for the pumpkin stem. Tie a bow around the stem with a piece of natural twine.

A cute little Farmhouse touch to add to your Fall decor!

Happy Crafting!

Anita

Posted in Decor, Fall | Tagged , | 3 Comments

Halloween Garland

Hi friends,

Last month I found some great Halloween craft supplies at Dollar Tree. These cute wood shapes came in packs of 3 for – you guessed it – $1.00! Add a little paint, ribbon, and twine and you have a very cute Halloween garland. 🎃

First I painted both sides of the pumpkins and ghosts using craft paints. I had orange and brown chalk finish paint and white acrylic paint on hand so that’s what I used. (If you want to get an assortment of acrylic paint colors for your crafts, this is a great set.)

Once the shapes were dry, I sprayed them with a coat of matte sealing spray.

I used jute twine as the basis for my garland. I decided to add these 1-inch unfinished wood beads for a little something extra. To make the garland, I threaded the beads onto the garland one at a time and tied a knot close to both sides of the beads to keep them from sliding on the twine. I spaced the beads about 4-inches apart. I didn’t measure, I just eyeballed it.

Then using the thin twine that came with the wood shapes, I tied each shape tightly onto the garland between the beads and trimmed the excess. I finished the garland by knotting several different ribbons on either side of each bead.

The garland has 5 pumpkins, 5 ghosts, 11 beads, and 22 ribbon bows. It measures about 6-feet long, including about 9-inches of twine on both ends for hanging.

This was a really fun project to make! It’s perfect for my mantel, but would also be really cute draped across a bookshelf or doorway.

Happy Halloween! 🎃👻

Anita

Posted in Decor, Fall, Uncategorized | 12 Comments