Hi friends,
I love Fall! It’s always been my favorite season – especially after the hot Alabama Summers. I love the colors of Fall…and candy corn. 🙂
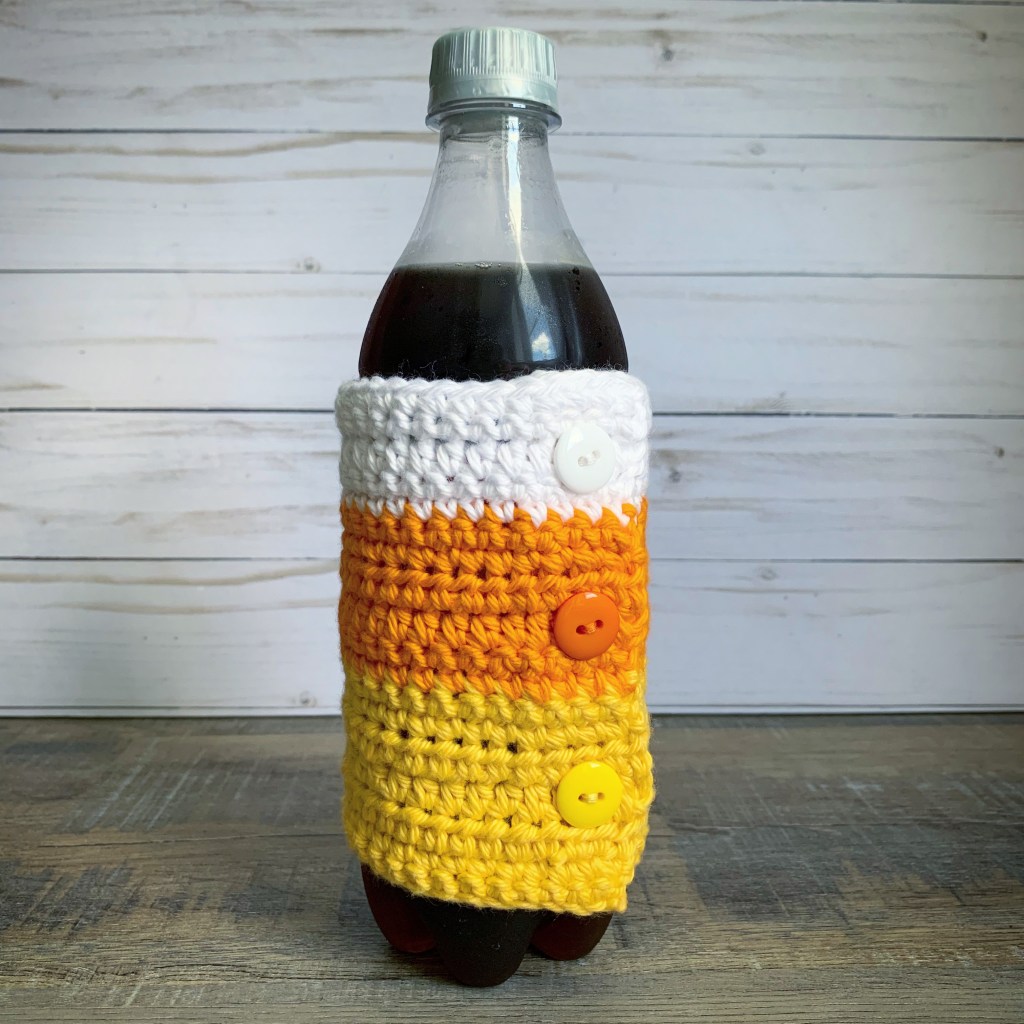
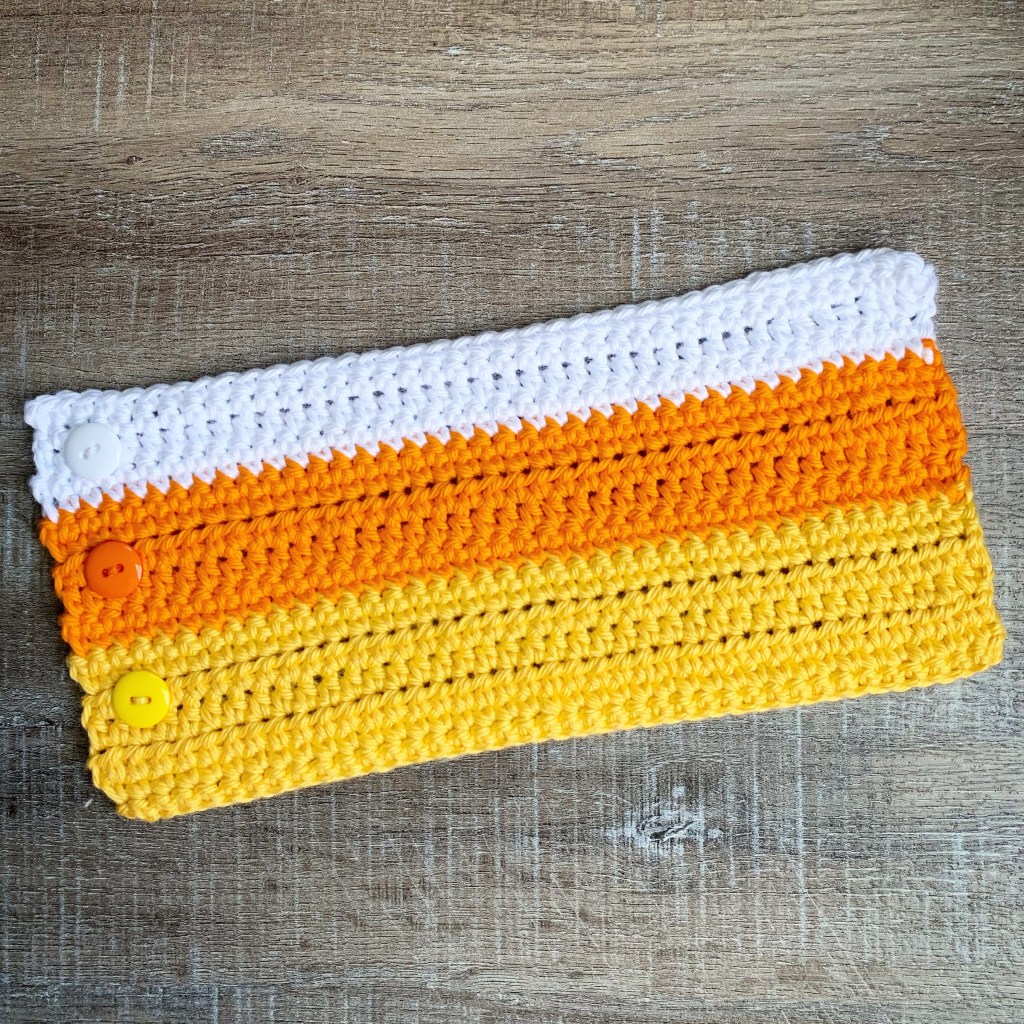
I have a simple Crochet Candy Corn Cozy pattern to share with you today. It’s super easy to make. You can find the pattern here and I’ve included a link to a free PDF if you want to print it out for easy reference.
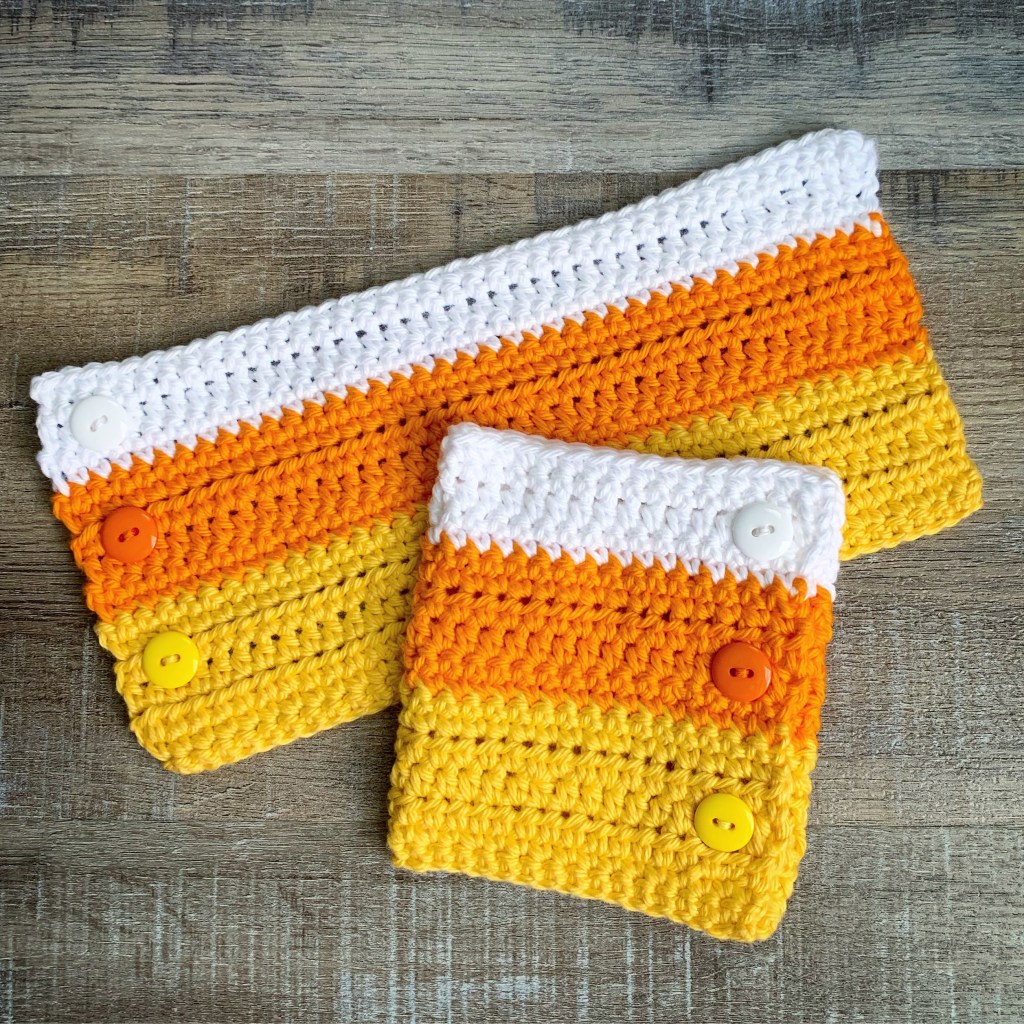
Crochet Candy Corn Cozy
G/4mm hook
I Love This Cotton yarn in Curry, Glowing, White
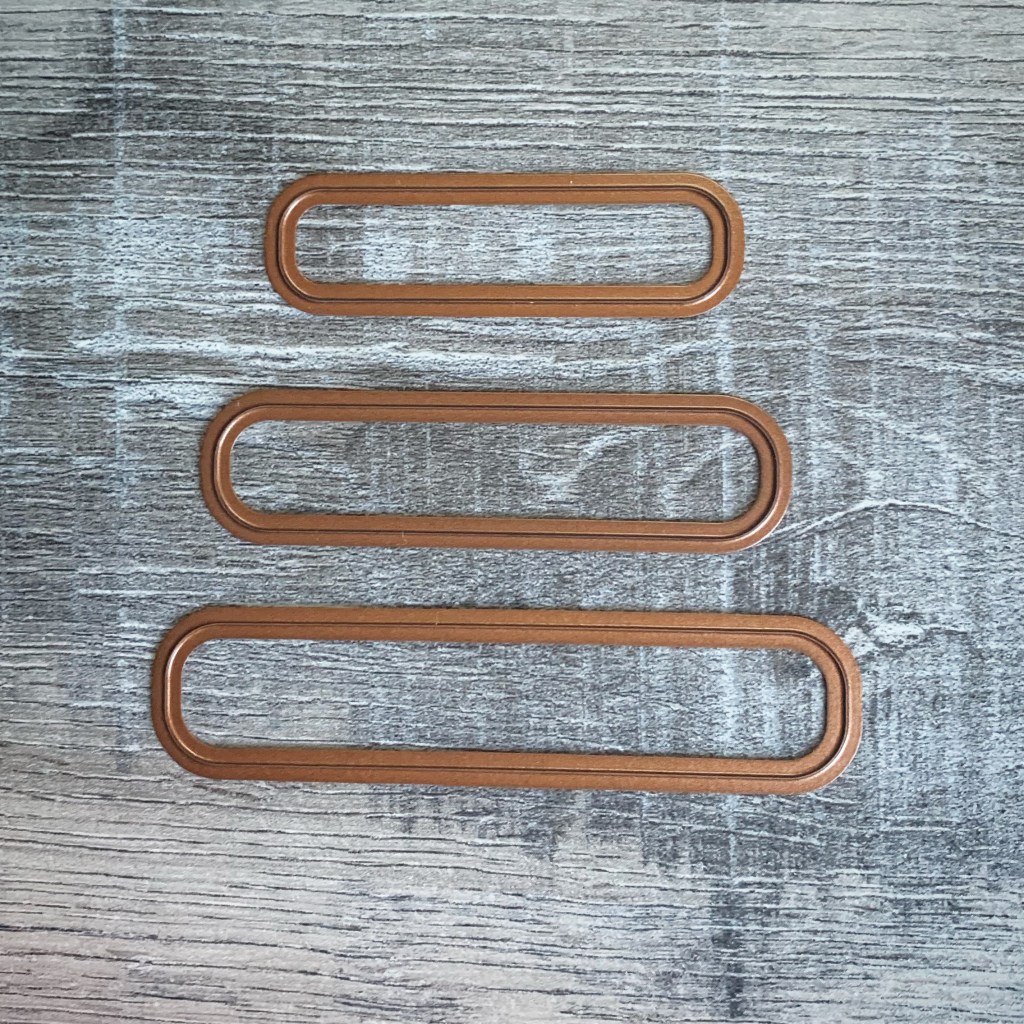
3 (16mm or 1/2 inch) buttons – 1 each yellow, orange, white
Stitches used (US terms):
Chain – ch
Single Crochet – sc
Half Double Crochet – hdc
Pattern:
Ch 40 with Curry.
Row 1: Sc in 2nd ch from hook and each stitch across. Ch 1 and turn. (39 stitches)
Row 2: Sc in each stitch across. Ch 1 and turn. (39 stitches)
Rows 3-5: hdc in each stitch across. Ch 1 and turn. (39 stitches)
Rows 6-7: sc in each stitch across. Ch 1 and turn. (39 stitches)
Change to Glowing at the end of Row 7.
Rows 8-9: sc in each stitch across. Ch 1 and turn. (39 stitches)
Rows 10-11: hdc in each stitch across. Ch 1 and turn. (39 stitches)
Rows 12-13: sc in each stitch across. Ch 1 and turn. (39 stitches)
Change to White at the end of Row 13.
Rows 14-15: sc in each stitch across. Ch 1 and turn. (39 stitches)
Row 16: hdc in each stitch across. Ch 1 and turn. (39 stitches)
Rows 17-18: sc in each stitch across. Ch 1 and turn. (39 stitches)
Fasten off and weave in ends.
Sew on buttons in center of each color close to one edge and button through the stitches on the opposite edge. It will be a tight fit, but the buttons will fit through the stitches. Slip onto your bottle or can.

I hope you enjoy this easy, fun pattern!
Happy Stitching!
Anita