Merry Christmas!

Hi friends,

Just popping in to wish you all a Very Merry Christmas! I hope you all have a wonderful time celebrating with family and friends.

Disclosure: Some of the links on my site are affiliate links, meaning, at no additional cost to you, I will earn a small commission if you click through and make a purchase. As an Amazon Associate I earn from qualifying purchases.

And while you are enjoying the day, remember the reason we are celebrating…

For God so loved the world that he gave his one and only Son, that whoever believes in him shall not perish but have eternal life. John 3:16

Thanks be to God for his indescribable gift! 2 Corinthians 9:15

May God richly bless you and yours in 2024!

Anita

Posted in Uncategorized | 2 Comments

The Best Oatmeal Cake

Hi friends,

I recently made this cake again and knew I had to share it with all of you in case you missed this recipe when I shared it a few years ago. It is a favorite around our house and it’s really easy to make!

Disclosure: Some of the links on my site are affiliate links, meaning, at no additional cost to you, I will earn a small commission if you click through and make a purchase. As an Amazon Associate I earn from qualifying purchases.

Here’s the post I shared a few years ago which includes the recipe.

Really! The Best Oatmeal Cake ever!! It is just so yummy! The cake has just a hint of cinnamon and the broiled icing has brown sugar, coconut, pecans, and butter – so tasty! 😋

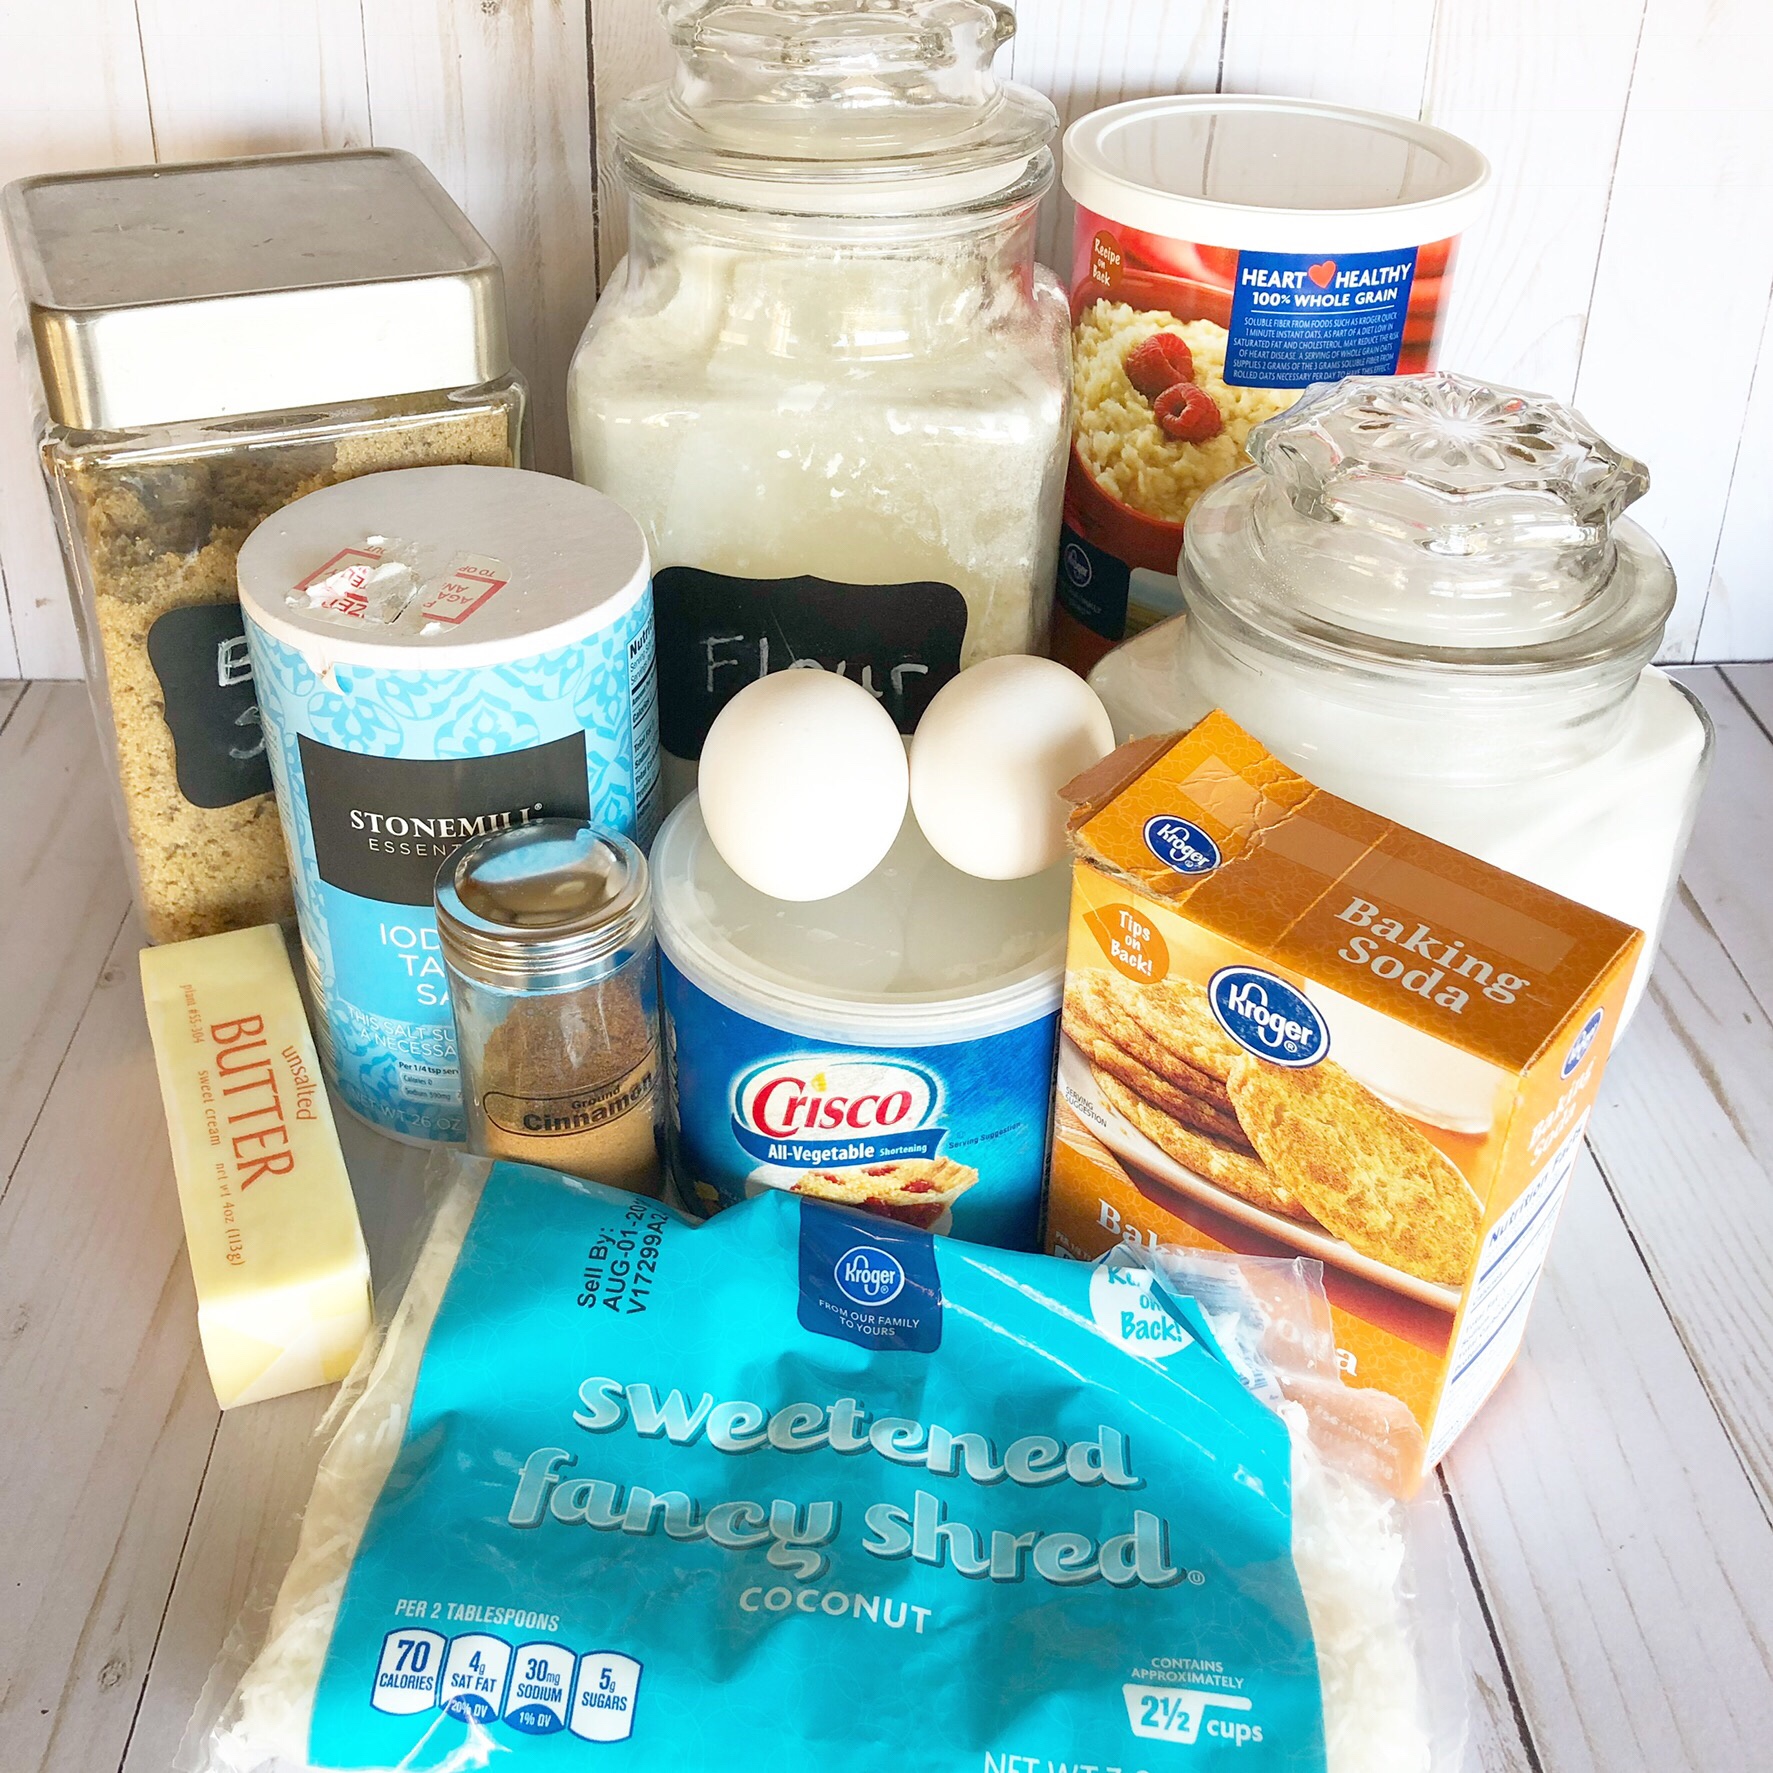
You probably have most of the ingredients you’ll need right in your kitchen – except maybe the coconut and the pecans. (I forgot to add the pecans to the picture. 😐)

You’ll find the full recipe below.

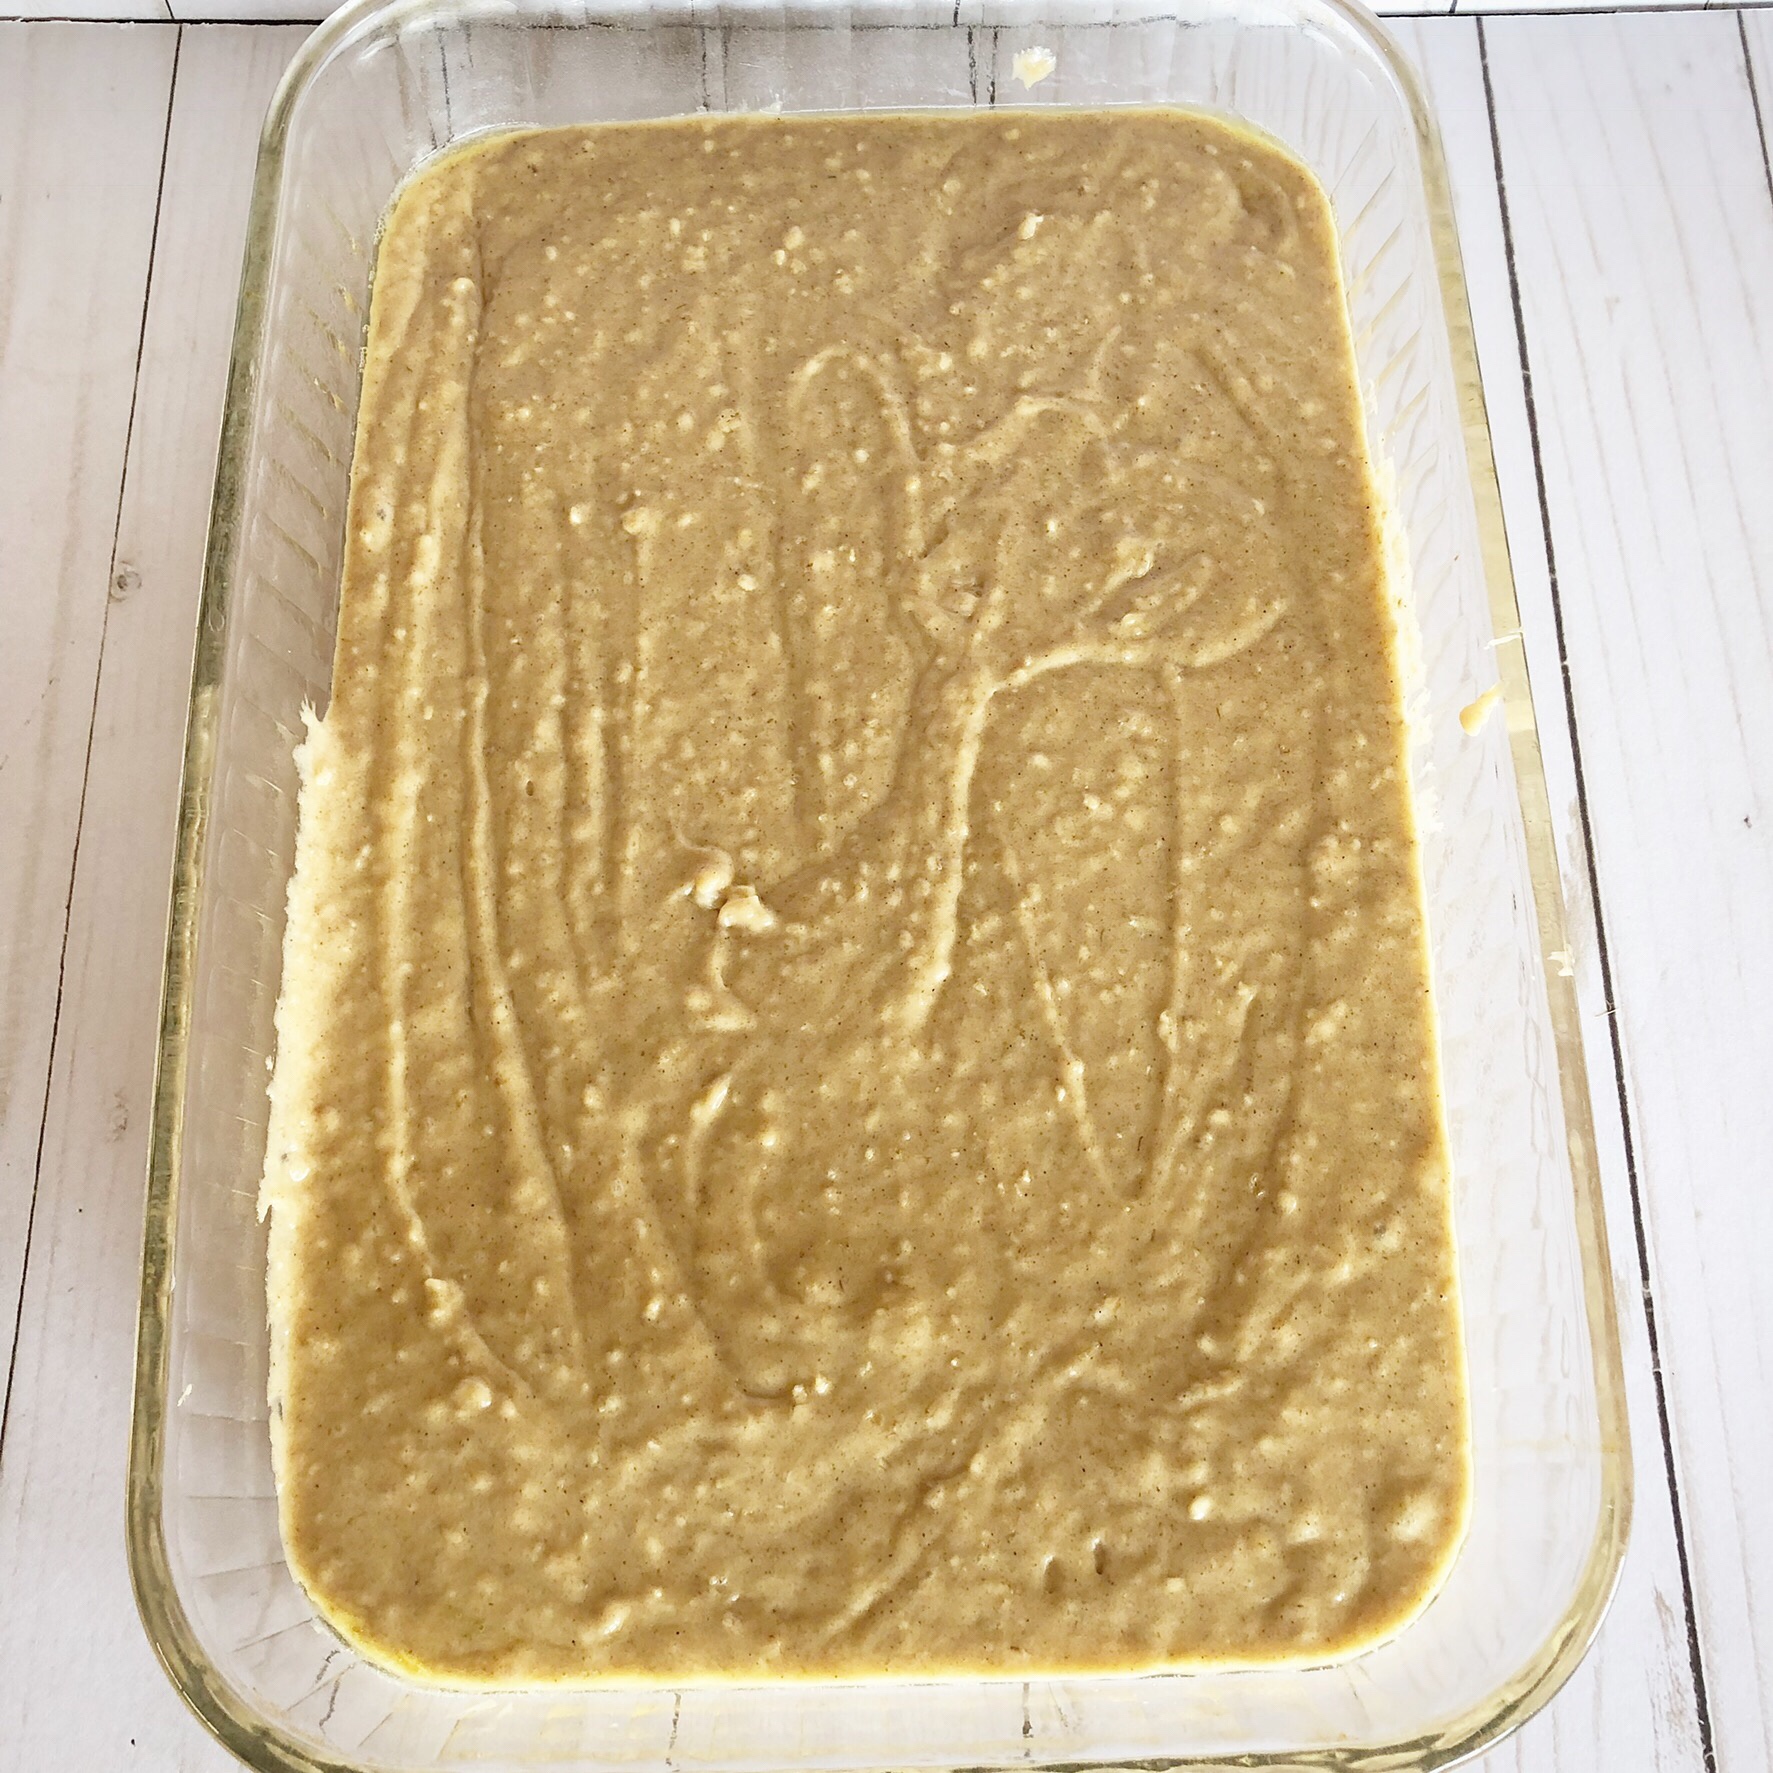
Here’s the cake ready to go into the oven…

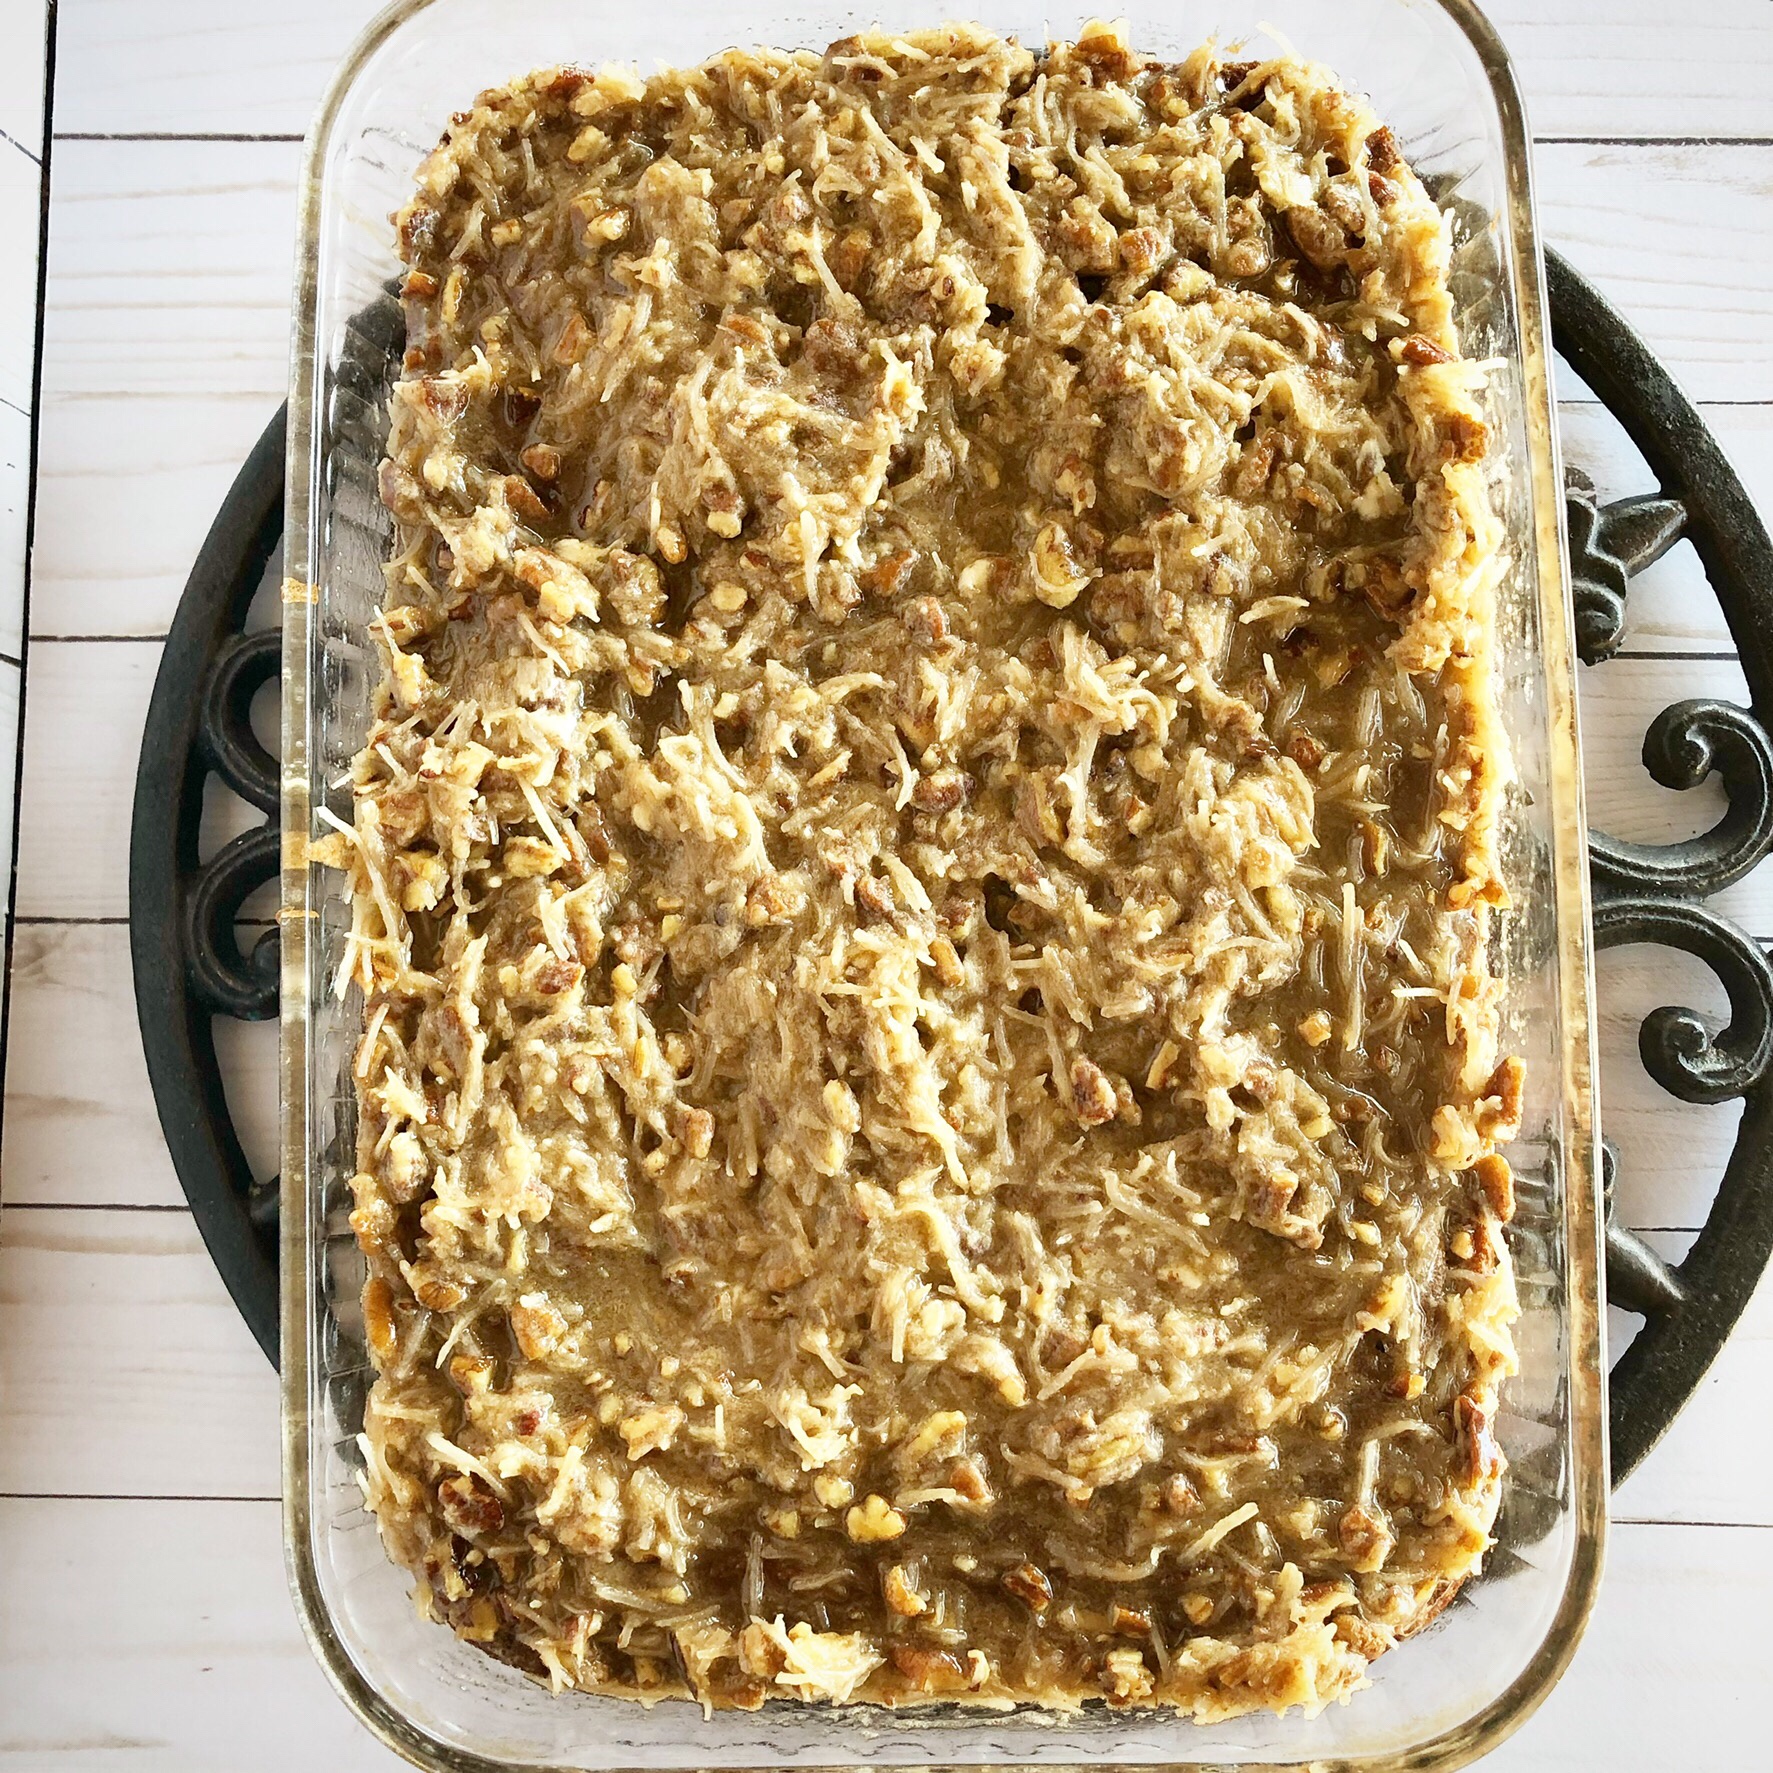
Hot out of the oven with the icing spread over the top and ready to go under the broiler…

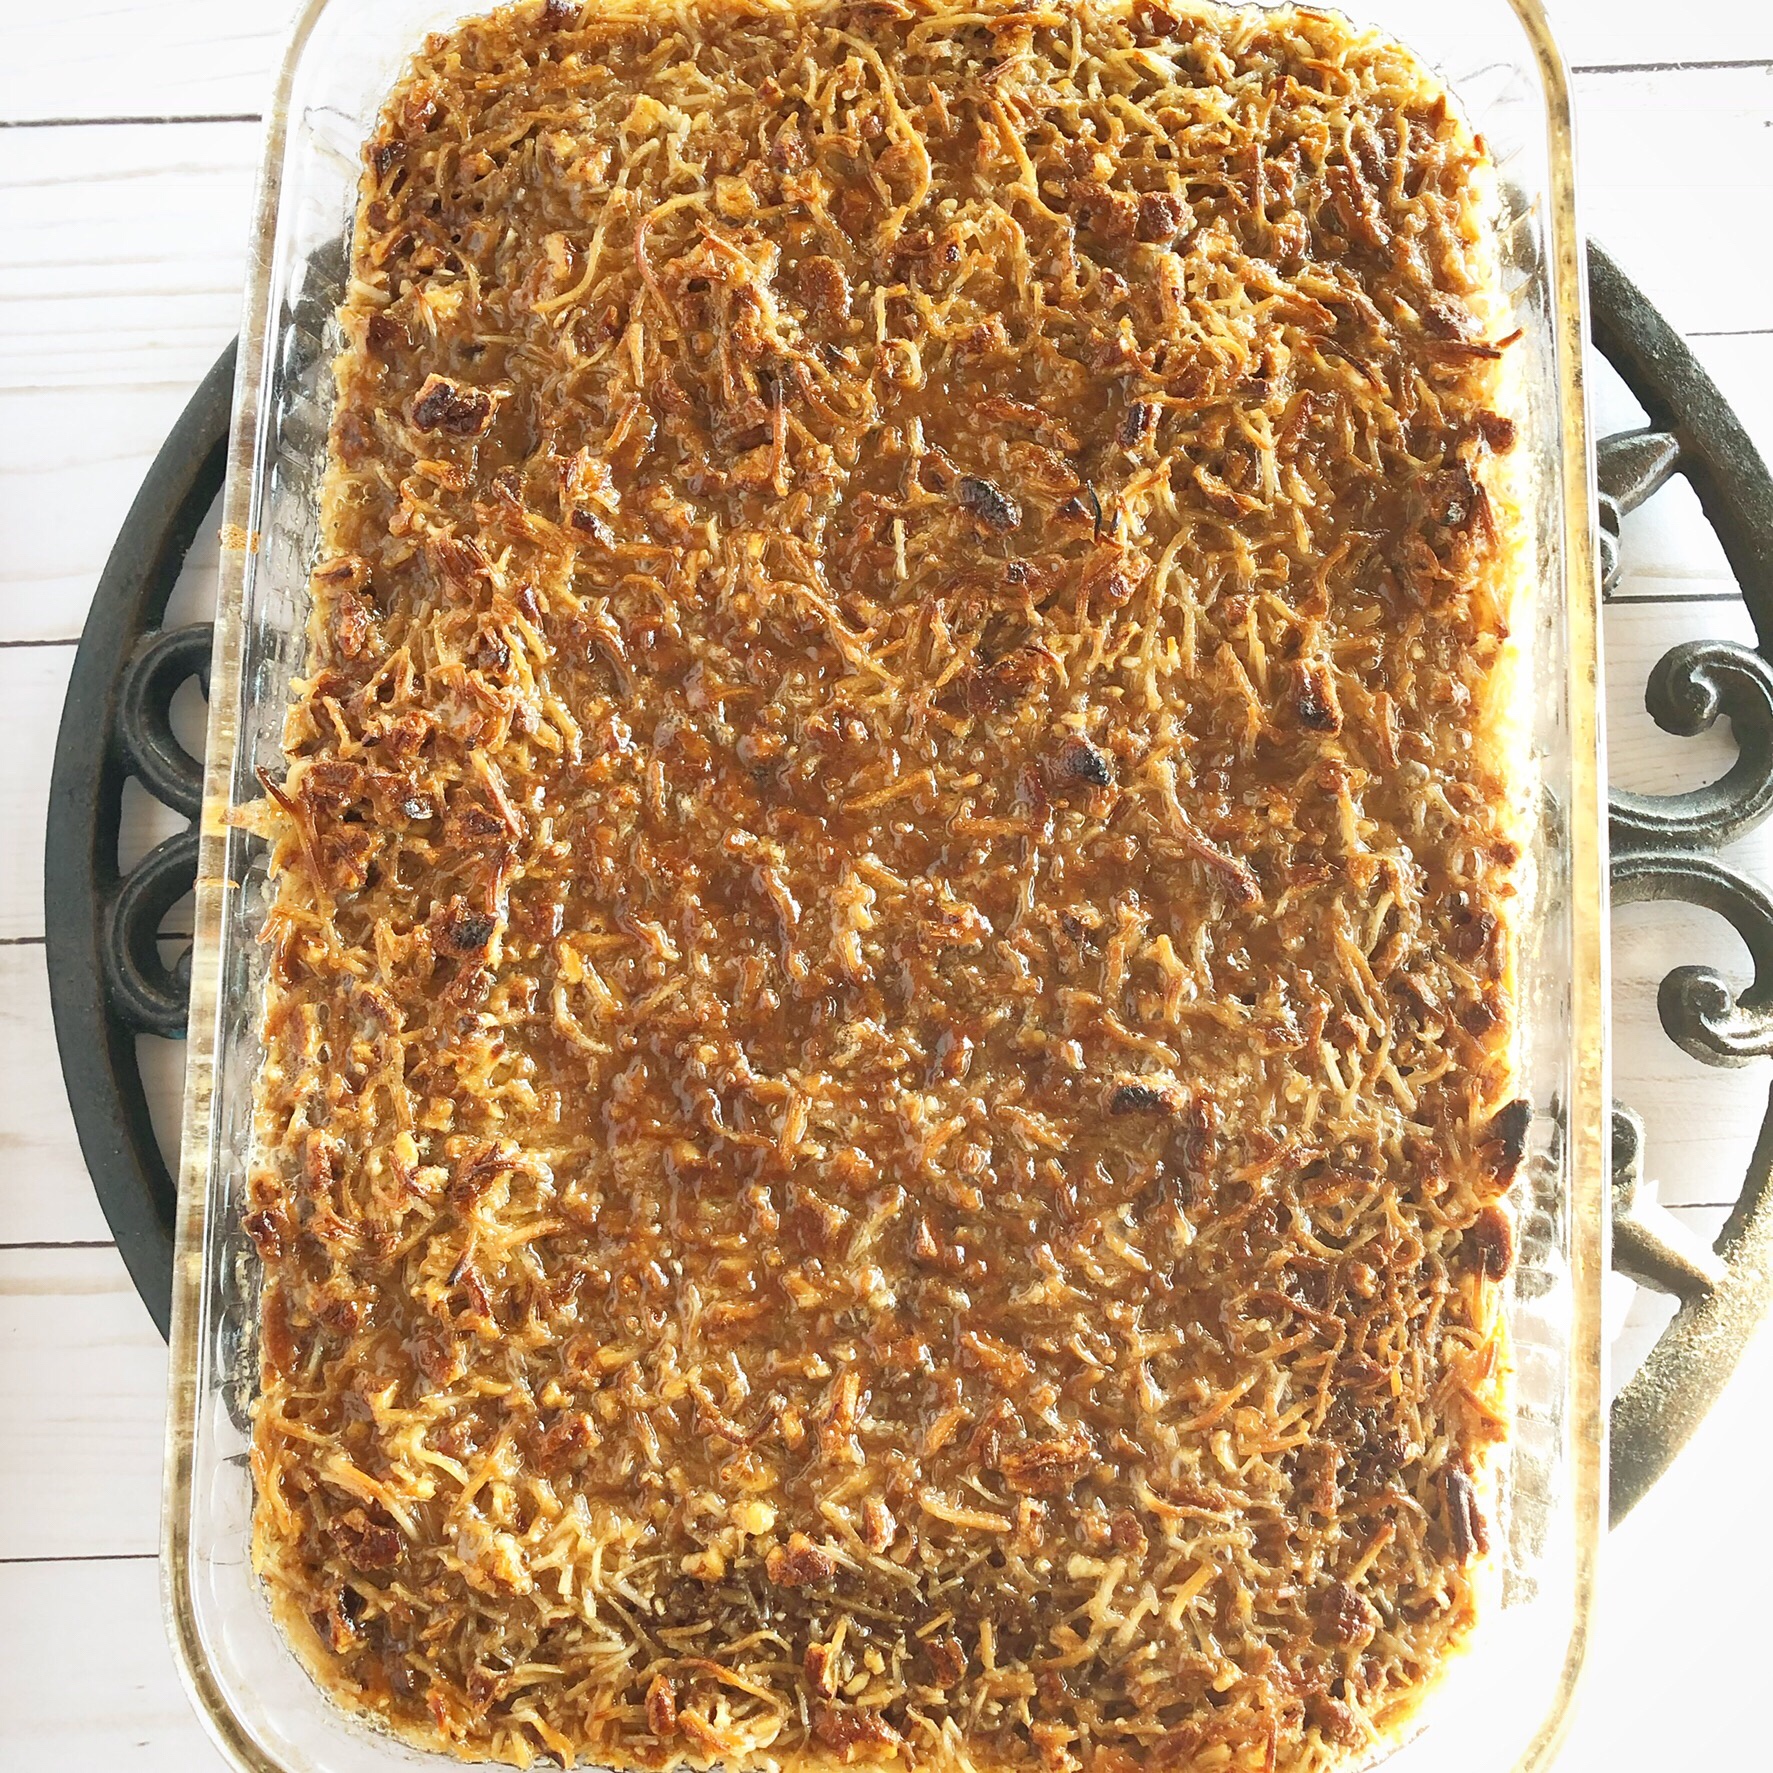
And here is the Best Oatmeal Cake fresh and hot from the oven! My kitchen smells amazing!! Now comes the hard part…waiting for it to cool! 😉

Here’s the recipe:

The Best Oatmeal Cake

Preheat oven to 350 degrees. Spray a 9 by 13 inch baking pan with cooking spray.

Cake:

  • 1 cup oatmeal
  • 1-1/4 cups boiling water (mix with oatmeal in a small bowl and set aside while you mix the rest of the cake ingredients)
  • 1-1/3 cups flour
  • 1 teaspoon baking soda
  • 1 teaspoon salt
  • 1 teaspoon cinnamon
  • 1 cup sugar
  • 1 cup brown sugar
  • 1/2 cup shortening
  • 2 eggs
  • 1 teaspoon vanilla

Sift together flour, baking soda, salt, and cinnamon. Add sugar, brown sugar, shortening, eggs, and vanilla. Mix well. Add oatmeal mixture. Beat well. Spread in prepared pan and bake for 25 to 30 minutes until toothpick inserted in the center comes out clean.

Broiled Icing:

  • 1 stick butter or margarine at room temperature
  • 1 cup brown sugar
  • 1 cup pecan pieces
  • 1 cup shredded sweetened coconut
  • 5 tablespoons cream (I have also used almond milk or regular milk as a substitute and the both work well)

Mix all ingredients together and spread over warm cake. Set your oven to broil and place cake under broiler until icing has browned. Watch the cake very closely – the icing browns quickly!

This is my husband’s 2nd favorite cake – you can find his very favorite cake, Angel Food with Homemade Peach Icing, here.

Enjoy!

Anita

Posted in Recipes, Uncategorized | Tagged | Leave a comment

Road Trip Snack Mix

Hi friends,

Buying snacks on a road trip can get expensive and time consuming if no one can decide what they want! 🤷🏼‍♀️ I make my own snack mix to keep handy in the car and we get to decide what we want to add to it. 😋

Disclosure: Some of the links on my site are affiliate links, meaning, at no additional cost to you, I will earn a small commission if you click through and make a purchase. As an Amazon Associate I earn from qualifying purchases.

I start with a jar of lightly salted dry roasted peanuts. You can also use mixed nuts, cashews, or almonds – choose whatever your family will enjoy. Then I add either M&Ms, chocolate chips, white chocolate chips, butterscotch chips or a combination of them. I also add raisins to my snack mix. Other dried fruits can be added, too.

This time I used peanuts, toasty vanilla M&Ms (I think this may be a special holiday flavor), semi sweet chocolate chips, and raisins.

To make your snack mix, simply pour the peanuts into a large bowl and mix in the M&Ms, chocolate chips, and raisins. I never measure anything, I just add each ingredient until it’s a good mixture. 😊 The salty/sweet taste is a fun treat while you’re traveling. 😋

Store it in a large zip top bag for your road trip. You can also put a handful or two in individual small zip top bags and put those in a larger bag for easier snacking in the car. Everyone can have their own bag to snack on that way. 😋

This is a super easy snack mix that you can put together just in time to hit the road for Christmas. Christmas red and green M&Ms would make it so festive to eat on the way to family and friends! 🎄

Anita

Posted in Recipes | Tagged | Leave a comment

Last Minute Christmas Gift Tags

Hi friends,

If you’re like me, you always need an extra gift tag or two when you’re wrapping Christmas gifts. This is a super quick and easy tag that only takes minutes to make so you can get all that gift wrapping wrapped up! 🎁

Disclosure: Some of the links on my site are affiliate links, meaning, at no additional cost to you, I will earn a small commission if you click through and make a purchase. As an Amazon Associate I earn from qualifying purchases.

You’ll need a white tag, red card stock, red and white bakers twine, and your favorite small Christmas stamp. My Santa hat is from the {Limited Edition} Stamp Advent Calendar 2023 from Unity Stamp Company, but any small simple stamp will work. 🎅🏼

Using Memento Tuxedo Black ink, I randomly stamped the Santa hat several times on the white tag. I layered the tag to red card stock and trimmed it to a tag shape. I stamped the Santa hat again on a scrap of white card stock and colored it with Copic markers. Then I trimmed around the hat and attached it to the tag with foam tape. Punch a hole through the red card stock on the tag and tie on a piece of red and white bakers twine to finish the tag.

Super quick and easy – just write the gift recipient’s name on the back!

Now to finish the gift wrapping… 🎁

Anita

Posted in Christmas, Stamping, Tags | Tagged , | 2 Comments

Easy Christmas Decorating With Ornaments

Hi friends,

I love all the pretty ornaments! But I can’t fit them all on my tree so this is one way to easily display all the prettiness throughout my home. 🎄

Disclosure: Some of the links on my site are affiliate links, meaning, at no additional cost to you, I will earn a small commission if you click through and make a purchase. As an Amazon Associate I earn from qualifying purchases.

Below are some beautiful vintage look mercury glass ornaments that I got from Cedar Grove Farms. It is a beautiful French Farmhouse shop located on a gorgeous farm in Hartselle, AL. I promise Melanie will take great care of you if you live close enough to visit! I also got my greenery and the frosted berry candle ring under it from Cedar Grove Farms. I filled 2 small vintage look dishes with the ornaments and scattered a few in the tray. The tray is a repurposed thrift store find (details are here) and I created the Wood Bead Garland (details are here). The tray sits on my coffee table and I love the sparkle of the ornaments!

I found these vintage look ornaments on one of our trips. I added them to a pretty glass bowl and set them on my entry table next to my berry wreath and Farmhouse Yarn Wrapped Christmas Trees. Such a quick and easy way to add some Christmas cheer!

Finally, these tiny little Christmas balls came from Target. They come in different color combinations so you can mix and match. Again, I just added them to a pretty glass bowl and set them on one of my accent tables along with a vintage look container filled with a little greenery and a tiny bottle brush tree on a vintage wood spool. (Details for the tree are in this post.) I added a little height with a mini wood riser. (You can find how I made it here.) The cute little sparkly turquoise tree was on a gift from a sweet friend and I love how it pulls out the color of the turquoise ornaments.

I hope this gives you a little inspiration on how to add a pop of sparkle and shine around your home this season. So go ahead and buy the ornaments you love, look in your cabinets for pretty bowls, and add them to your Christmas decor! 🎄

Anita

Posted in Christmas, Decor | Tagged , | 2 Comments

My Christmas Mantel and Fireplace

Hi friends,

Decorating my mantel and fireplace for the different seasons is one of my favorite things. You may have seen my mantel decorated for Fall in this post. Now I have it all decked out for Christmas so I thought I would share it with you. 🎄

Disclosure: Some of the links on my site are affiliate links, meaning, at no additional cost to you, I will earn a small commission if you click through and make a purchase. As an Amazon Associate I earn from qualifying purchases.

It’s a mixture of things I’ve purchased or created along with gifts from sweet friends. I love my different Christmas trees and the little pop of greenery from the garland. I created the tree on the right (the tall one with the star) – details are in this post. I also created the Farmhouse Candlesticks on the far left and you can find all the details here. The info on the Chalk Painted Christmas Bud Vases on the far right are in this post.

I added a few more of my favorite Christmas things to my hearth. The teddy bear is from my mom – you can see on his hat that she gave him to me in 1987! 🥰 I made the Christmas Joy Sign on the right – details are here.

I hope you enjoyed this little look at my mantel and fireplace. And maybe even got a few ideas for decorating your own home. 🙂

Anita

Posted in Christmas, Decor, Uncategorized | Tagged , | 4 Comments

Cookie Mix in a Jar

Hi friends,

Cookie Mix in a Jar is such a fun gift to give during the holidays. We all know how many yummy treats there are this time of year. Giving a mix to use later means you can eat all the ready made treats now, but have an easy way to make a treat later this winter to enjoy with a hot cup of cocoa, coffee, or tea. 🍪☕️

Disclosure: Some of the links on my site are affiliate links, meaning, at no additional cost to you, I will earn a small commission if you click through and make a purchase. As an Amazon Associate I earn from qualifying purchases.

I found this recipe for Cookies in a Jar here at Sugar Spun Run. She also includes the free printable to attach to the jar!

I added the ingredients to wide mouth Mason jars. After printing out the instructions, I layered them to red card stock, punched a hole in the upper left corner, and tied it to the jar with Christmas ribbon.

This makes a great gift all by itself! I added 2 crocheted potholders (here’s the post on them), a red striped towel, and a red spatula for a fun gift. 🎁

There are tons of ideas out there for creating gift jars from your kitchen! I’ve also made Friendship Soup and Hot Cocoa Mix for gifts. People always seem to love receiving gift mixes. 😊

Cookie Mix in a Jar is a great teacher, neighbor, or friend gift. Make up a few jars and share some Christmas cheer! 🍪

Anita

Posted in Christmas, Gifts, Recipes | Tagged , , | 2 Comments

Holly Jolly Christmas – December 2023 Christmas Card

Hi friends,

December’s Christmas card is ready just in time to send Holly Jolly wishes! 🎄I’ve created a new Christmas card each month this year and made 6 of each design so now I’m ready to sign, address, and send them out. It’s so nice to not be scrambling this month to get them all made! You can see all the cards I’ve created at these links – January, February, March, April, May, June, July, August, September, October, and November.

Disclosure: Some of the links on my site are affiliate links, meaning, at no additional cost to you, I will earn a small commission if you click through and make a purchase. As an Amazon Associate I earn from qualifying purchases.

This month’s card doesn’t require any coloring and comes together quickly. The stamps I used are Frosted Fauna for the background and Make a Tag {Holiday Spruce} for the tag. Both stamps are from Unity Stamp Company.

I stamped Frosted Fauna on white card stock with red ink. I used my MISTI stamping tool, so I was able to stamp the image 2 or 3 times to make sure it was stamped evenly. I die cut the piece using Scallops & Rectangles Nesing Dies from Unity Stamp Company.

I stamped the Holiday Spruce with green ink on white card stock. Using the Make A Tag {die set} from Unity Stamp Company, I die cut around the image and die cut a larger tag from green card stock. I also die cut the hole reinforcer included in the set from red card stock. I attached all 3 pieces together, punched out the hole using my Crop-A-Dile, and tied on some red and white bakers twine.

To make the card, I attached the stamped background to a slightly larger piece of red card stock and attached it to a white card. The finished tag is attached to the card using foam tape.

I love the simplicity of this card and the way the tag just pops off of the background. 🎄

I’ll be back in January to start on Christmas cards for 2024. But in the meantime, be sure to follow me for more creative posts between now and then – I have lots fun things coming. 🙂

Anita

Posted in Cards, Christmas, Stamping, Uncategorized | Tagged , , | 2 Comments

Happy Birthday (YAY)

Hi friends,

Birthdays are for cake! And this Cake Time stamp set from Unity Stamp Company is so fun! The set includes several sentiments along with the cake and a larger lollipop.

Disclosure: Some of the links on my site are affiliate links, meaning, at no additional cost to you, I will earn a small commission if you click through and make a purchase. As an Amazon Associate I earn from qualifying purchases.

To create the card, I stamped the cake image with Memento Tuxedo Black ink on white card stock and colored it with Copic markers. I die cut around the image using the Scallops & Rectangles Nesting Dies from Unity Stamp Company. I embossed a piece of orange card stock with a dot embossing folder and attached it to a white card. The cake image is attached to the card at an angle using foam tape.

The sentiment is stamped with green ink on white card stock and punched with a scalloped circle punch. It is attached to the card using foam tape.

This card is simple to create, but so fun for sending birthday wishes!

Anita

Posted in Cards, Stamping | Tagged , | Leave a comment

Wood Ornament Cutout Wreath

Hi friends,

Are you looking for a fun Christmas wreath with a little bit of whimsy? This cute Wood Ornament Cutout Wreath is super easy to make with just a few supplies.

Disclosure: Some of the links on my site are affiliate links, meaning, at no additional cost to you, I will earn a small commission if you click through and make a purchase. As an Amazon Associate I earn from qualifying purchases.

You’ll need a flat wood wreath – mine measures 12 inches in diameter and I found it here. You’ll also need 8 (4 inch) wood ornament cutouts. I found mine at Hobby Lobby, they come in a package of 6. The rest of the supplies you’ll need are ribbon to wrap around the wreath, Christmas print scrapbook paper, gold metallic paint, and your glue gun.

First wrap your wreath with the ribbon. Using hot glue, attach the ribbon to the wreath and wrap it tightly around the wreath overlapping as you go. Secure the end of the ribbon to the back of the wreath using hot glue.

Remove the red ribbon that comes with the ornaments. Paint the little hanger part of the ornaments with 2-3 coats of gold metallic paint. Cut 3.5 inch circles from Christmas printed paper. I used the Scallops & Circles Nesting Dies from Unity Stamp Company to die cut my circles. You can also cut them by hand – just trace around a cup or bowl that measures 3.5 inches and trim out the circle.

Attach the paper circles to the ornaments. I used my Tombow Dots Adhesive to attach my papers, but any liquid scrapbook glue would work, too. Then glue the ornaments to the wreath using hot glue. Glue tiny red ribbon bows to the top of each ornament. Tie a piece of the same ribbon used to wrap the wreath to create a hanging loop.

Here’s the finished wreath. I think it turned out so cute! It would be fun to hang anywhere in your home, but I especially like the idea of hanging it on a child’s bedroom door for a little Christmas cheer. 🙂

The wreath would also look great in shades of blue and white with silver metallic paint for the ornament tops. Have the kids help make their own wreath choosing their own colors! 🙂

Anita

Posted in Christmas, Decor | Tagged , | 2 Comments