If you’re like me, you always need an extra gift tag or two when you’re wrapping Christmas gifts. This is a super quick and easy tag that only takes minutes to make so you can get all that gift wrapping wrapped up! 🎁
Disclosure: Some of the links on my site are affiliate links, meaning, at no additional cost to you, I will earn a small commission if you click through and make a purchase. As an Amazon Associate I earn from qualifying purchases.
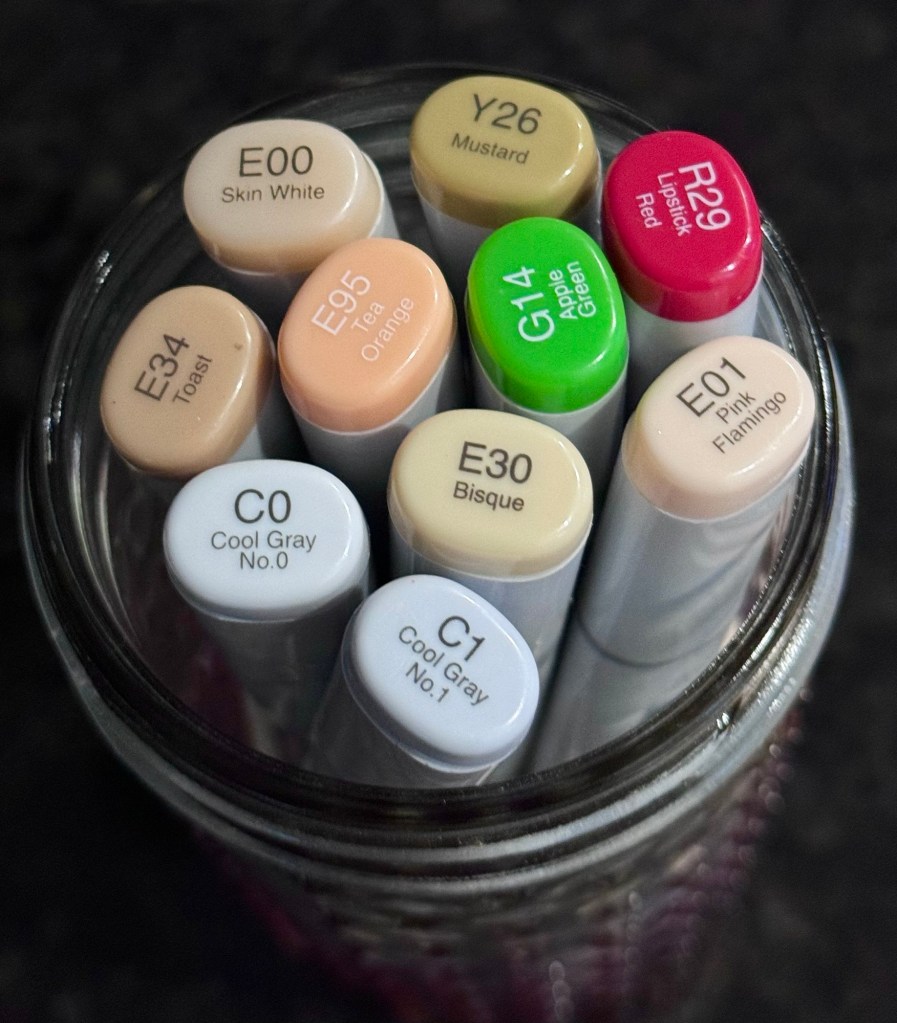
Using Memento Tuxedo Black ink, I randomly stamped the Santa hat several times on the white tag. I layered the tag to red card stock and trimmed it to a tag shape. I stamped the Santa hat again on a scrap of white card stock and colored it with Copic markers. Then I trimmed around the hat and attached it to the tag with foam tape. Punch a hole through the red card stock on the tag and tie on a piece of red and white bakers twine to finish the tag.
Super quick and easy – just write the gift recipient’s name on the back!
I love all the pretty ornaments! But I can’t fit them all on my tree so this is one way to easily display all the prettiness throughout my home. 🎄
Disclosure: Some of the links on my site are affiliate links, meaning, at no additional cost to you, I will earn a small commission if you click through and make a purchase. As an Amazon Associate I earn from qualifying purchases.
Below are some beautiful vintage look mercury glass ornaments that I got from Cedar Grove Farms. It is a beautiful French Farmhouse shop located on a gorgeous farm in Hartselle, AL. I promise Melanie will take great care of you if you live close enough to visit! I also got my greenery and the frosted berry candle ring under it from Cedar Grove Farms. I filled 2 small vintage look dishes with the ornaments and scattered a few in the tray. The tray is a repurposed thrift store find (details are here) and I created the Wood Bead Garland (details are here). The tray sits on my coffee table and I love the sparkle of the ornaments!
I found these vintage look ornaments on one of our trips. I added them to a pretty glass bowl and set them on my entry table next to my berry wreath and Farmhouse Yarn Wrapped Christmas Trees. Such a quick and easy way to add some Christmas cheer!
Finally, these tiny little Christmas balls came from Target. They come in different color combinations so you can mix and match. Again, I just added them to a pretty glass bowl and set them on one of my accent tables along with a vintage look container filled with a little greenery and a tiny bottle brush tree on a vintage wood spool. (Details for the tree are in this post.) I added a little height with a mini wood riser. (You can find how I made it here.) The cute little sparkly turquoise tree was on a gift from a sweet friend and I love how it pulls out the color of the turquoise ornaments.
I hope this gives you a little inspiration on how to add a pop of sparkle and shine around your home this season. So go ahead and buy the ornaments you love, look in your cabinets for pretty bowls, and add them to your Christmas decor! 🎄
Decorating my mantel and fireplace for the different seasons is one of my favorite things. You may have seen my mantel decorated for Fall in this post. Now I have it all decked out for Christmas so I thought I would share it with you. 🎄
Disclosure: Some of the links on my site are affiliate links, meaning, at no additional cost to you, I will earn a small commission if you click through and make a purchase. As an Amazon Associate I earn from qualifying purchases.
It’s a mixture of things I’ve purchased or created along with gifts from sweet friends. I love my different Christmas trees and the little pop of greenery from the garland. I created the tree on the right (the tall one with the star) – details are in this post. I also created the Farmhouse Candlesticks on the far left and you can find all the details here. The info on the Chalk Painted Christmas Bud Vases on the far right are in this post.
I added a few more of my favorite Christmas things to my hearth. The teddy bear is from my mom – you can see on his hat that she gave him to me in 1987! 🥰 I made the Christmas Joy Sign on the right – details are here.
I hope you enjoyed this little look at my mantel and fireplace. And maybe even got a few ideas for decorating your own home. 🙂
Cookie Mix in a Jar is such a fun gift to give during the holidays. We all know how many yummy treats there are this time of year. Giving a mix to use later means you can eat all the ready made treats now, but have an easy way to make a treat later this winter to enjoy with a hot cup of cocoa, coffee, or tea. 🍪☕️
Disclosure: Some of the links on my site are affiliate links, meaning, at no additional cost to you, I will earn a small commission if you click through and make a purchase. As an Amazon Associate I earn from qualifying purchases.
I found this recipe for Cookies in a Jar here at Sugar Spun Run. She also includes the free printable to attach to the jar!
I added the ingredients to wide mouth Mason jars. After printing out the instructions, I layered them to red card stock, punched a hole in the upper left corner, and tied it to the jar with Christmas ribbon.
This makes a great gift all by itself! I added 2 crocheted potholders (here’s the post on them), a red striped towel, and a red spatula for a fun gift. 🎁
There are tons of ideas out there for creating gift jars from your kitchen! I’ve also made Friendship Soup and Hot Cocoa Mix for gifts. People always seem to love receiving gift mixes. 😊
Cookie Mix in a Jar is a great teacher, neighbor, or friend gift. Make up a few jars and share some Christmas cheer! 🍪
December’s Christmas card is ready just in time to send Holly Jolly wishes! 🎄I’ve created a new Christmas card each month this year and made 6 of each design so now I’m ready to sign, address, and send them out. It’s so nice to not be scrambling this month to get them all made! You can see all the cards I’ve created at these links – January, February, March, April, May, June, July, August, September, October, and November.
Disclosure: Some of the links on my site are affiliate links, meaning, at no additional cost to you, I will earn a small commission if you click through and make a purchase. As an Amazon Associate I earn from qualifying purchases.
I stamped the Holiday Spruce with green ink on white card stock. Using the Make A Tag {die set} from Unity Stamp Company, I die cut around the image and die cut a larger tag from green card stock. I also die cut the hole reinforcer included in the set from red card stock. I attached all 3 pieces together, punched out the hole using my Crop-A-Dile, and tied on some red and white bakers twine.
To make the card, I attached the stamped background to a slightly larger piece of red card stock and attached it to a white card. The finished tag is attached to the card using foam tape.
I love the simplicity of this card and the way the tag just pops off of the background. 🎄
I’ll be back in January to start on Christmas cards for 2024. But in the meantime, be sure to follow me for more creative posts between now and then – I have lots fun things coming. 🙂
Disclosure: Some of the links on my site are affiliate links, meaning, at no additional cost to you, I will earn a small commission if you click through and make a purchase. As an Amazon Associate I earn from qualifying purchases.
Are you looking for a fun Christmas wreath with a little bit of whimsy? This cute Wood Ornament Cutout Wreath is super easy to make with just a few supplies.
Disclosure: Some of the links on my site are affiliate links, meaning, at no additional cost to you, I will earn a small commission if you click through and make a purchase. As an Amazon Associate I earn from qualifying purchases.
You’ll need a flat wood wreath – mine measures 12 inches in diameter and I found it here. You’ll also need 8 (4 inch) wood ornament cutouts. I found mine at Hobby Lobby, they come in a package of 6. The rest of the supplies you’ll need are ribbon to wrap around the wreath, Christmas print scrapbook paper, gold metallic paint, and your glue gun.
First wrap your wreath with the ribbon. Using hot glue, attach the ribbon to the wreath and wrap it tightly around the wreath overlapping as you go. Secure the end of the ribbon to the back of the wreath using hot glue.
Remove the red ribbon that comes with the ornaments. Paint the little hanger part of the ornaments with 2-3 coats of gold metallic paint. Cut 3.5 inch circles from Christmas printed paper. I used the Scallops & Circles Nesting Dies from Unity Stamp Company to die cut my circles. You can also cut them by hand – just trace around a cup or bowl that measures 3.5 inches and trim out the circle.
Attach the paper circles to the ornaments. I used my Tombow Dots Adhesive to attach my papers, but any liquid scrapbook glue would work, too. Then glue the ornaments to the wreath using hot glue. Glue tiny red ribbon bows to the top of each ornament. Tie a piece of the same ribbon used to wrap the wreath to create a hanging loop.
Here’s the finished wreath. I think it turned out so cute! It would be fun to hang anywhere in your home, but I especially like the idea of hanging it on a child’s bedroom door for a little Christmas cheer. 🙂
The wreath would also look great in shades of blue and white with silver metallic paint for the ornament tops. Have the kids help make their own wreath choosing their own colors! 🙂
I have a super quick and easy crochet pattern to share with you today. When giving gift cards or cash I like to dress them up a bit to make them a little more special. This Crochet Gift Card Holder is crocheted in the round and works up quickly. You can make a few while you’re watching your favorite Hallmark Christmas movie! 🎄
I used I Love This Cotton Yarn and an H/5mm crochet hook to stitch up my gift card holders. Any worsted weight (4) yarn will work – these are a great stash buster project! 🧶
Disclosure: Some of the links on my site are affiliate links, meaning, at no additional cost to you, I will earn a small commission if you click through and make a purchase. As an Amazon Associate I earn from qualifying purchases.
You can find the pattern below. I’ve also included a link to a free PDF if you’d like to print it. Don’t forget to Pin it to your crochet Pinterest board for later. 😊
Quick and Easy Crochet Gift Card Holder
Worsted weight (4) yarn – I used I Love This Cotton yarn in Red, Bright Green, and White
H/5mm crochet hook
3/4 inch Button
Stitches used in US terms:
Chain – ch
Single Crochet – sc
Half Double Crochet – hdc
Slip Stitch – ss
Note: I carried my yarn up when changing colors – less ends to weave in and the project goes much faster.
Chain 11with Red or Green.
Round 1: sc in 2nd ch from hook. sc in next 8 stitches. Work 3 sc in last stitch. Working on the other side of beginning ch, sc in next 8 stitches. Work 3 sc in last stitch. Join with ss to first sc. (23 stitches)
Rounds 2-3: ch 1. sc in each stitch around. Join with ss to first sc. (23 stitches)
Change to White.
Rounds 4-5; ch 1. sc in each stitch around. Join with ss to first sc. (23 stitches)
Change to Red or Green.
Rounds 6-7: ch 1. sc in each stitch around. Join with ss to first sc. (23 stitches)
Change to White.
Rounds 8-9: ch 1. sc in each stitch around. Join with ss to first sc. (23 stitches)
Change to Red or Green.
Rounds 10-11: ch 1. sc in each stitch around. Join with ss to first sc. (23 stitches)
Change to White.
Rounds 12-13: ch 1. sc in each stitch around. Join with ss to first sc. (23 stitches)
Change to Red or Green.
Rounds 14-15: ch 1. sc in each stitch around. Join with ss to first sc. (23 stitches)
Change to White.
Round 16: ch 1. sc in each stitch around. Join with ss to first sc. (23 stitches)
Round 17: ch 1. sc in next 19 stitches. ch 12 for button loop. sc in next 4 stitches. Join with ss to first sc. (23 stitches)
Of course you don’t have to crochet the gift card holder in just Christmas colors! Any color combination from pastels to brights to a single color will work great for any occasion when you want to add just a little something more when giving a gift card.
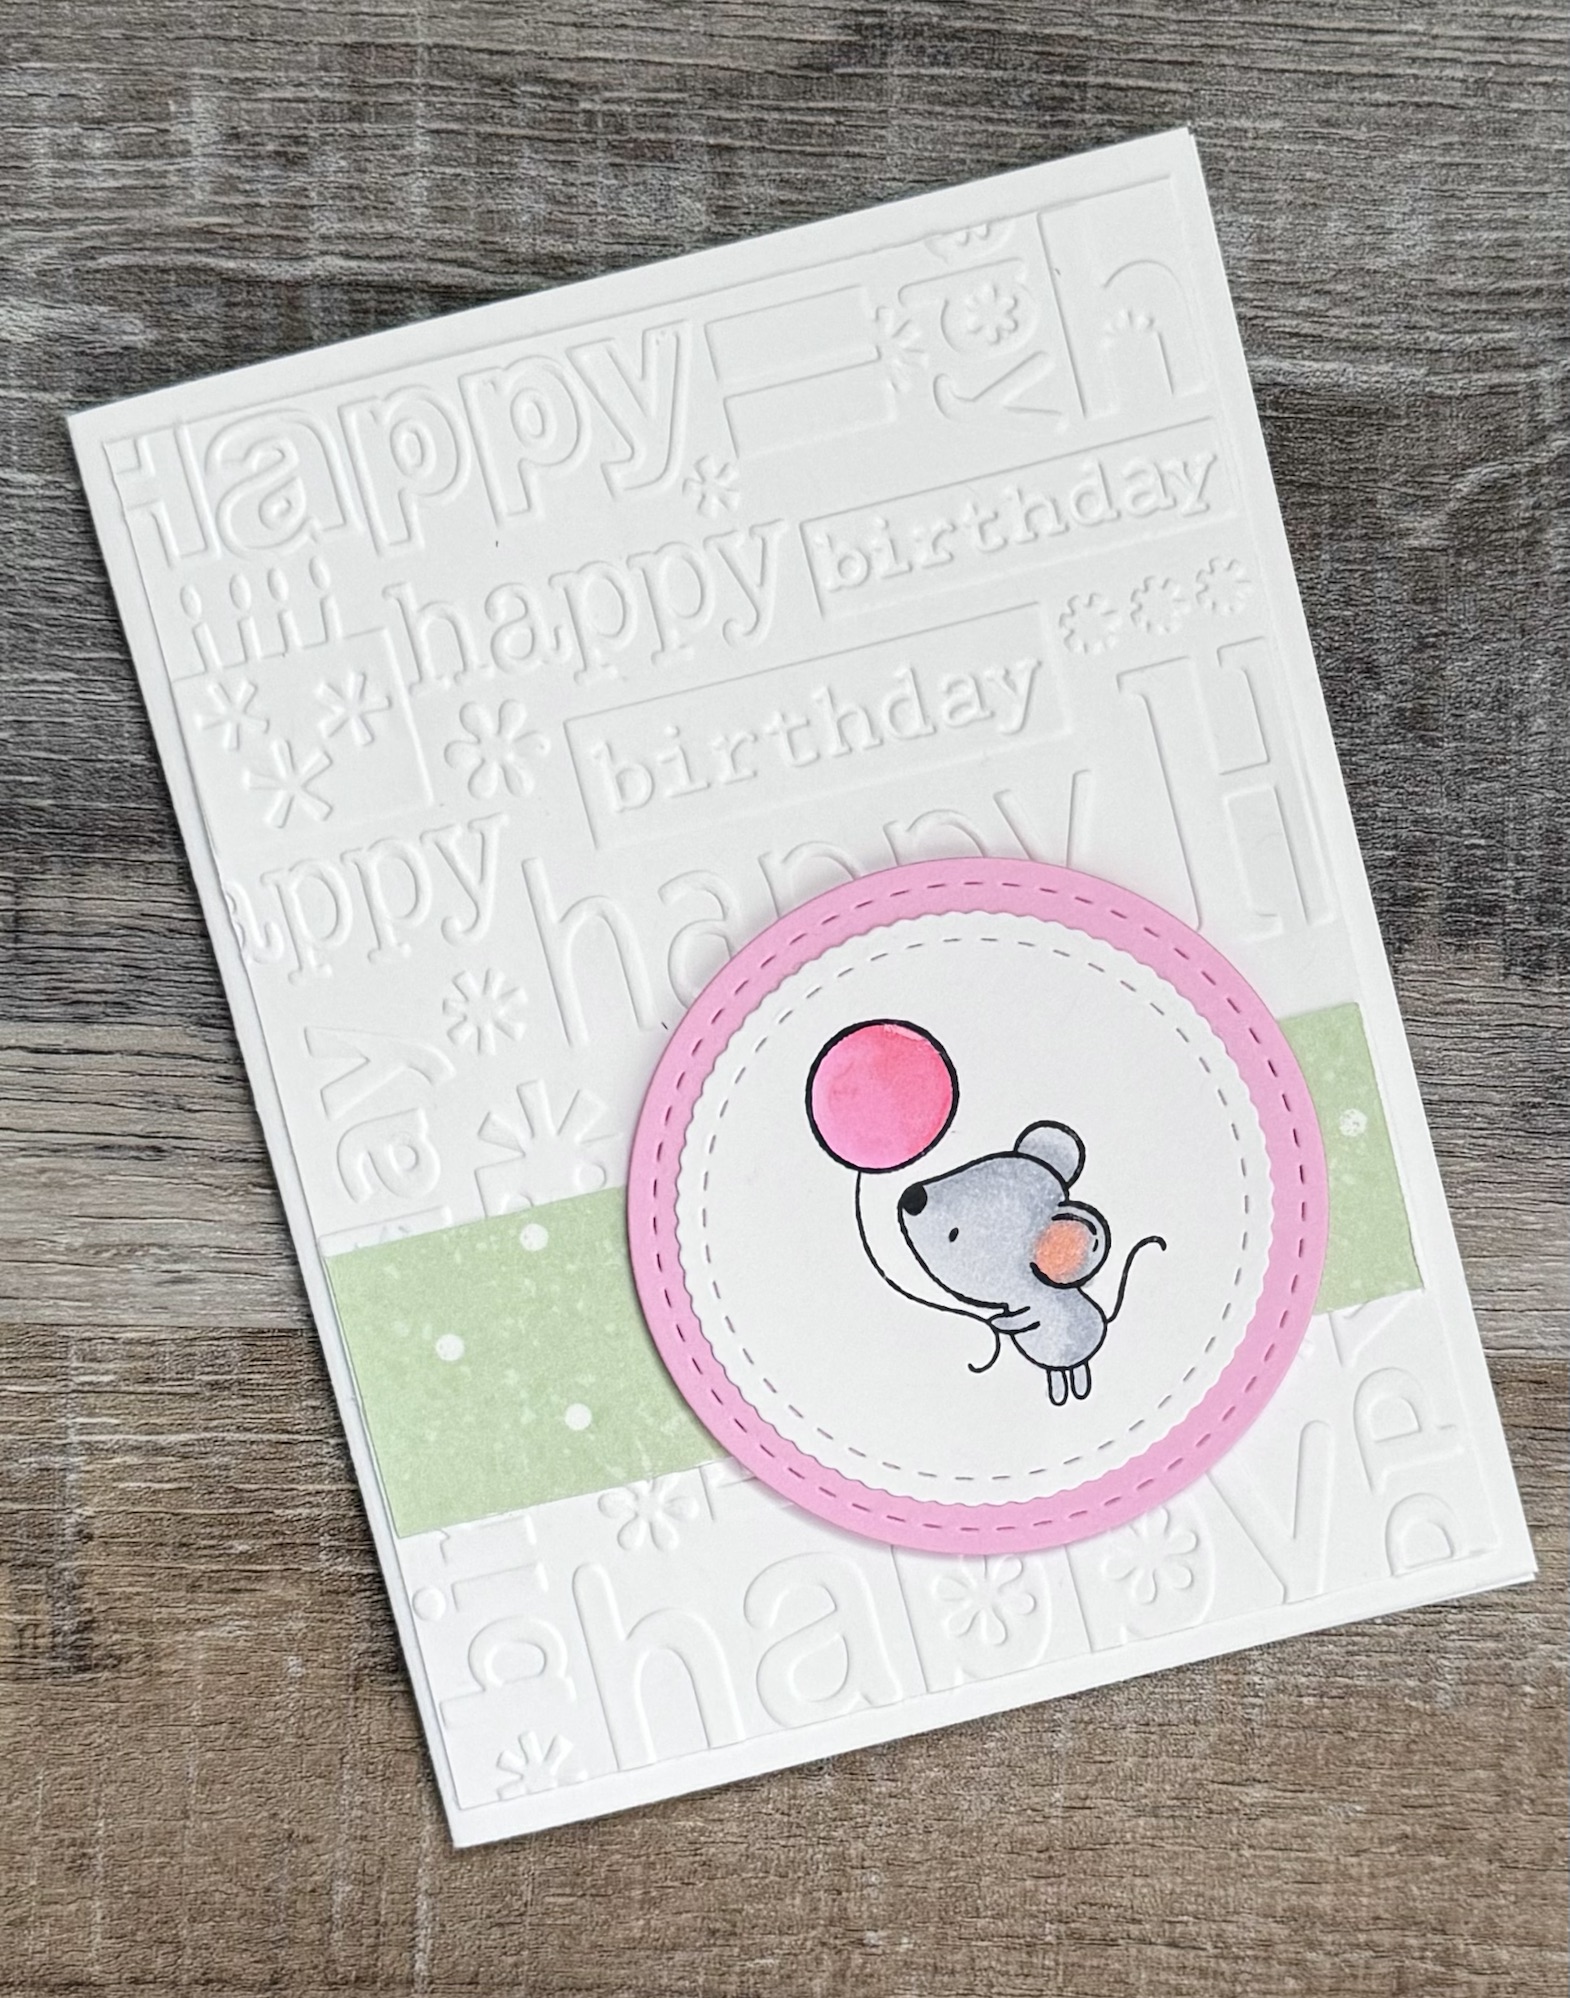
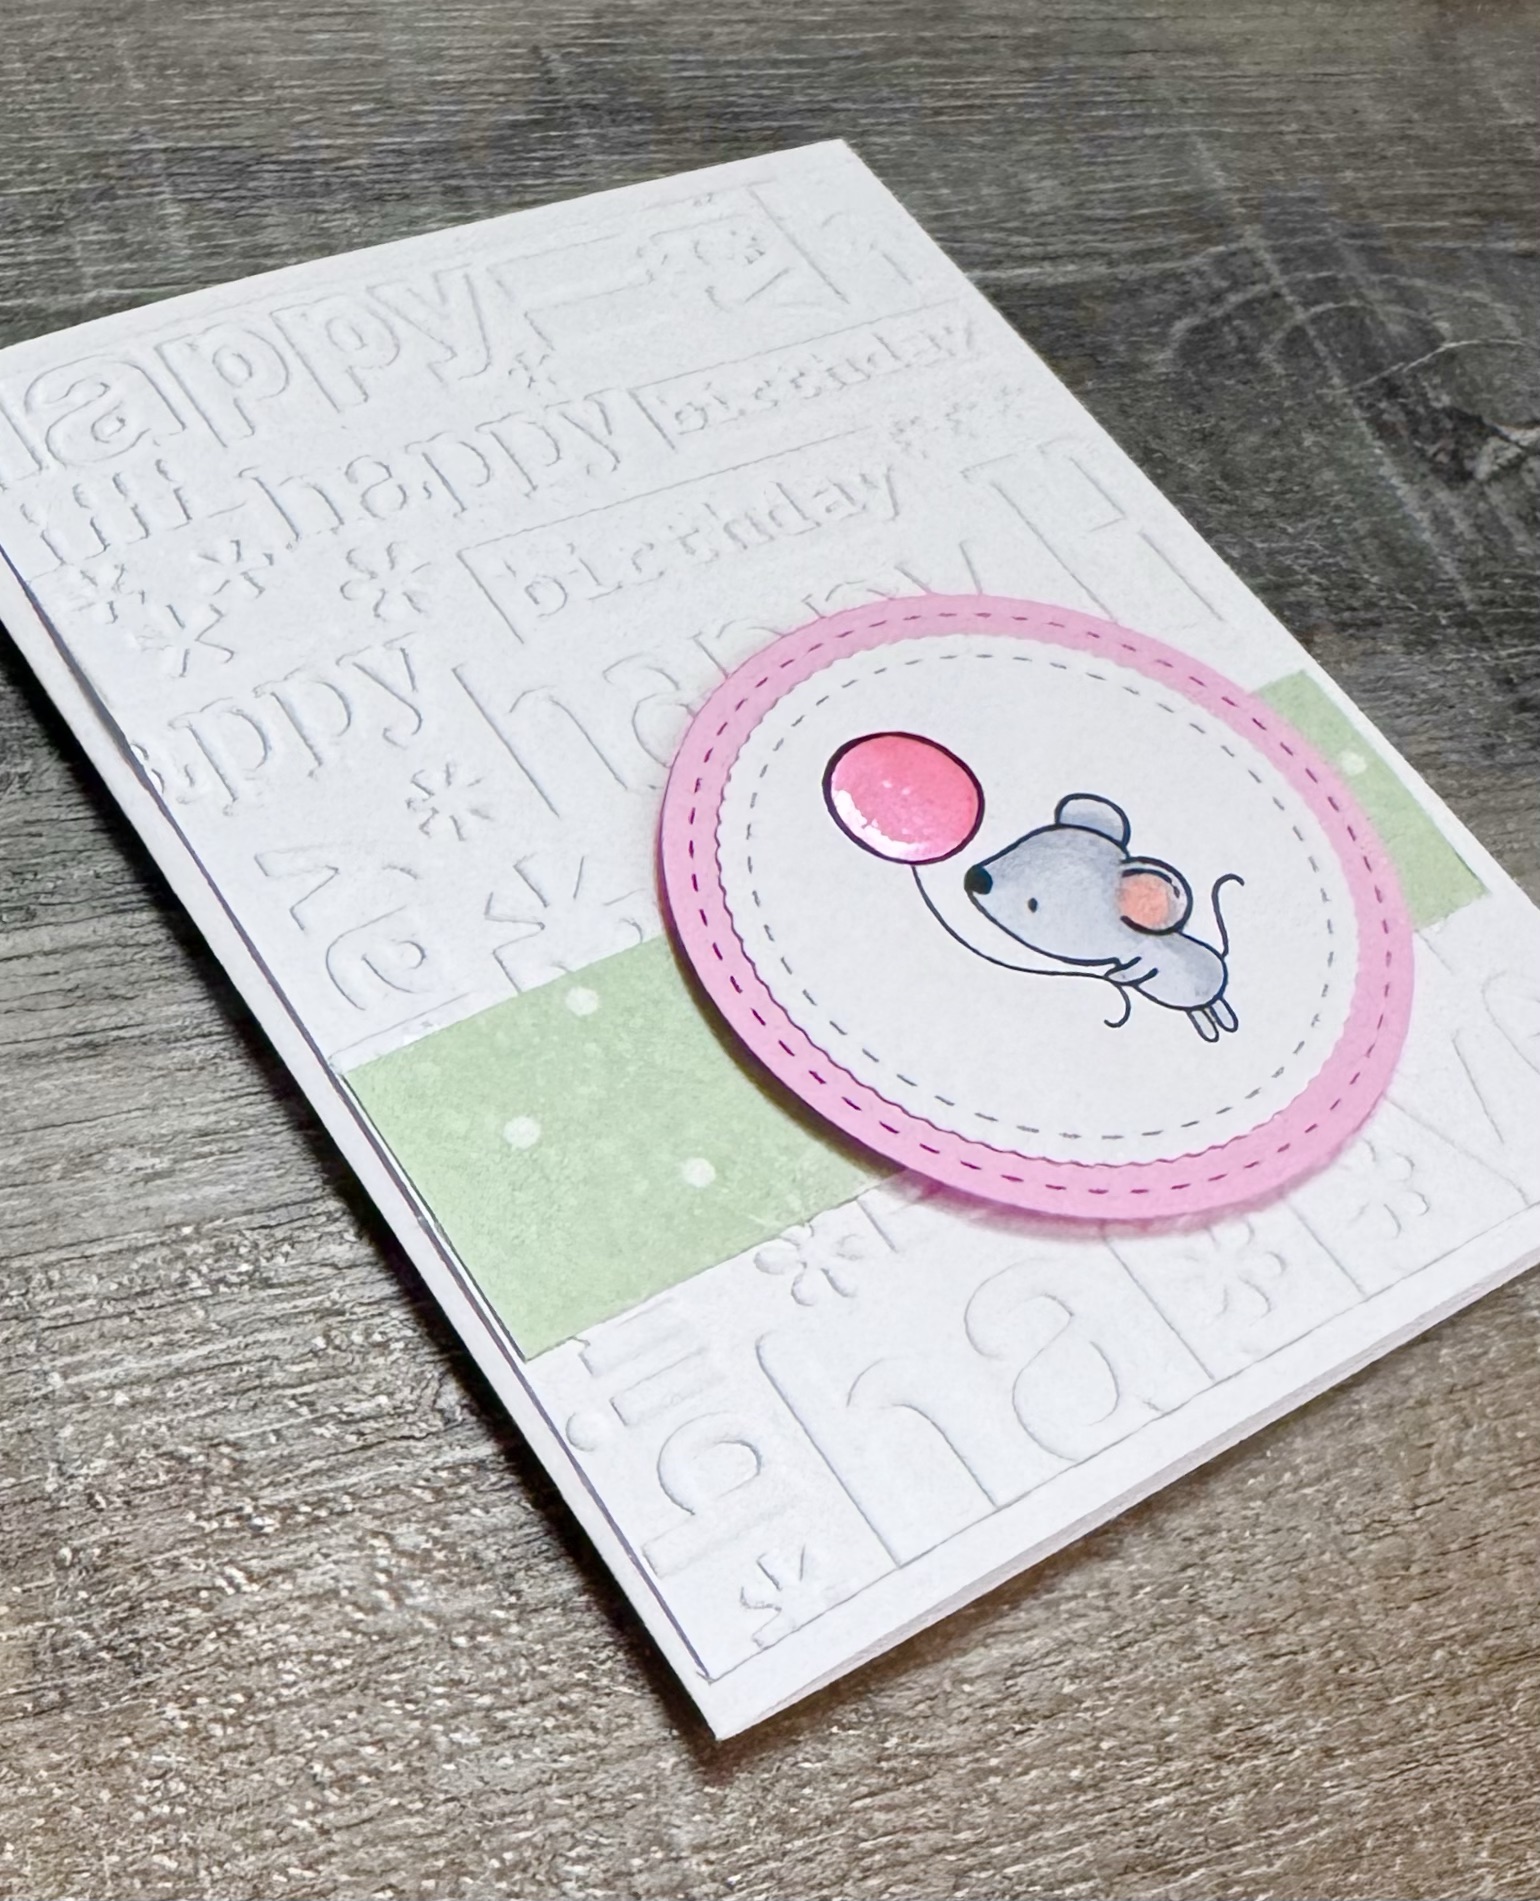
I know it’s the holiday season, but we don’t want to forget about those special people who have birthdays! 🥳 This sweet little mouse delivering a bucket of flowers is just so adorable for sending birthday wishes. 🙂
Disclosure: Some of the links on my site are affiliate links, meaning, at no additional cost to you, I will earn a small commission if you click through and make a purchase. As an Amazon Associate I earn from qualifying purchases.
You can find these mini stockings everywhere during the season! They are the perfect size to fill with treats to bring a little Christmas cheer to your kids’ teachers and friends, your neighbors, Sunday school classes, or anyone who needs a little smile. 🎄
Disclosure: Some of the links on my site are affiliate links, meaning, at no additional cost to you, I will earn a small commission if you click through and make a purchase. As an Amazon Associate I earn from qualifying purchases.
Adding a little hand stamped Christmas tag will make them even more special! All you need is your favorite small Christmas stamp, some card stock, and a little red and white baker’s twine.
My Christmas tree stamp came from the 2022 Advent Calendar from Unity Stamp Company. The 2022 calendar is sold out, but it looks like there may still be some 2023 Advent Calendars available (at least as of the writing of this post) and they are so fun! You get 24 little stamps that are perfect for making gift tags and cards for the season. You can open them all at once or use it at a true Advent calendar and open one stamp each day. 🙂 Of course, any small Christmas stamp in your collection will work great!
I stamped my trees with Memento Tuxedo Black ink on white card stock and colored them with Copic markers. I punched around the tree with an oval punch and layered it to a larger oval punched from light green card stock. Using my Crop-A-Dile, I punched a small hole in the top of the tags and tied them to the mini stockings with red and white baker’s twine. I added snack size candies to fill the stockings for gift giving.
The mini stockings are about 4.5 inches tall and they can be used as ornaments after all the treats are gone. Who will you share a little Christmas cheer with? 🎄
Disclosure: Some of the links on my site are affiliate links, meaning, at no additional cost to you, I will earn a small commission if you click through and make a purchase. As an Amazon Associate I earn from qualifying purchases.