I love Fall – even if it does seem to be taking forever for it to come to Alabama! 😉 The evenings are beginning to feel a little cooler and it will soon be sweater weather – hopefully!
I have been making these adorable Little Crocheted Pumpkins to add to my Fall decor – because, despite what my husband says, you can never have too many pumpkins!!
I used various colors of worsted weight yarn I had in my stash and a size J/6mm hook. I found that the larger hook made the stitches just a tiny bit looser, making it easier for me to crochet in either the front or back loop only.
These cute little pumpkins are about 3-inches wide and 2-inches tall and look adorable all stacked up together.
But I think I may need to make more for my pumpkin patch – because, you know, you can never have too many pumpkins. 😉
A sweet friend, and fellow cardmaker, recently gave me a box filled with towels, dishcloths, and aprons for our newly remodeled kitchen. There’s something so nice about using brand new kitchen linens!
The apron and apron strings are die cut from black card stock and the front pocket from striped card stock. The utensils are stamped with red ink on white card stock and trimmed close. To assemble the apron, attach the strings to the back of the apron and the pocket to the front with foam tape. Then slip the utensils into the pocket and attach them to the apron.
To make the card, adhere a panel of black card stock to a white card. Dry emboss a panel of white card stock with a Swiss Dots folder – this one is from Cuttlebug. Attach to the card over the black card stock. Attach the apron to the card with foam tape.
Stamp “many thanks” from Itty Bitty Greetings from Stampin’ Up with red ink on white card stock. Punch with a label punch. (Here’s a similar one.)Punch another label from black card stock. Cut in half and layer to sentiment label, leaving a little of the black showing on each side. Attach to the card with foam tape.
This is such a cute stamp set – it would be great to use for tags on gifts from your kitchen for the holidays!
No, really! It will take you longer to run to the store to get your goodies than to mix this up. It’s super simple – and most of you probably already do this, but I was feeling “Fallish” and thought it would be fun to mix up a Fall snack. 🍁🍂
All you need are some m&m’s (I used milk chocolate), candy corn, peanuts, and raisins to mix up this Fall treat.
Then dump everything in a bowl, toss it together, and you have a tasty after school snack!
Of course you can change the flavor of the m&m’s or use the Autumn mix candy corn. Leave out the raisins or peanuts – or use roasted almonds. It’s really just whatever your family will enjoy.
You can also put some of the mix in a jar as a hostess gift or to wish someone a Happy Fall.🍁🍂
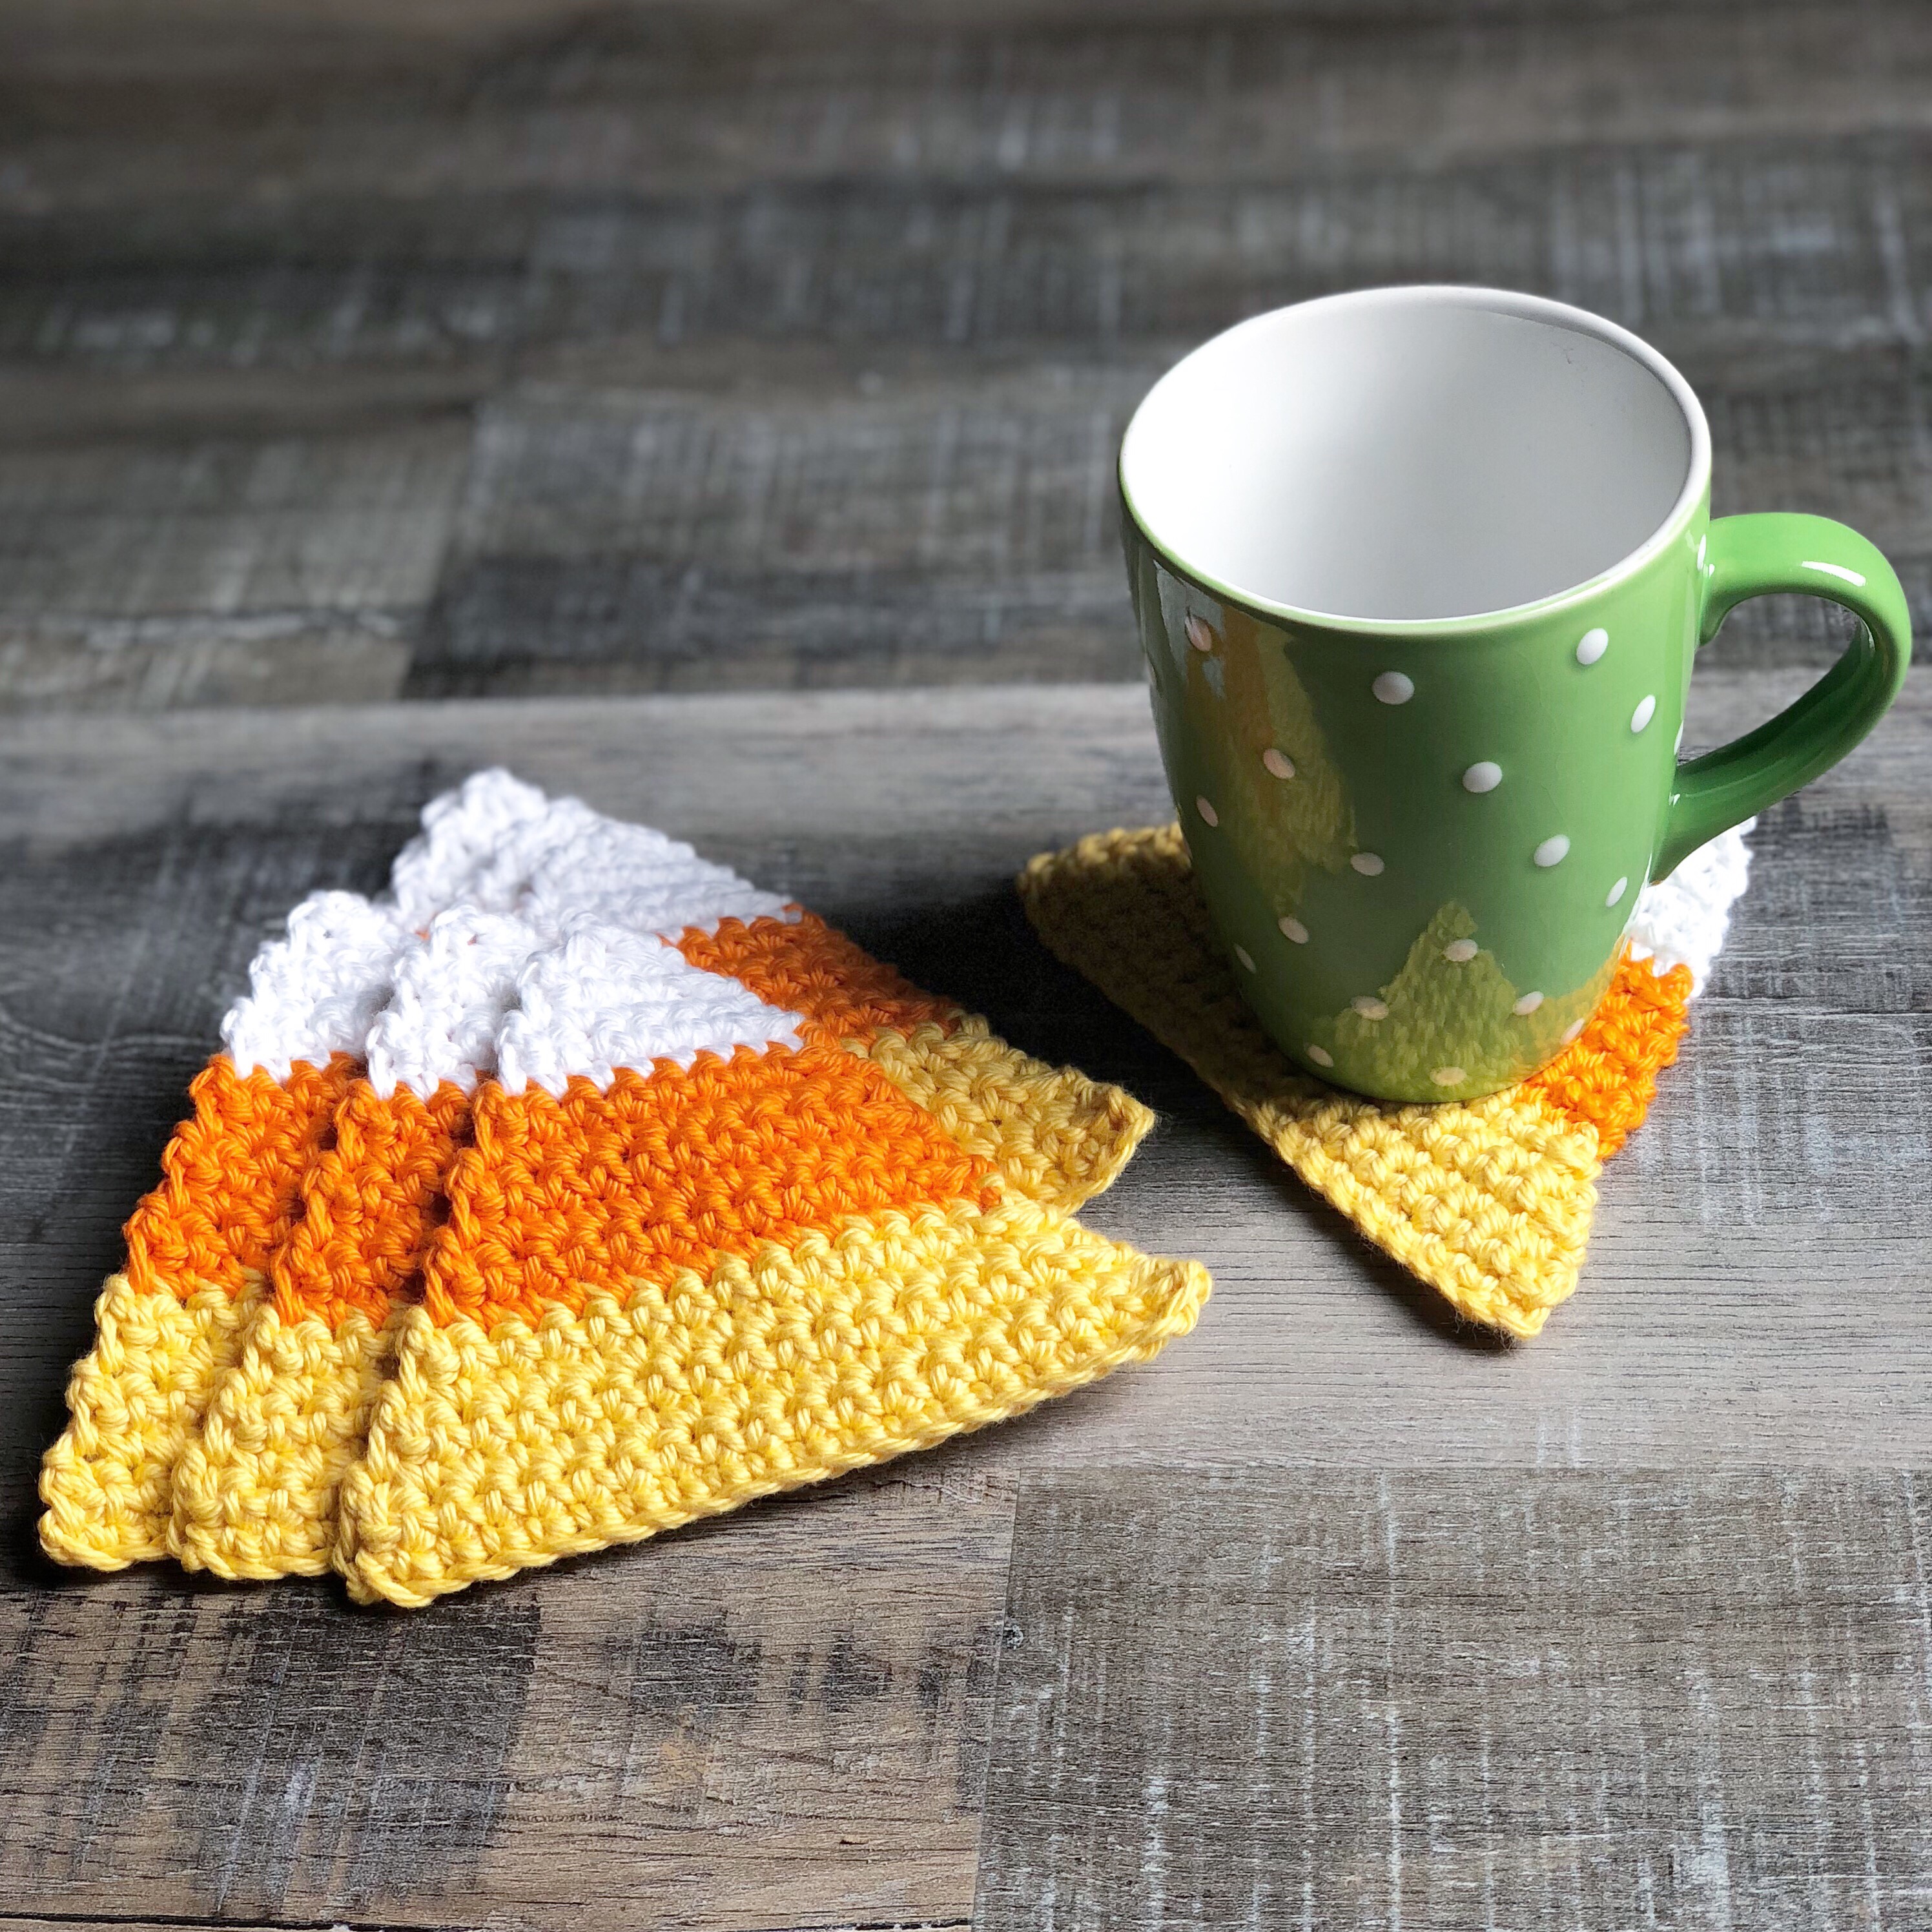
If you missed the coasters, click on the picture below to get the free pattern.
Here’s the pattern for the Candy Corn Dishcloth. The finished dishcloth measures about 9 1/4-inches across the bottom by about 8-inches from the bottom to the tip of the white.
(Please link back to my pattern if you make any of these cute dishcloths. I’d appreciate it if you wouldn’t copy or rewrite my pattern onto another page. Thank you!)
I found these cute printable labels to package my dishcloths for gifting or selling.
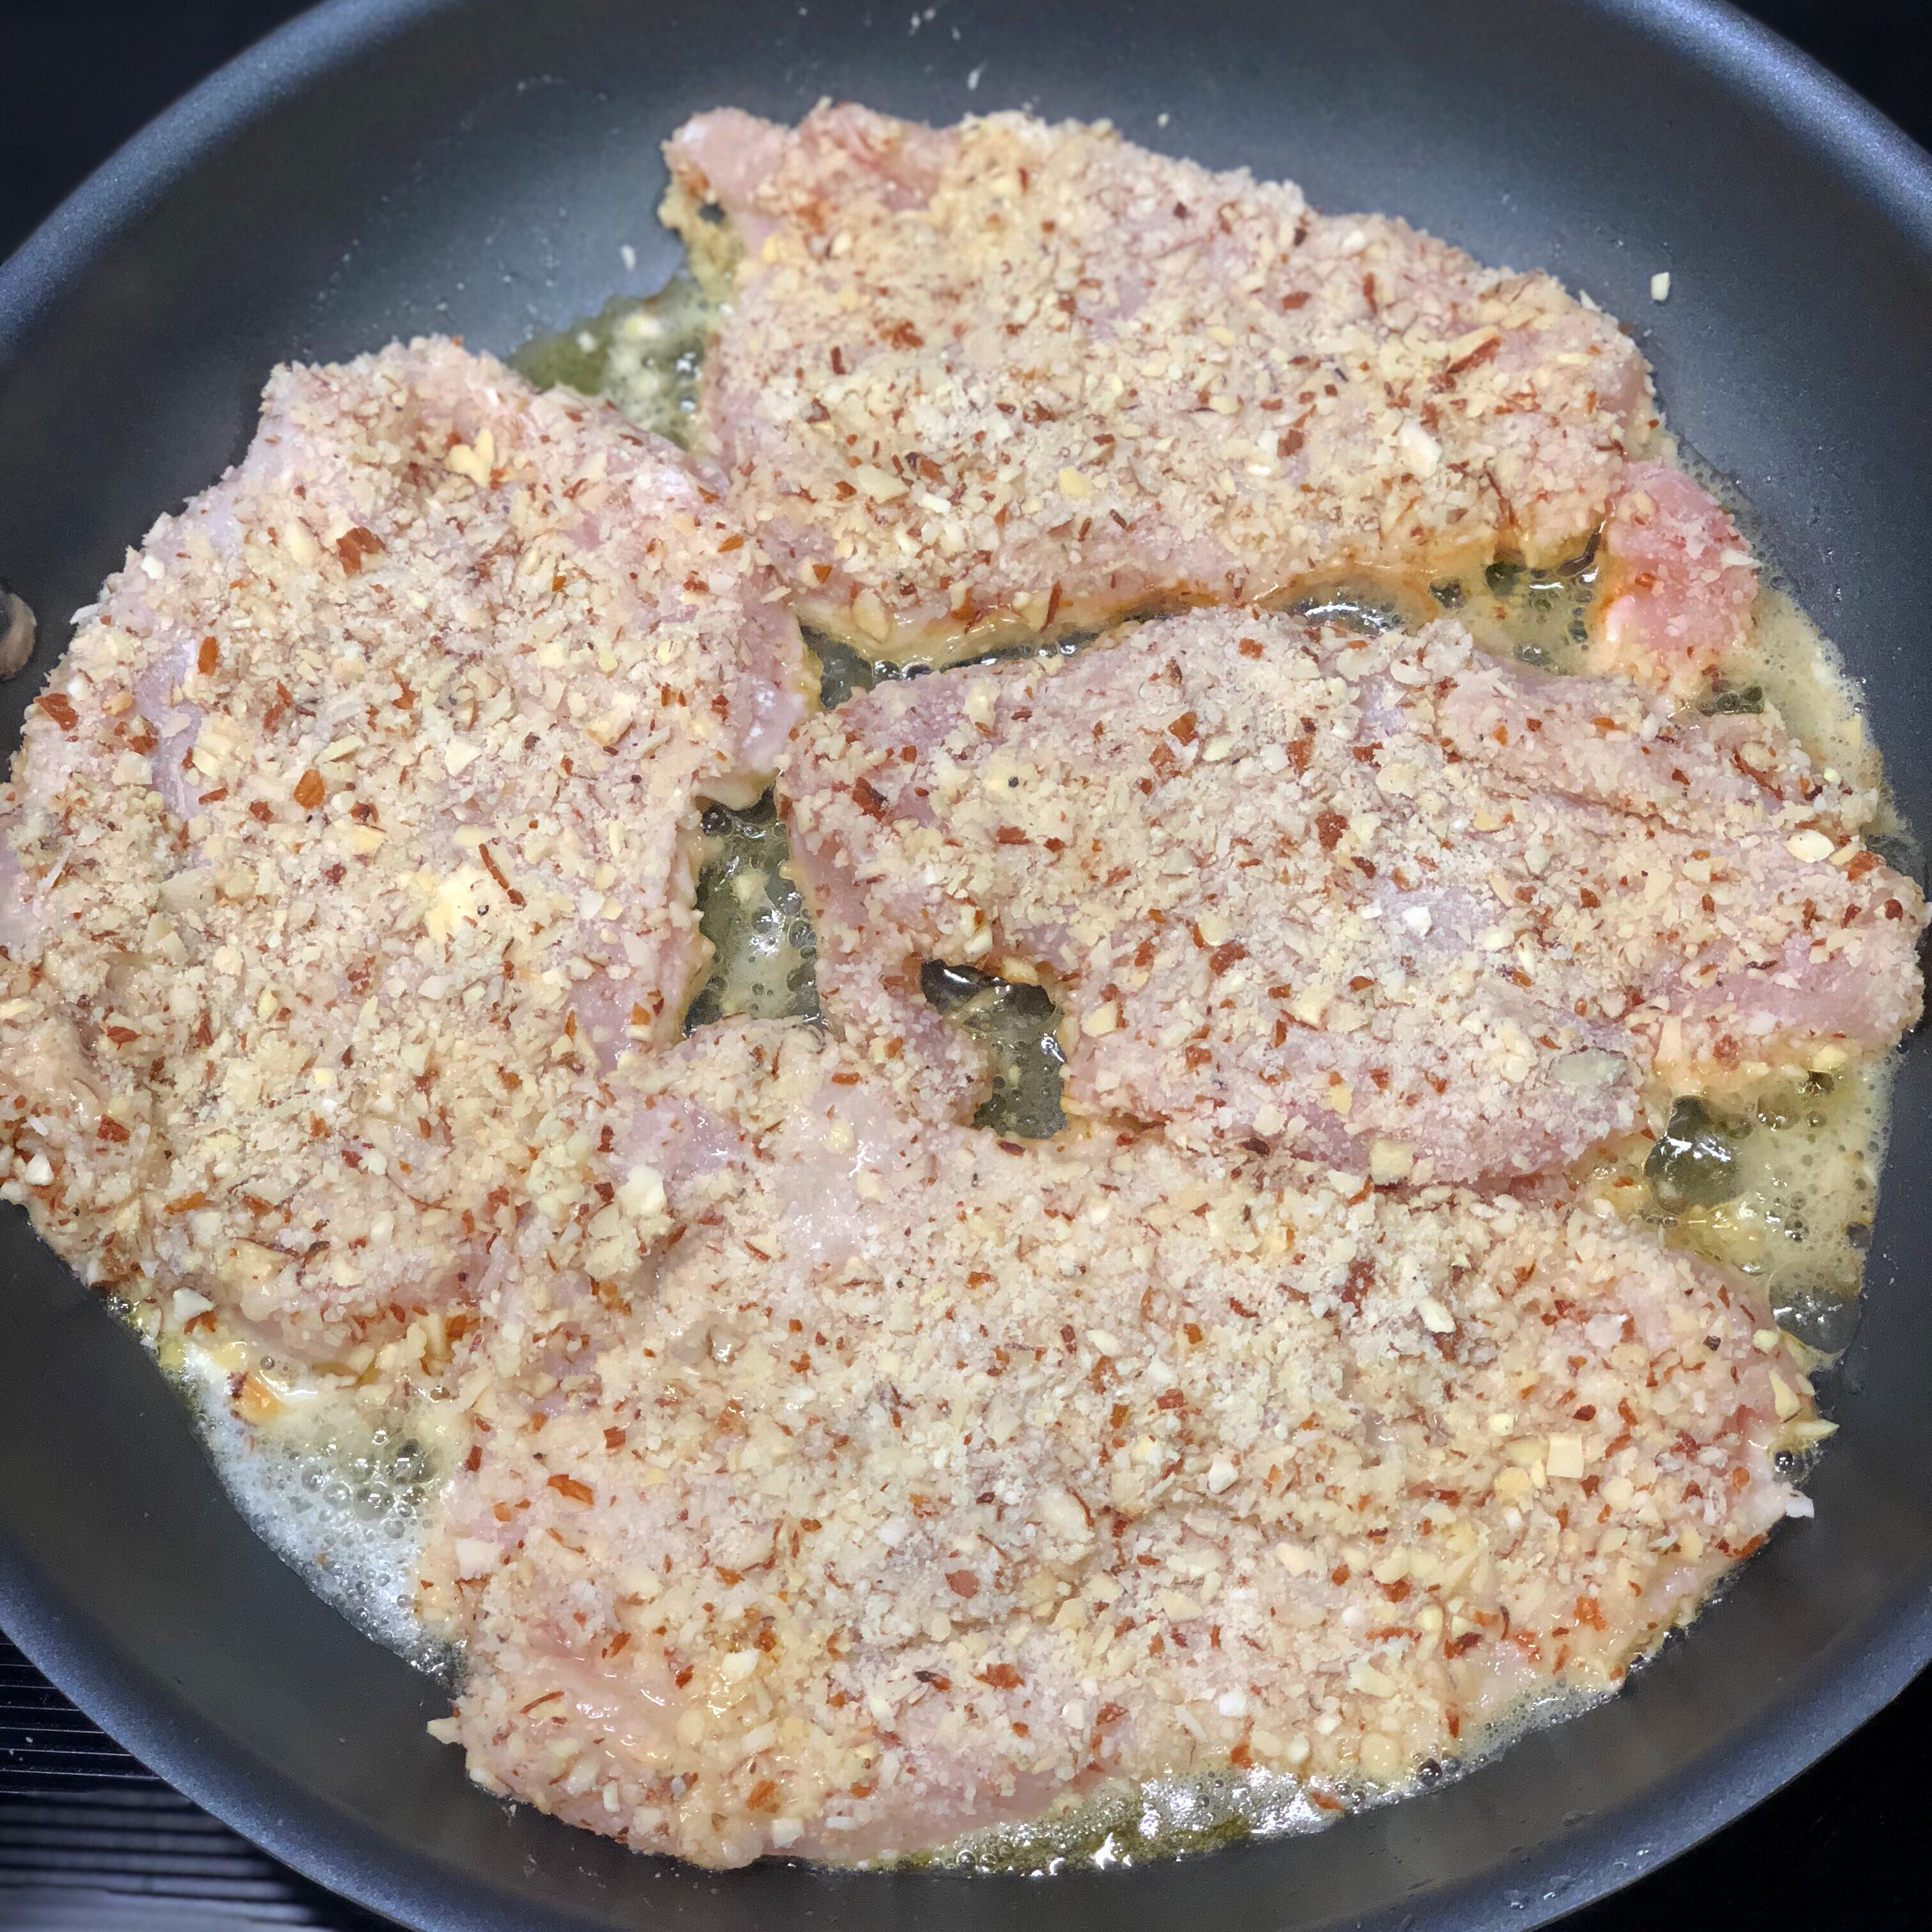
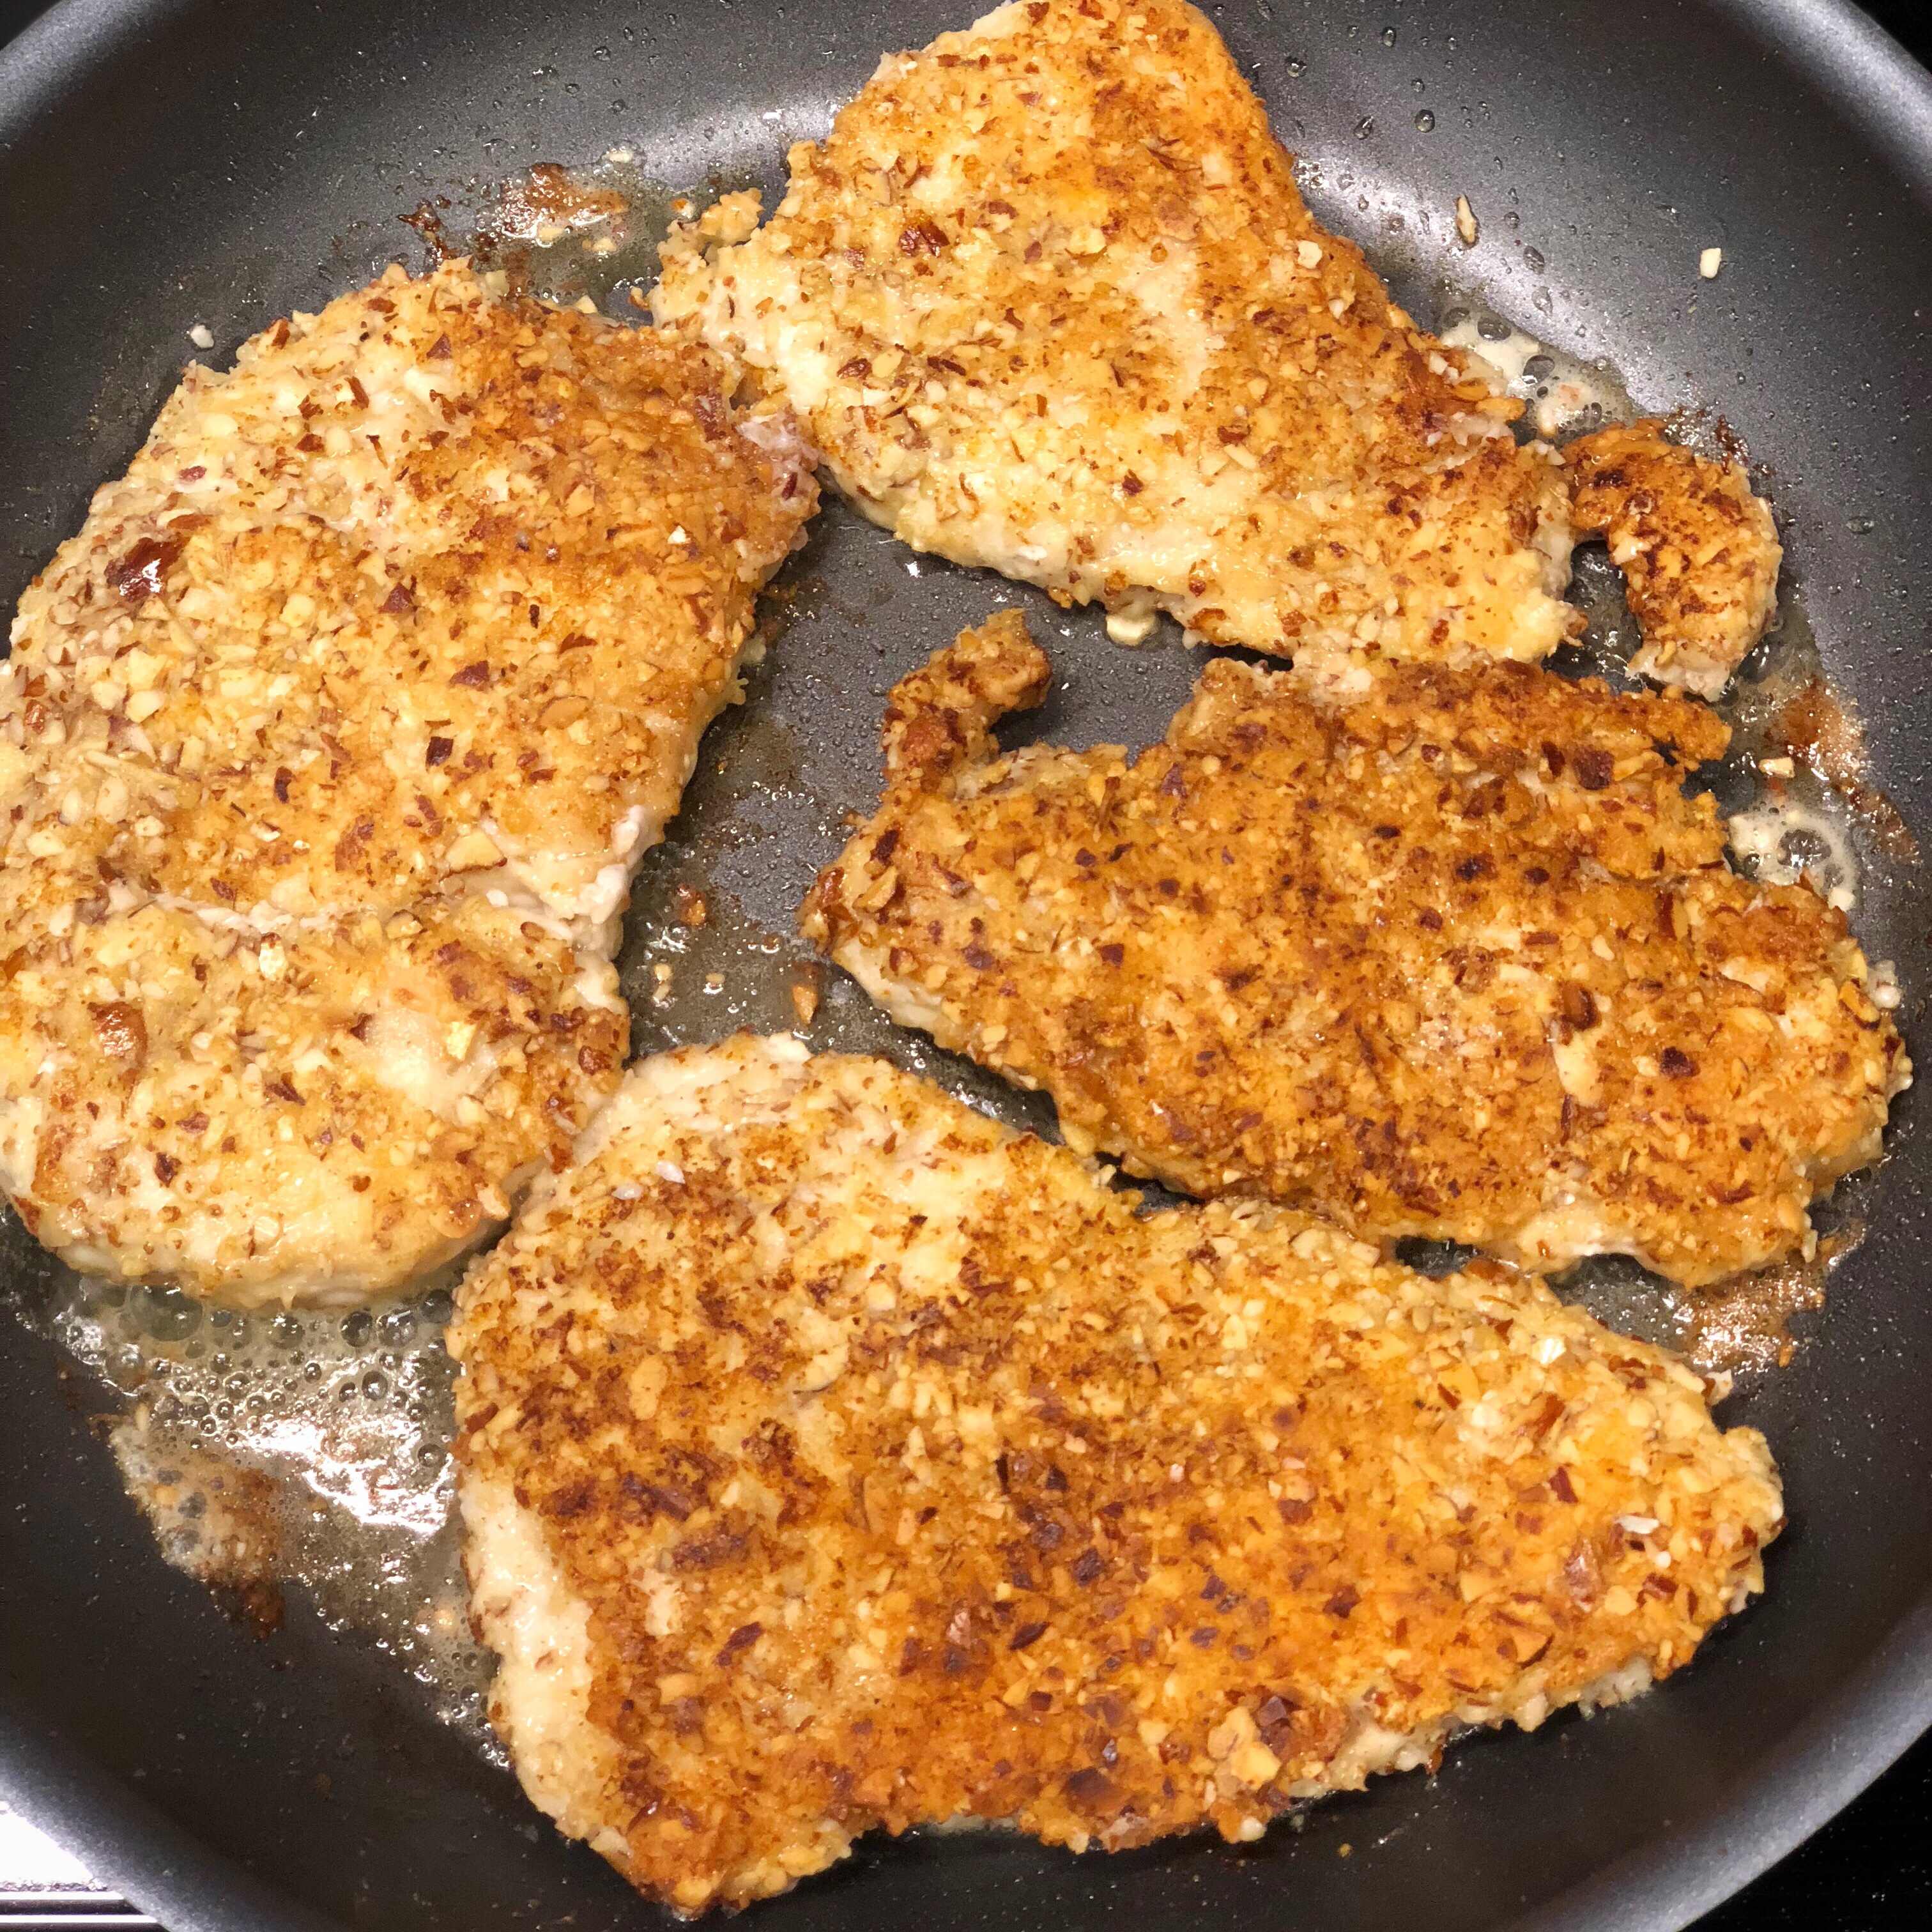
If you’re like me, you’re always looking for new ways to cook chicken breasts! I’ve got a great recipe to share with you today.
This Almond Chicken is great to fix on a busy weeknight – just add your favorite veggies or salad and some yummy bread and you’ll have dinner on the table in about 30 minutes. 🙂
Almond Chicken
4 – 6 boneless chicken breast halves, pounded thin
1 – 2 large eggs
1/2 teaspoon dried tarragon
1/2 teaspoon salt
1/4 teaspoon pepper
small bag sliced almonds, finely minced
1/4 cup Parmesan cheese
2 tablespoons olive oil
1 tablespoon butter
flour for dredging
Combine egg(s), tarragon, salt, and pepper in a shallow bowl.
Combine almonds and Parmesan on a plate.
Heat olive oil and butter in a large skillet.
Lightly dust the chicken with flour, dip into egg mixture, and dredge in almond mixture to coat. Sauté in hot skillet until golden brown on both sides and cooked through. (Time will depend on how thin your chicken breasts are pounded, but around 8 minutes per side.)
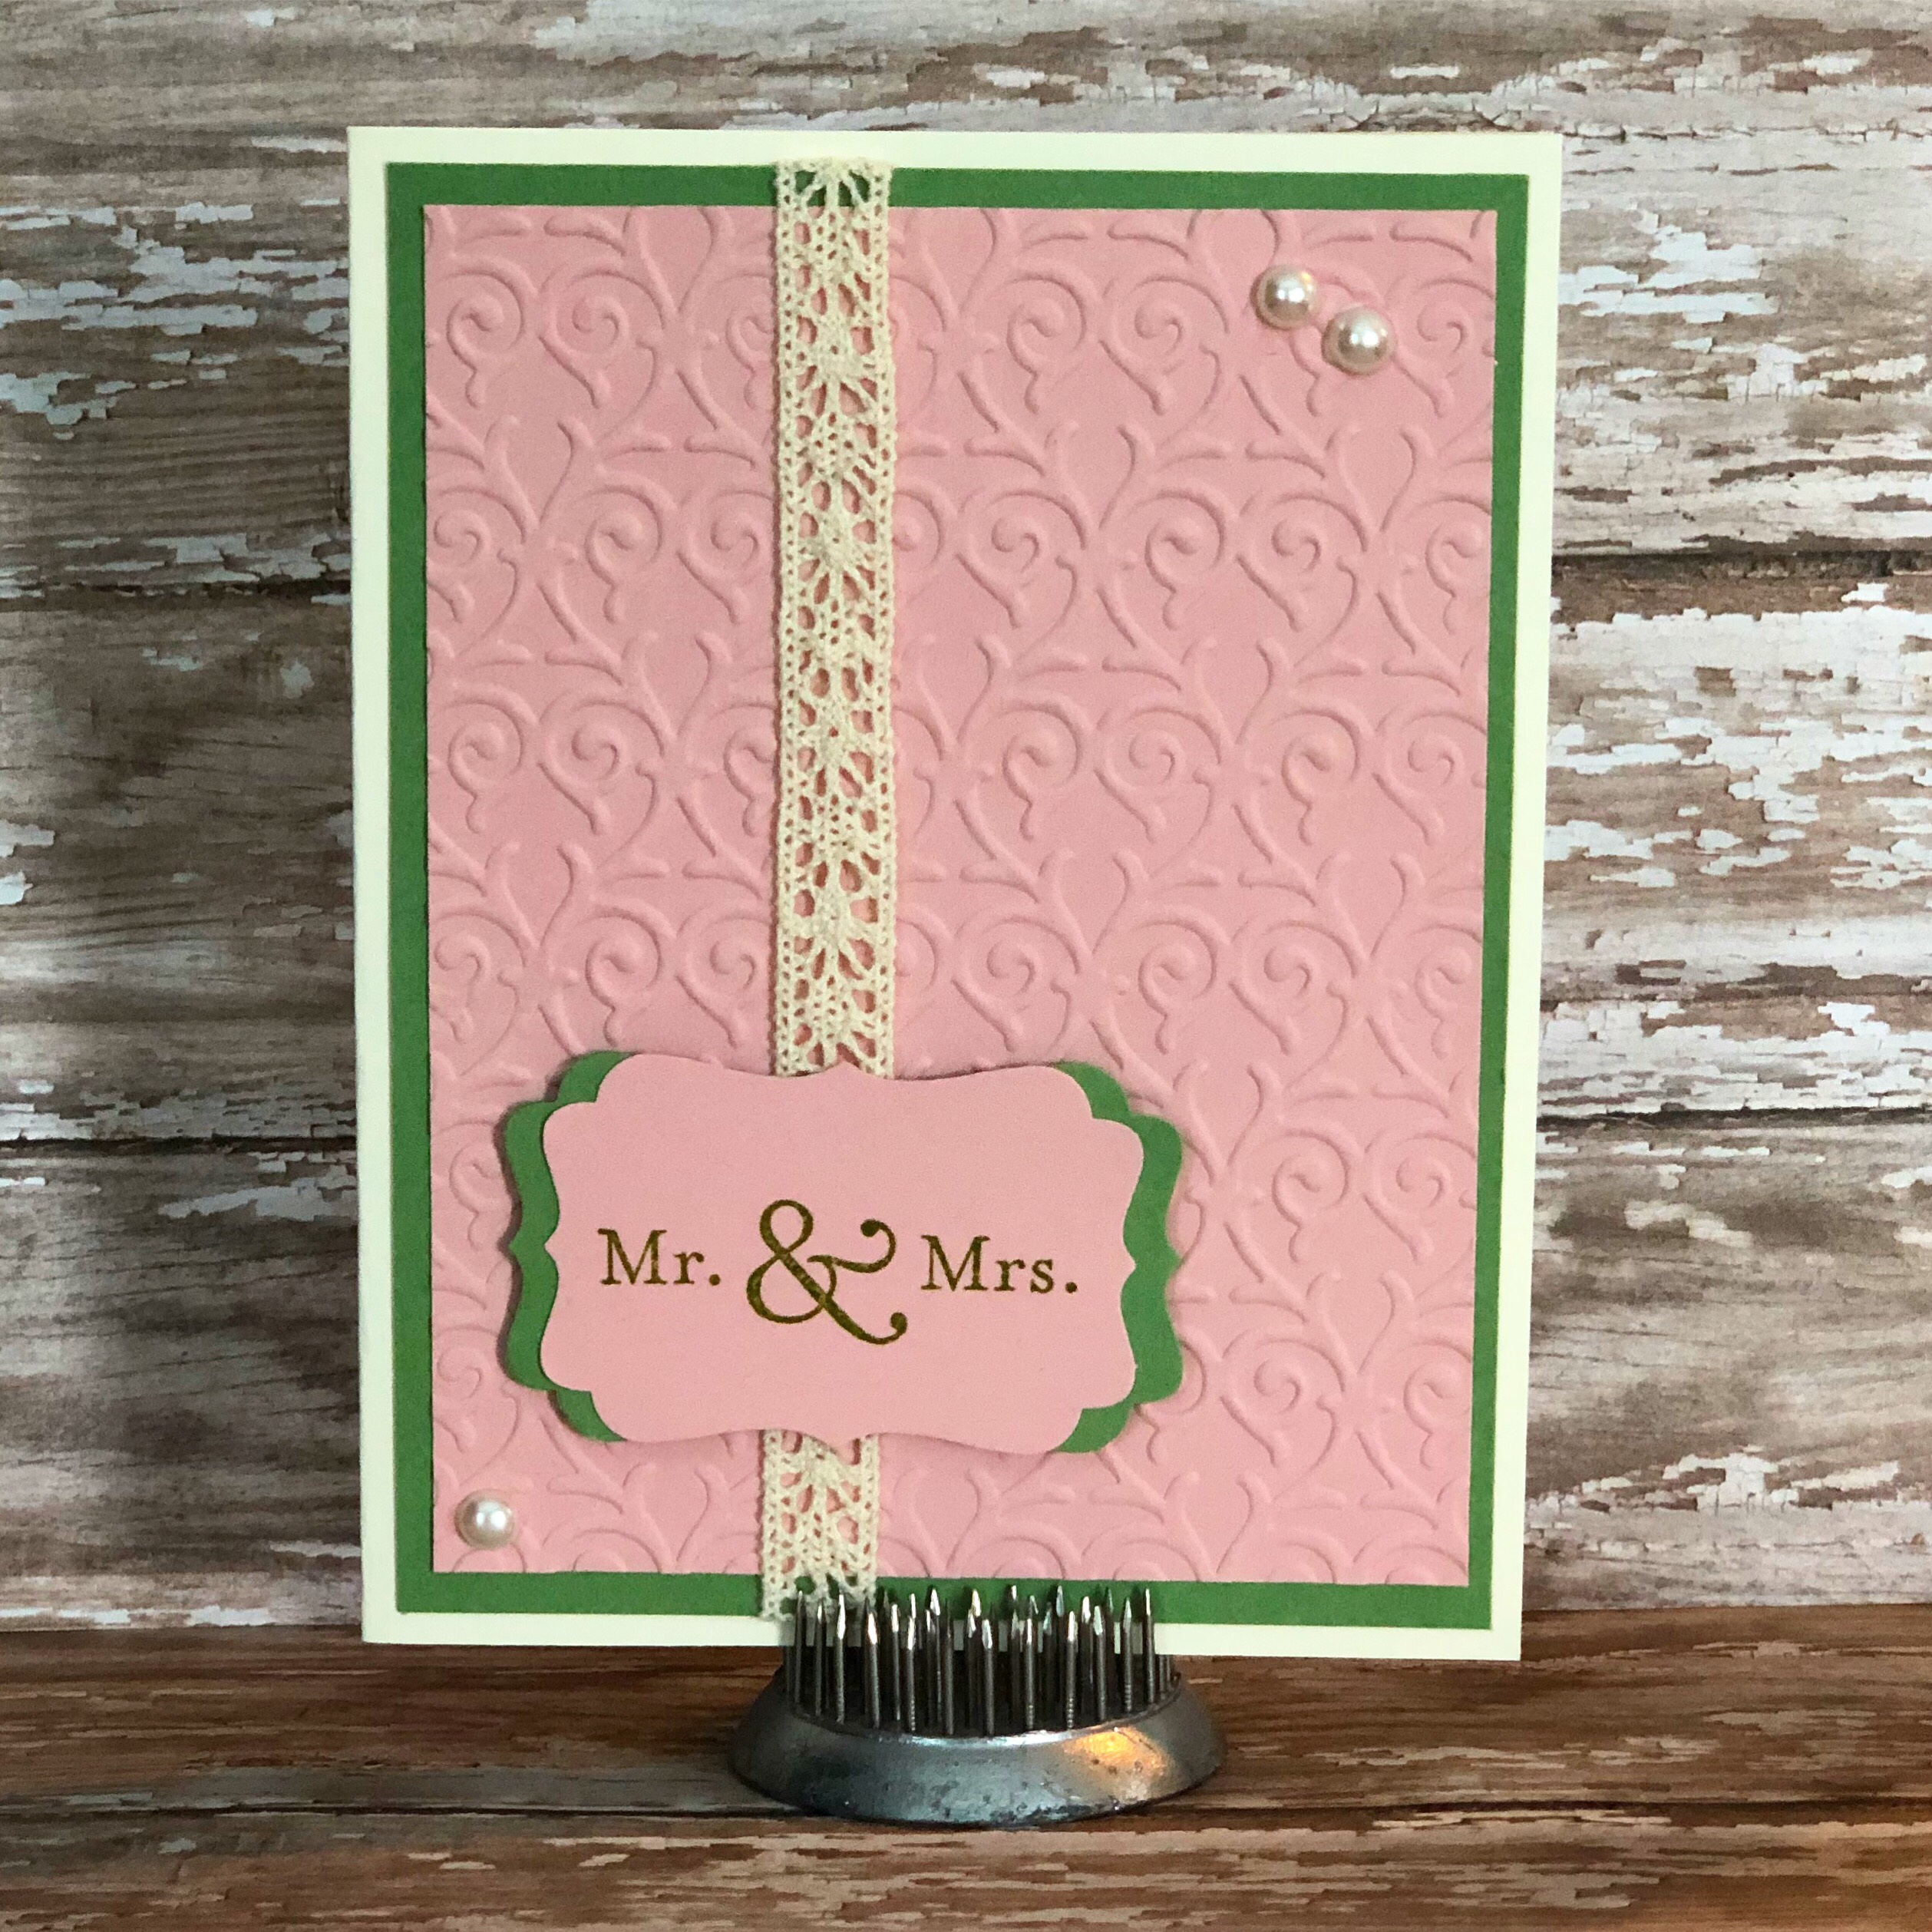
Here’s a sweet card to wish the new Mr. & Mrs. congratulations on their new marriage. I love the way it turned out – simple, yet elegant with a little touch of vintage.
To make the card, emboss a piece of salmon colored card stock with the Hearts Entwined embossing folder and layer to green card stock. Attach a piece of ecru lace to the panel and attach to a cream-colored card. Stamp Mr. & Mrs. with green ink on salmon card stock and punch out. Punch out another label from green card stock and cut in half. Layer to stamped label, leaving the edges showing. Attach to the card with foam tape. Finish the card with 3 pearls.
Such a simple card and it can be made in any color scheme to match the couple’s wedding colors.
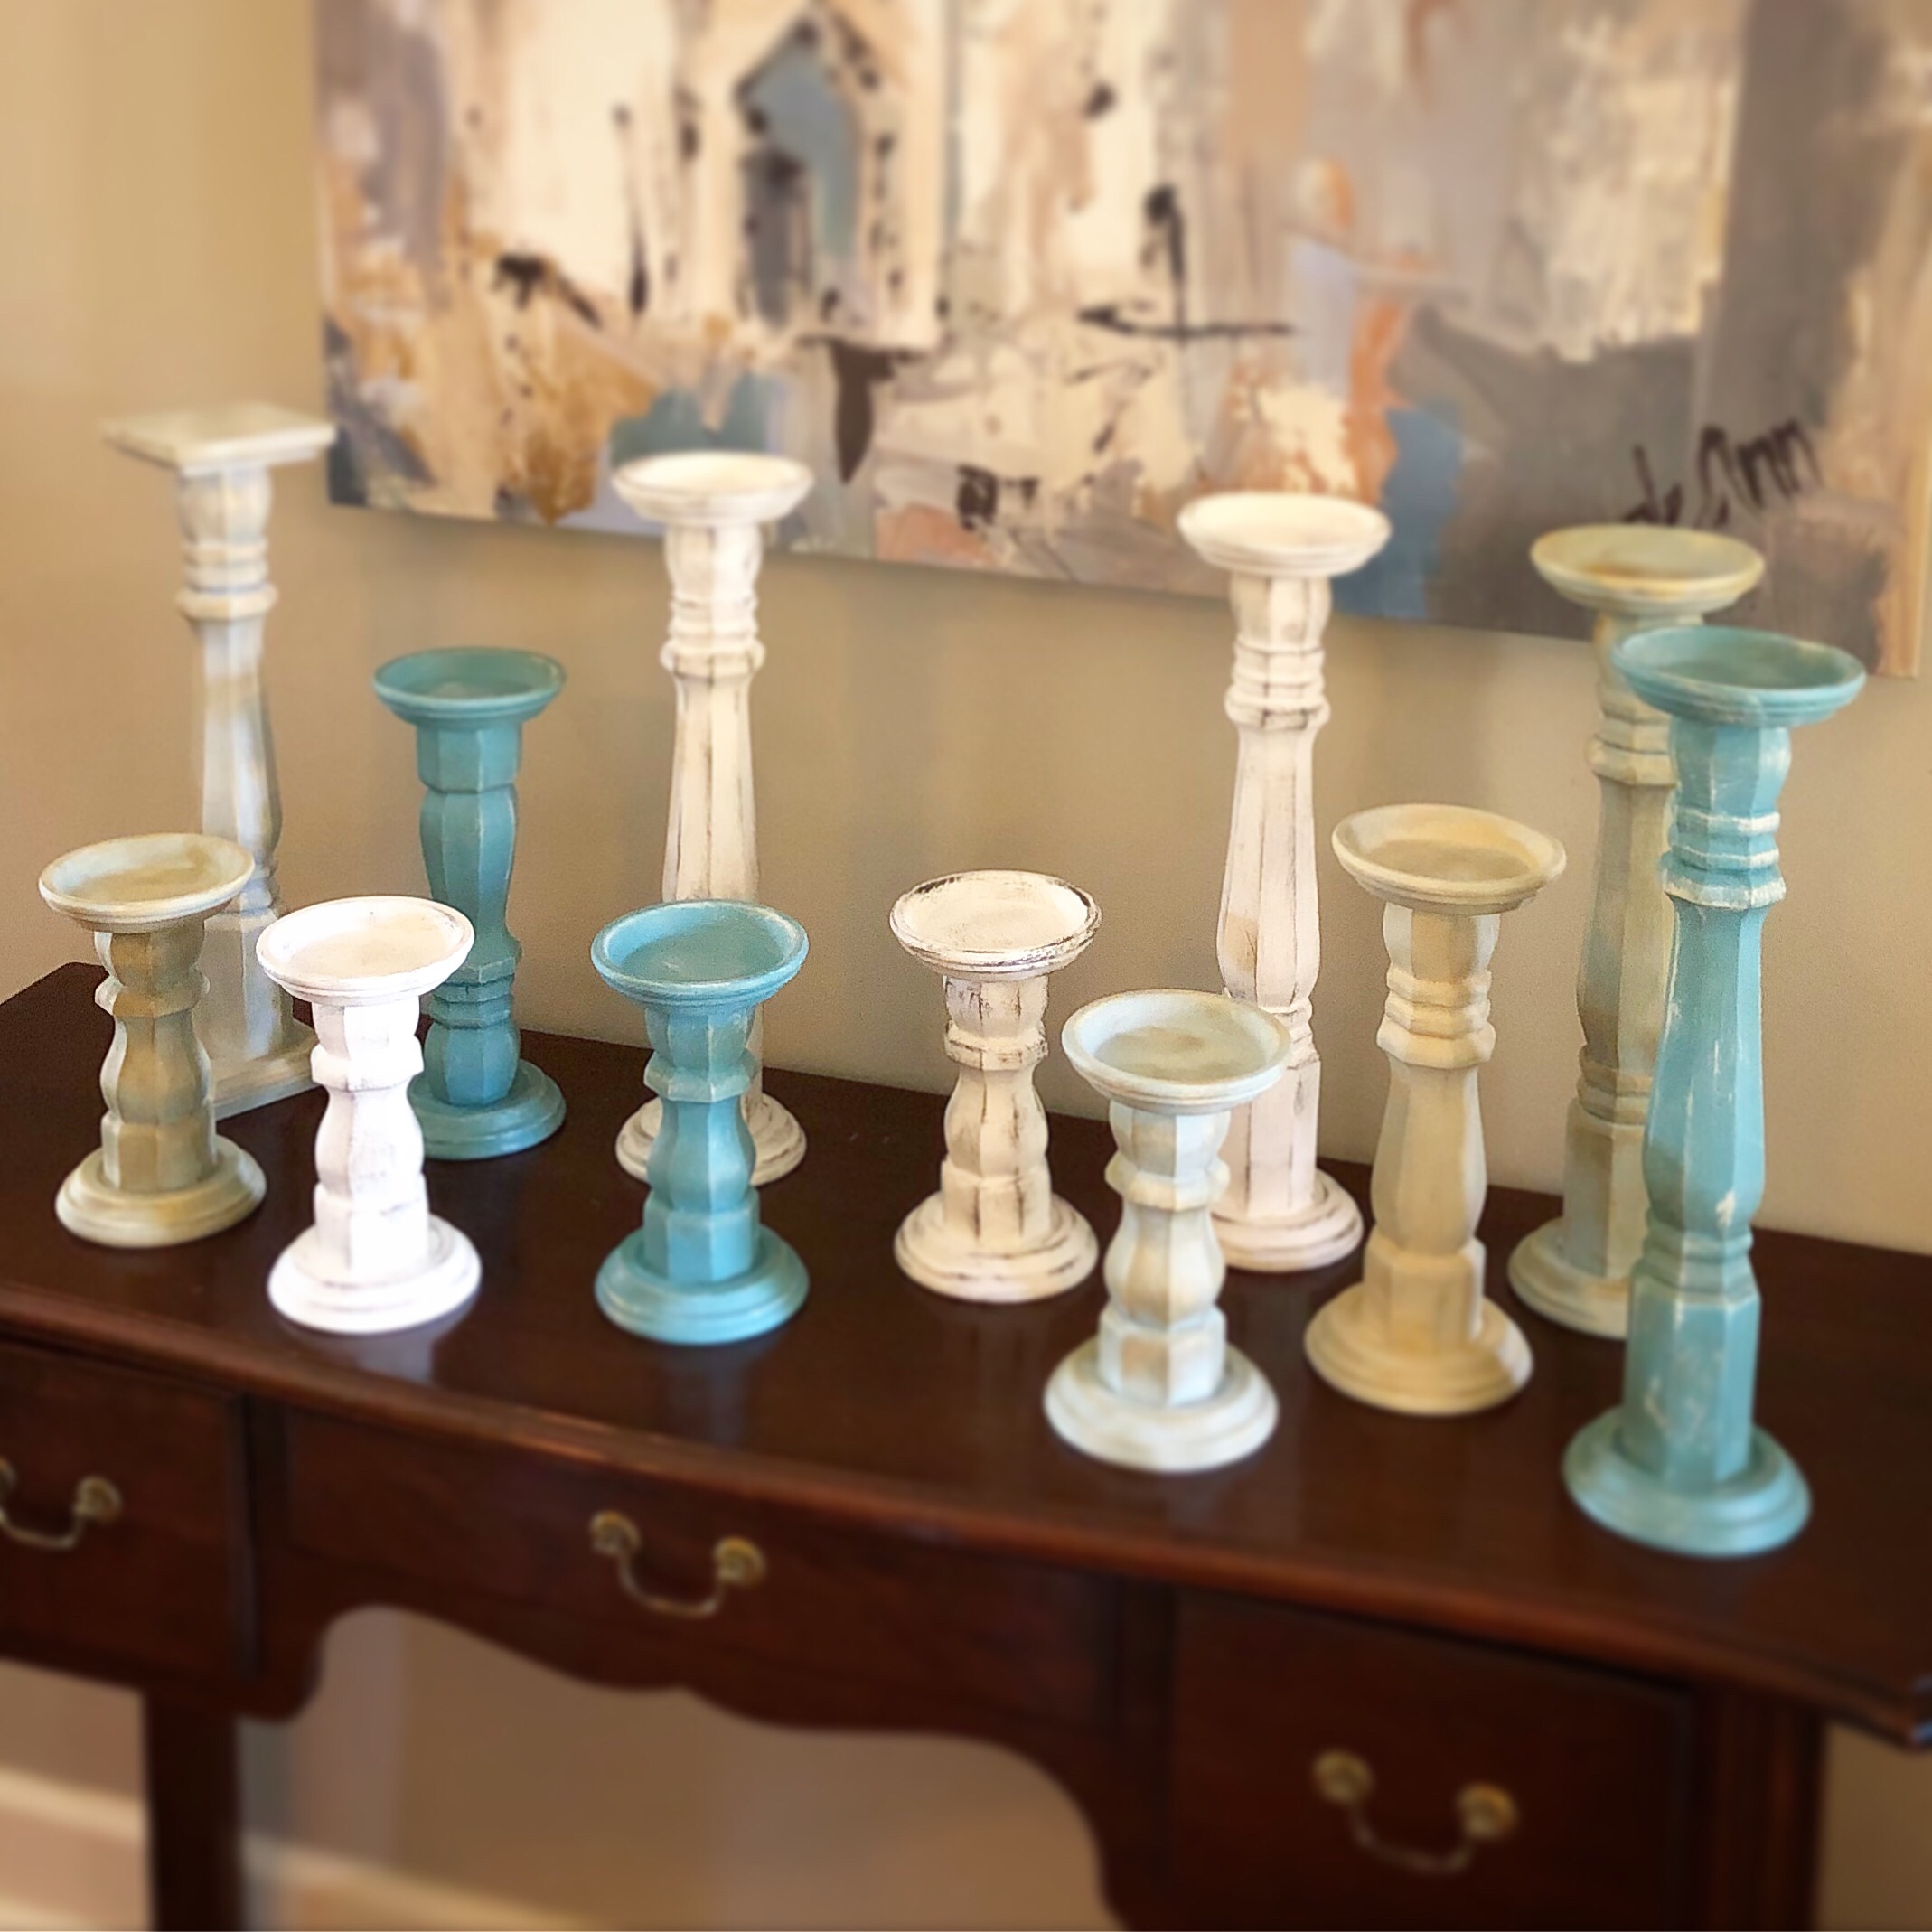
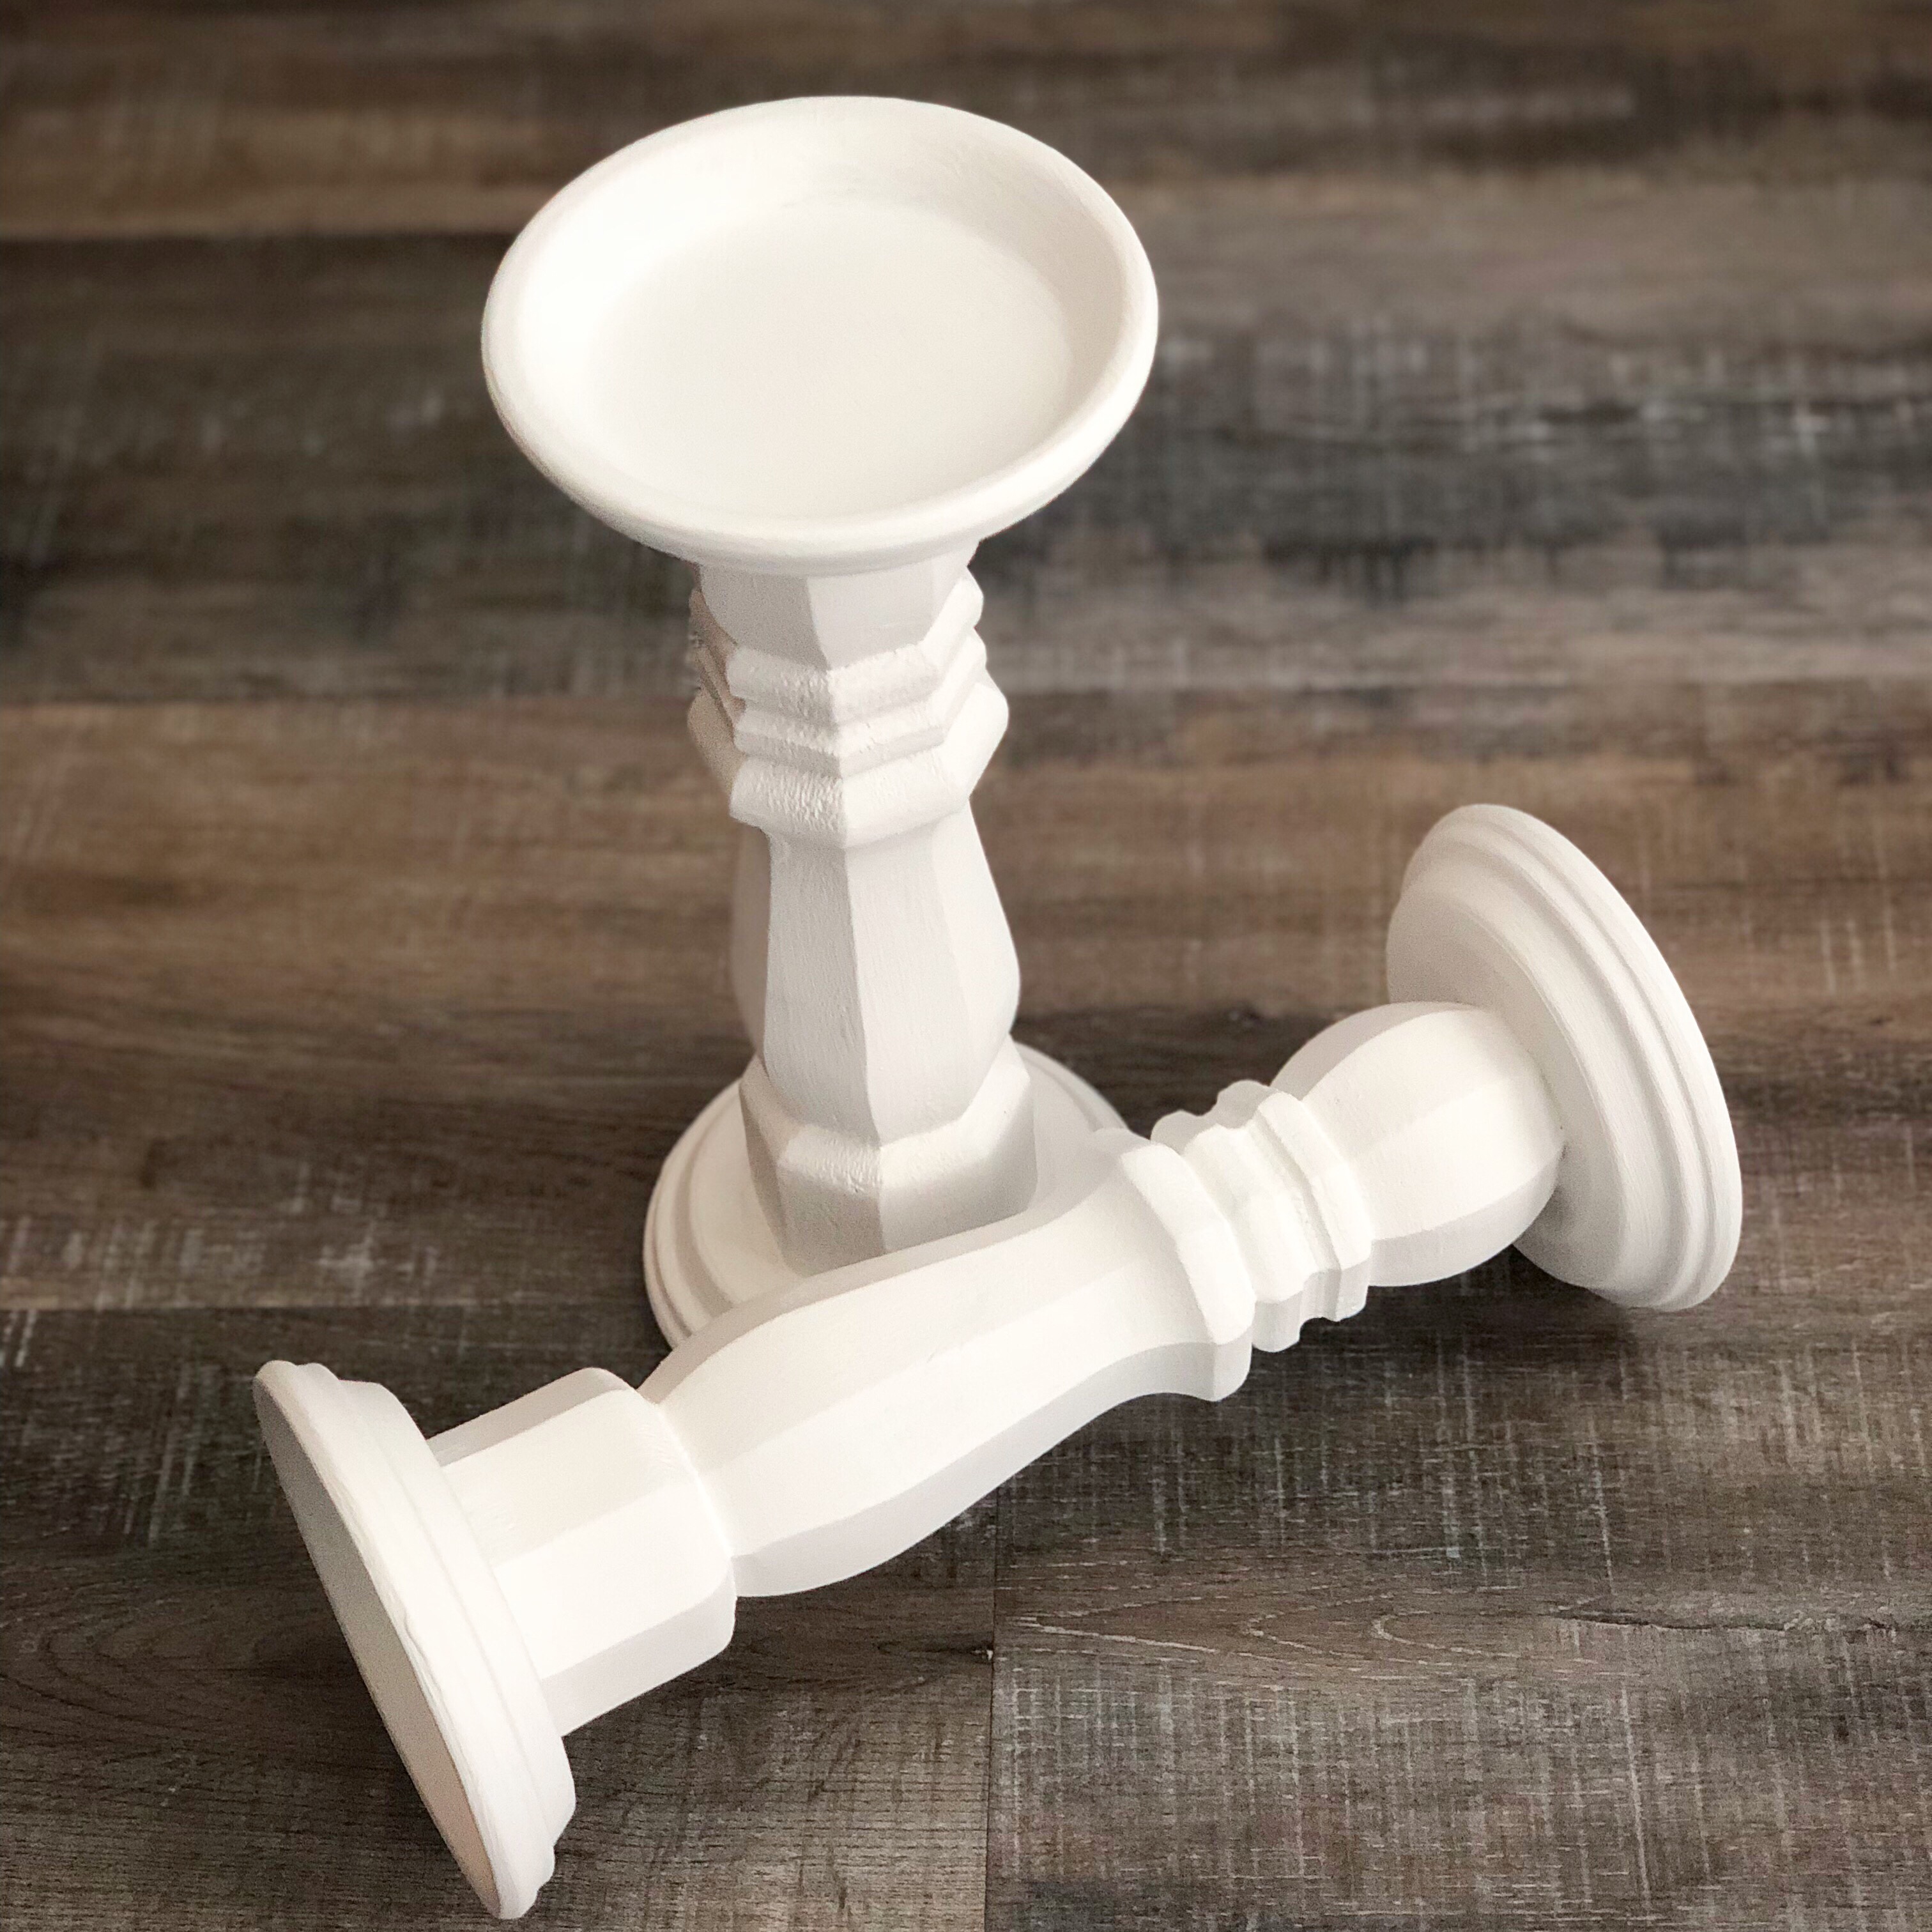
A few months ago some friends and I got together for a day of crafting. We made these fun candlesticks with simple items from our local home improvement store and they turned out so great!
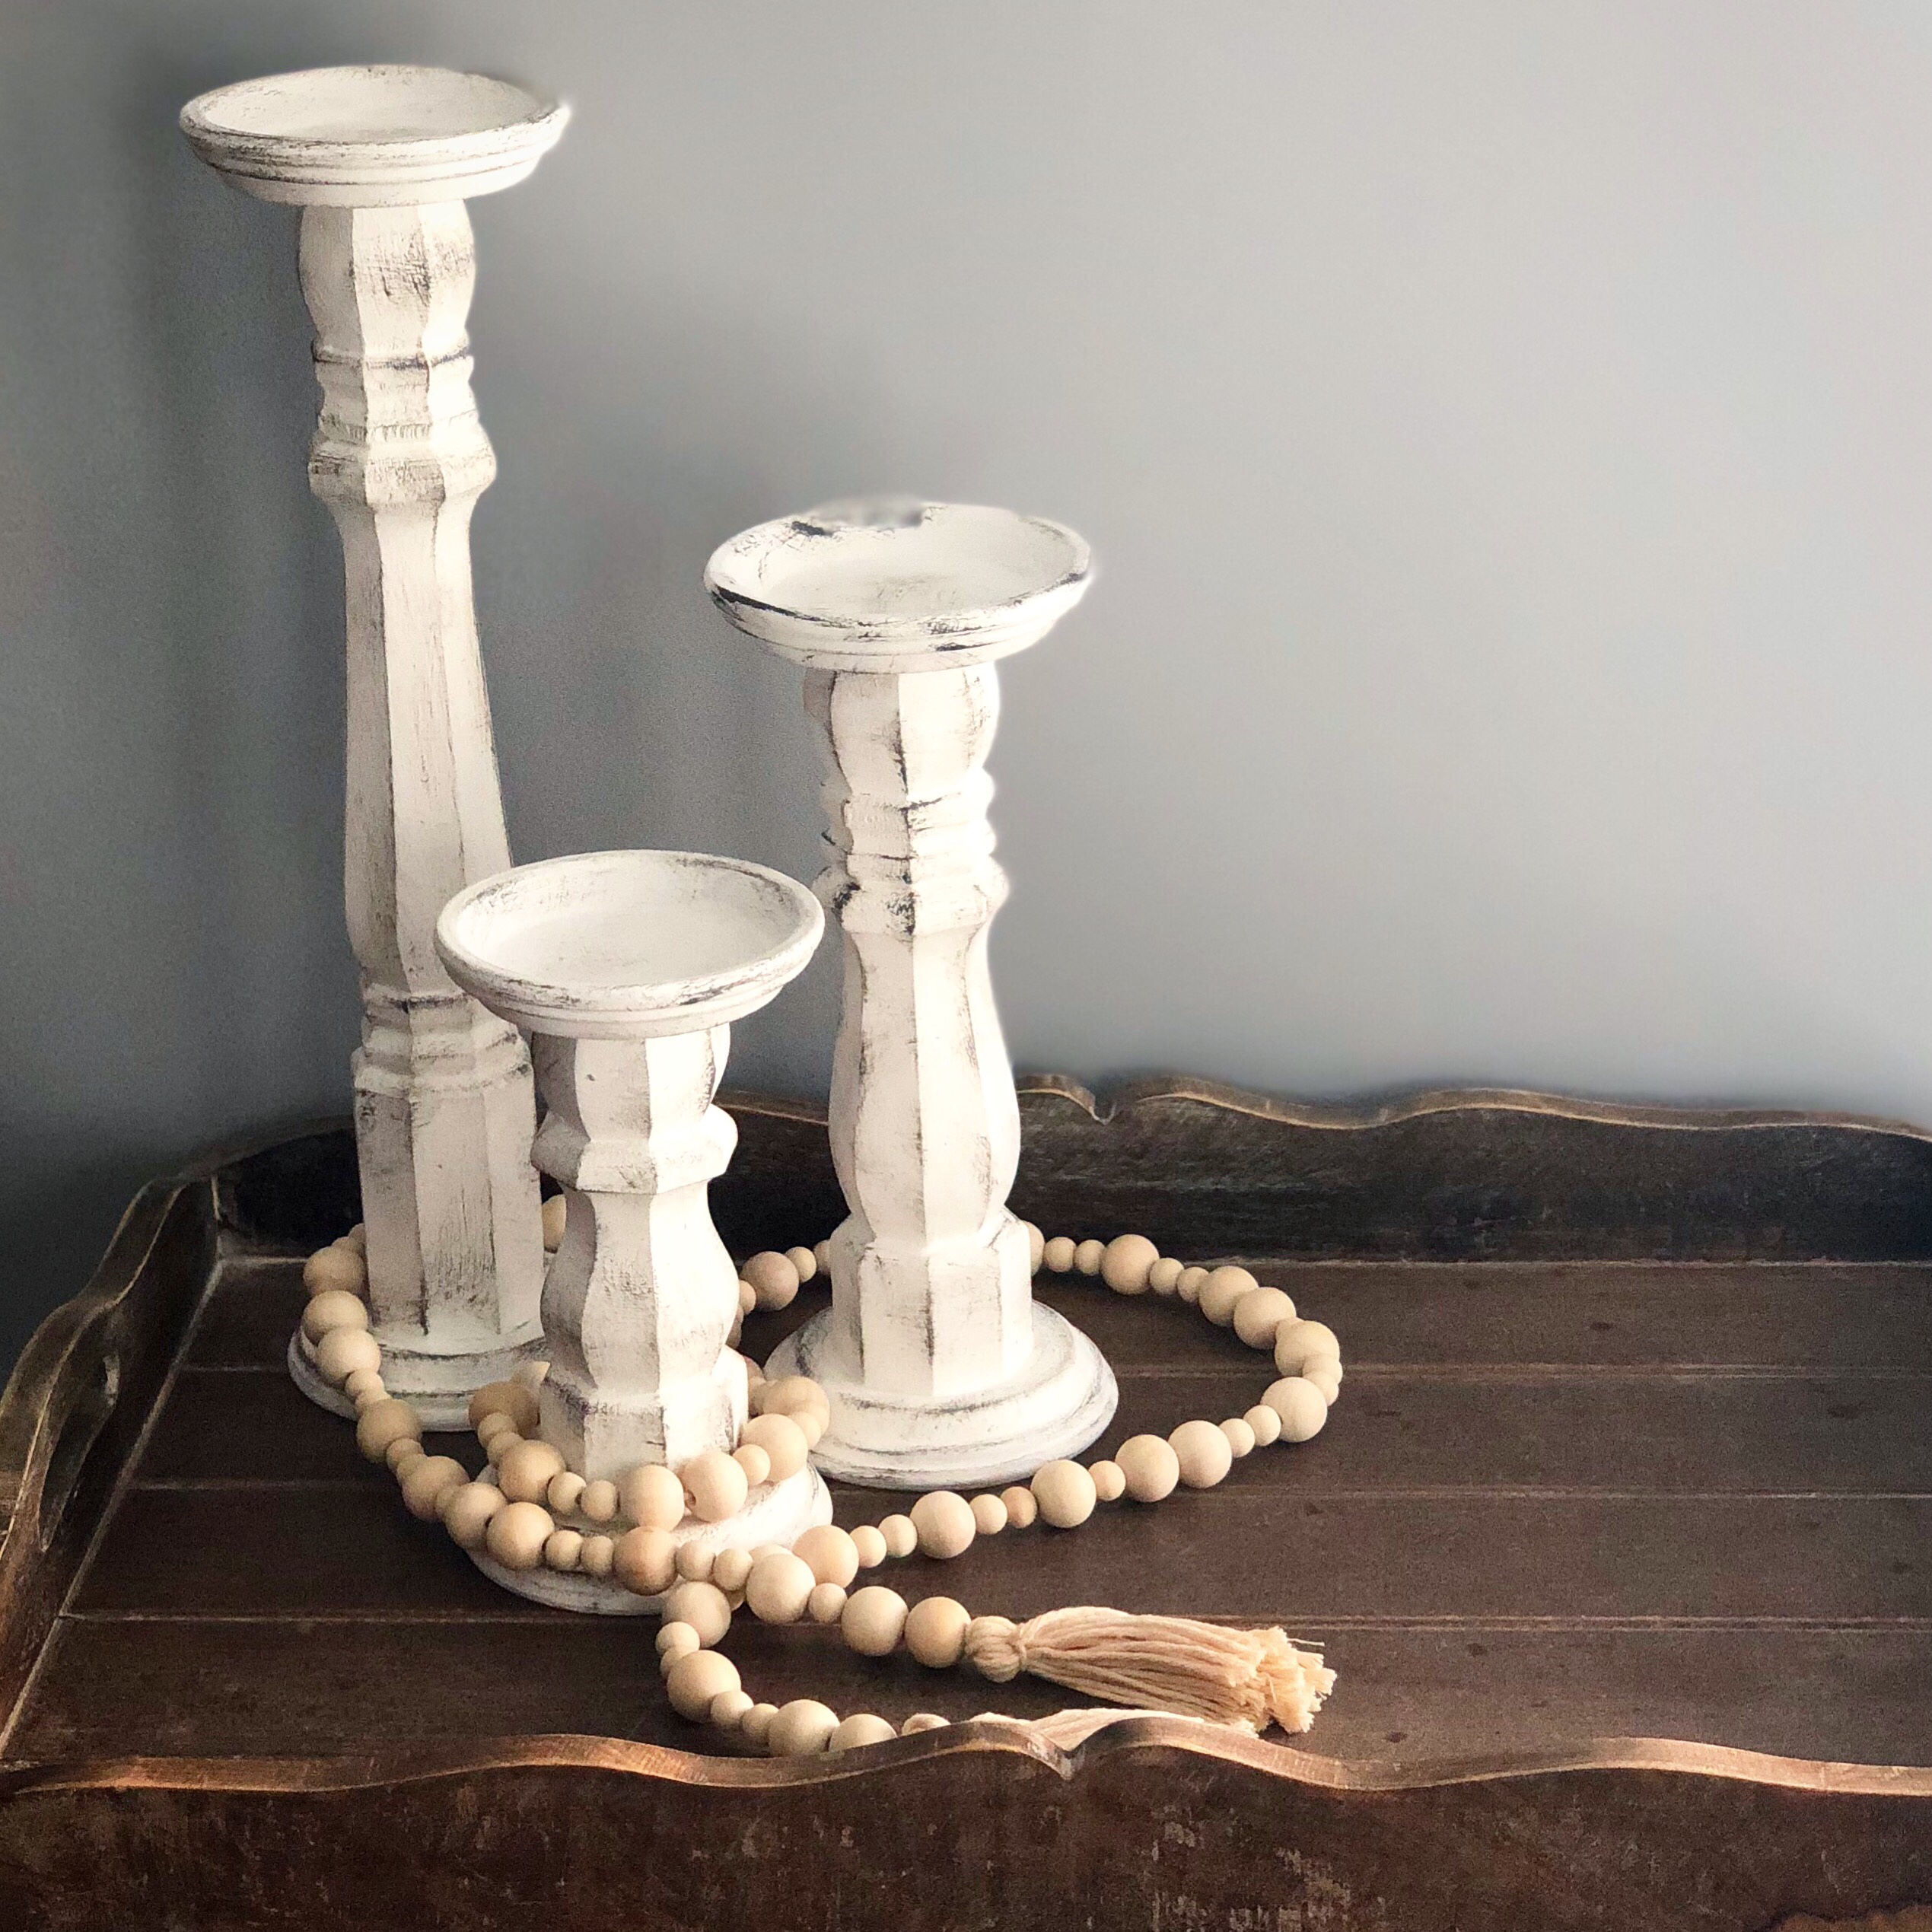
Here’s a picture of our completed candlesticks – we all chose different colors of paint to match our own decor.
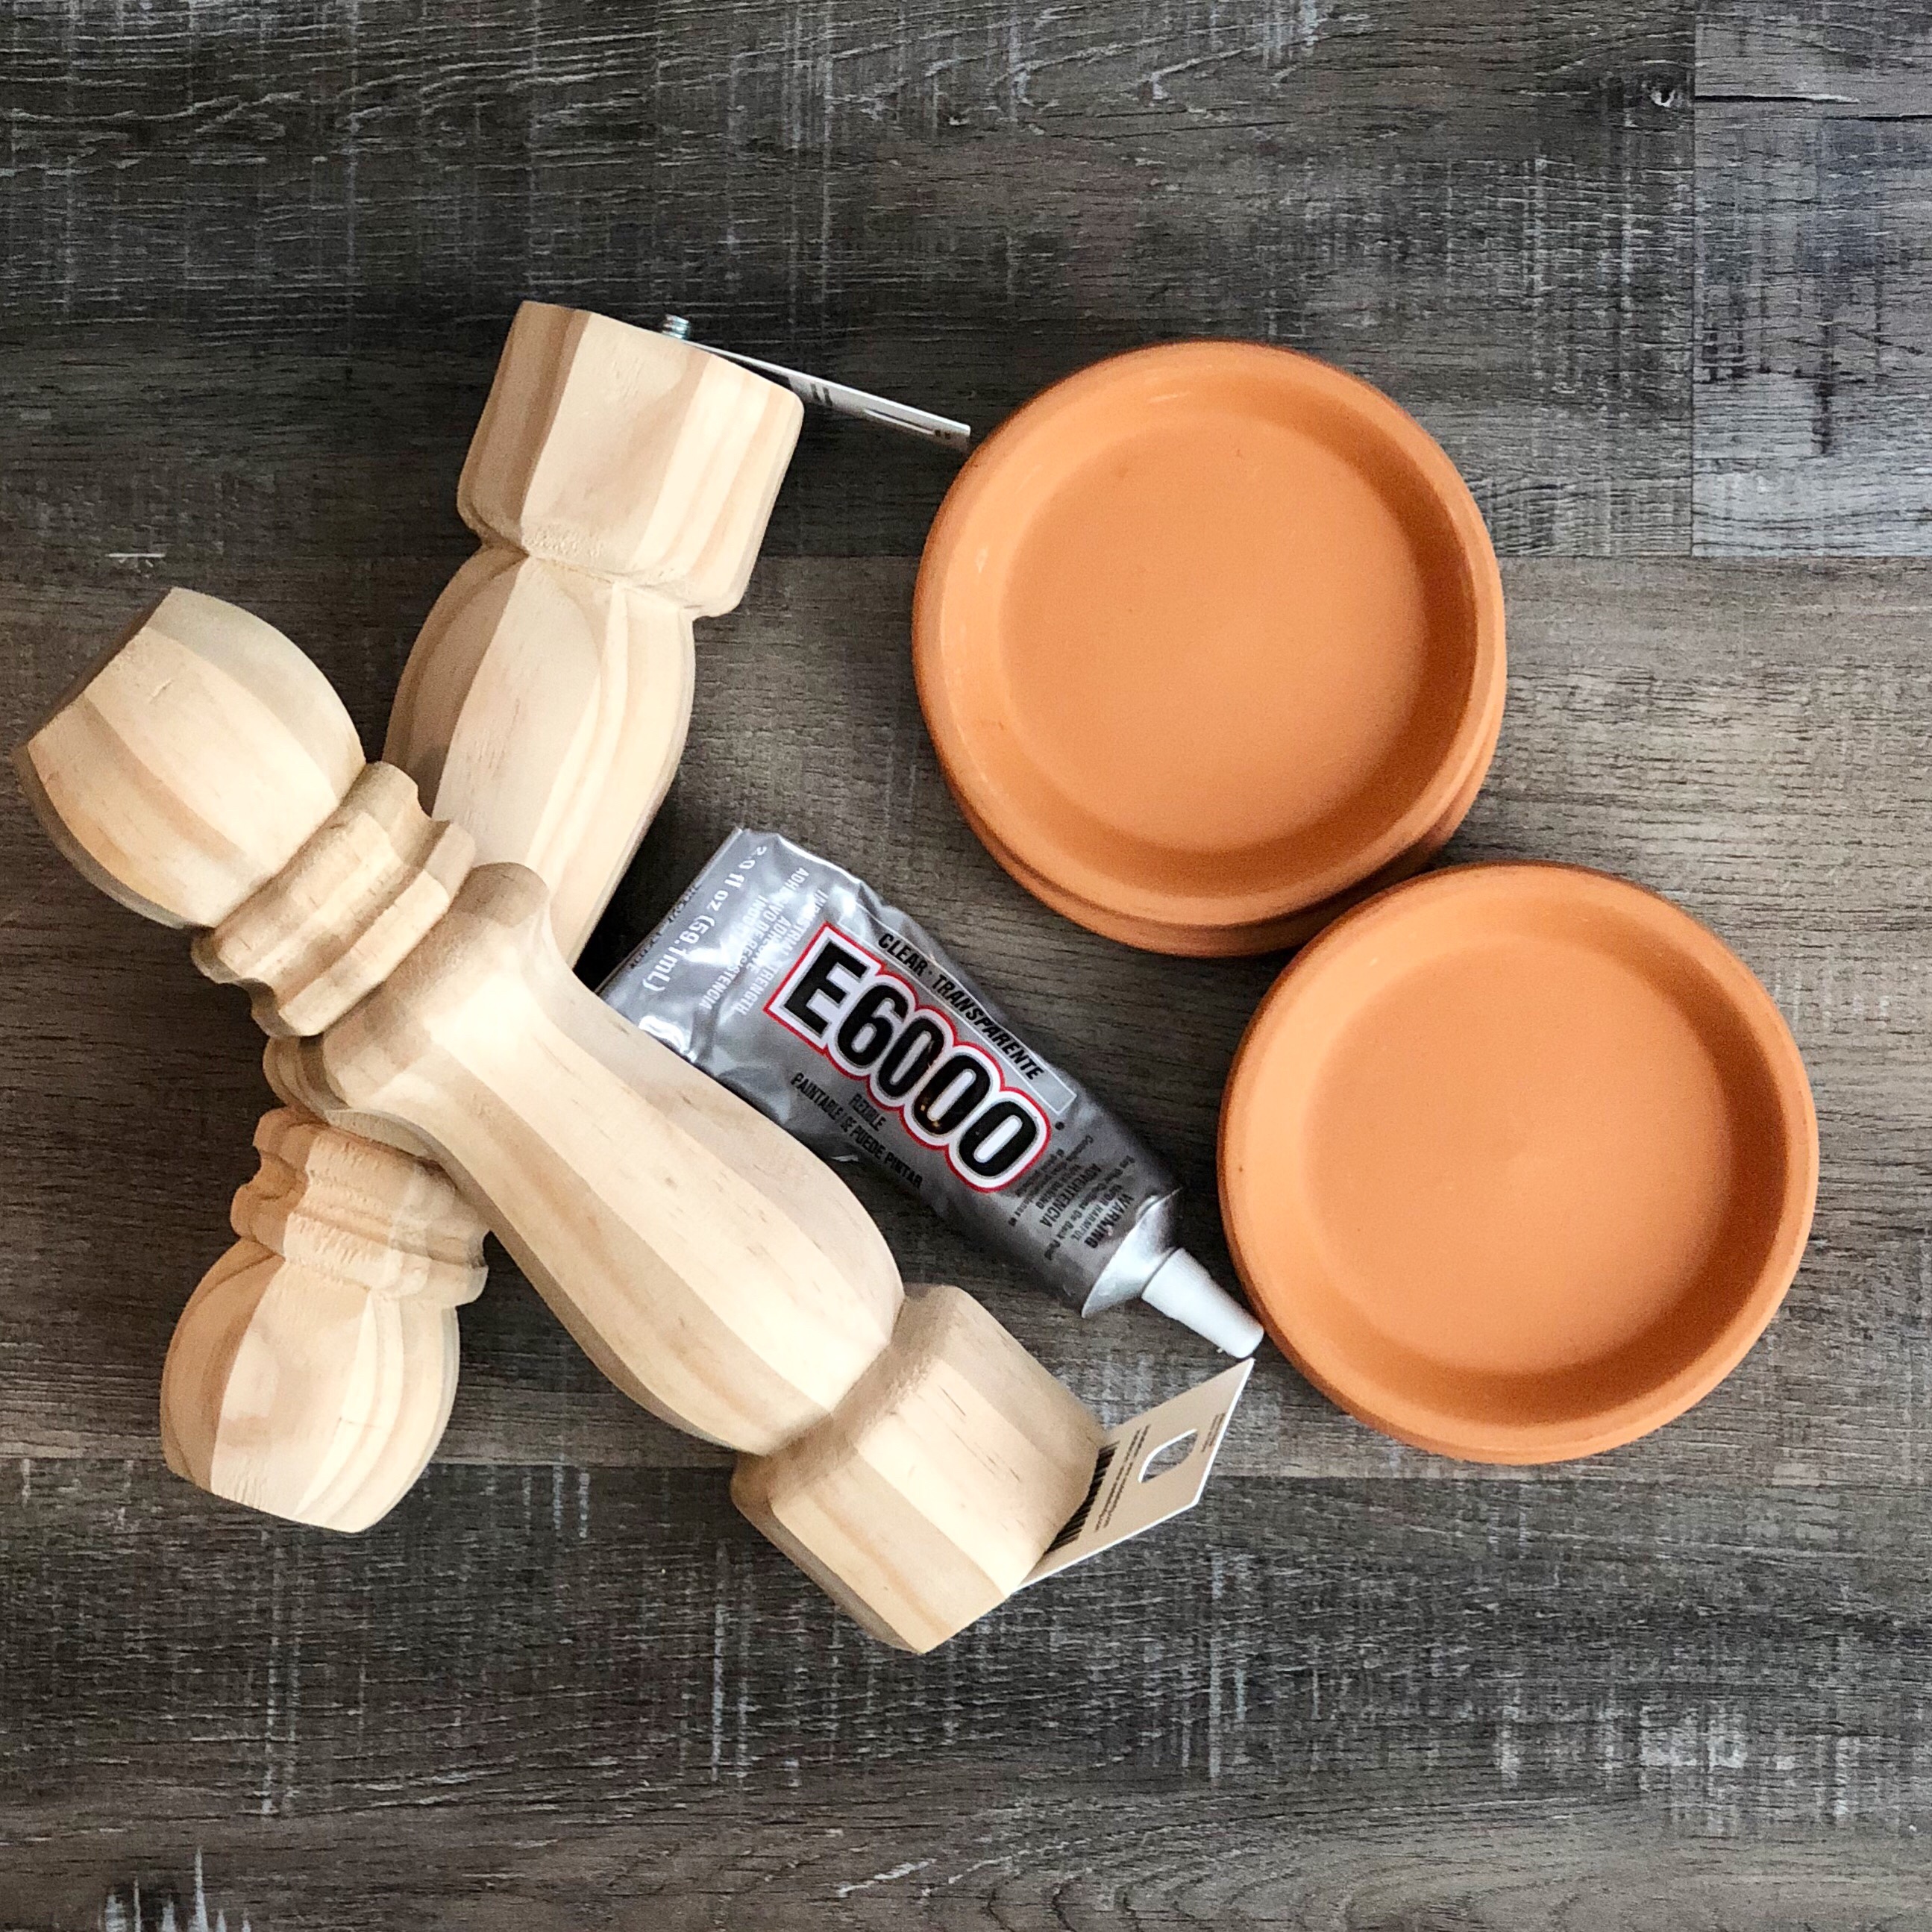
Here’s what you’ll need to make your own candlesticks.
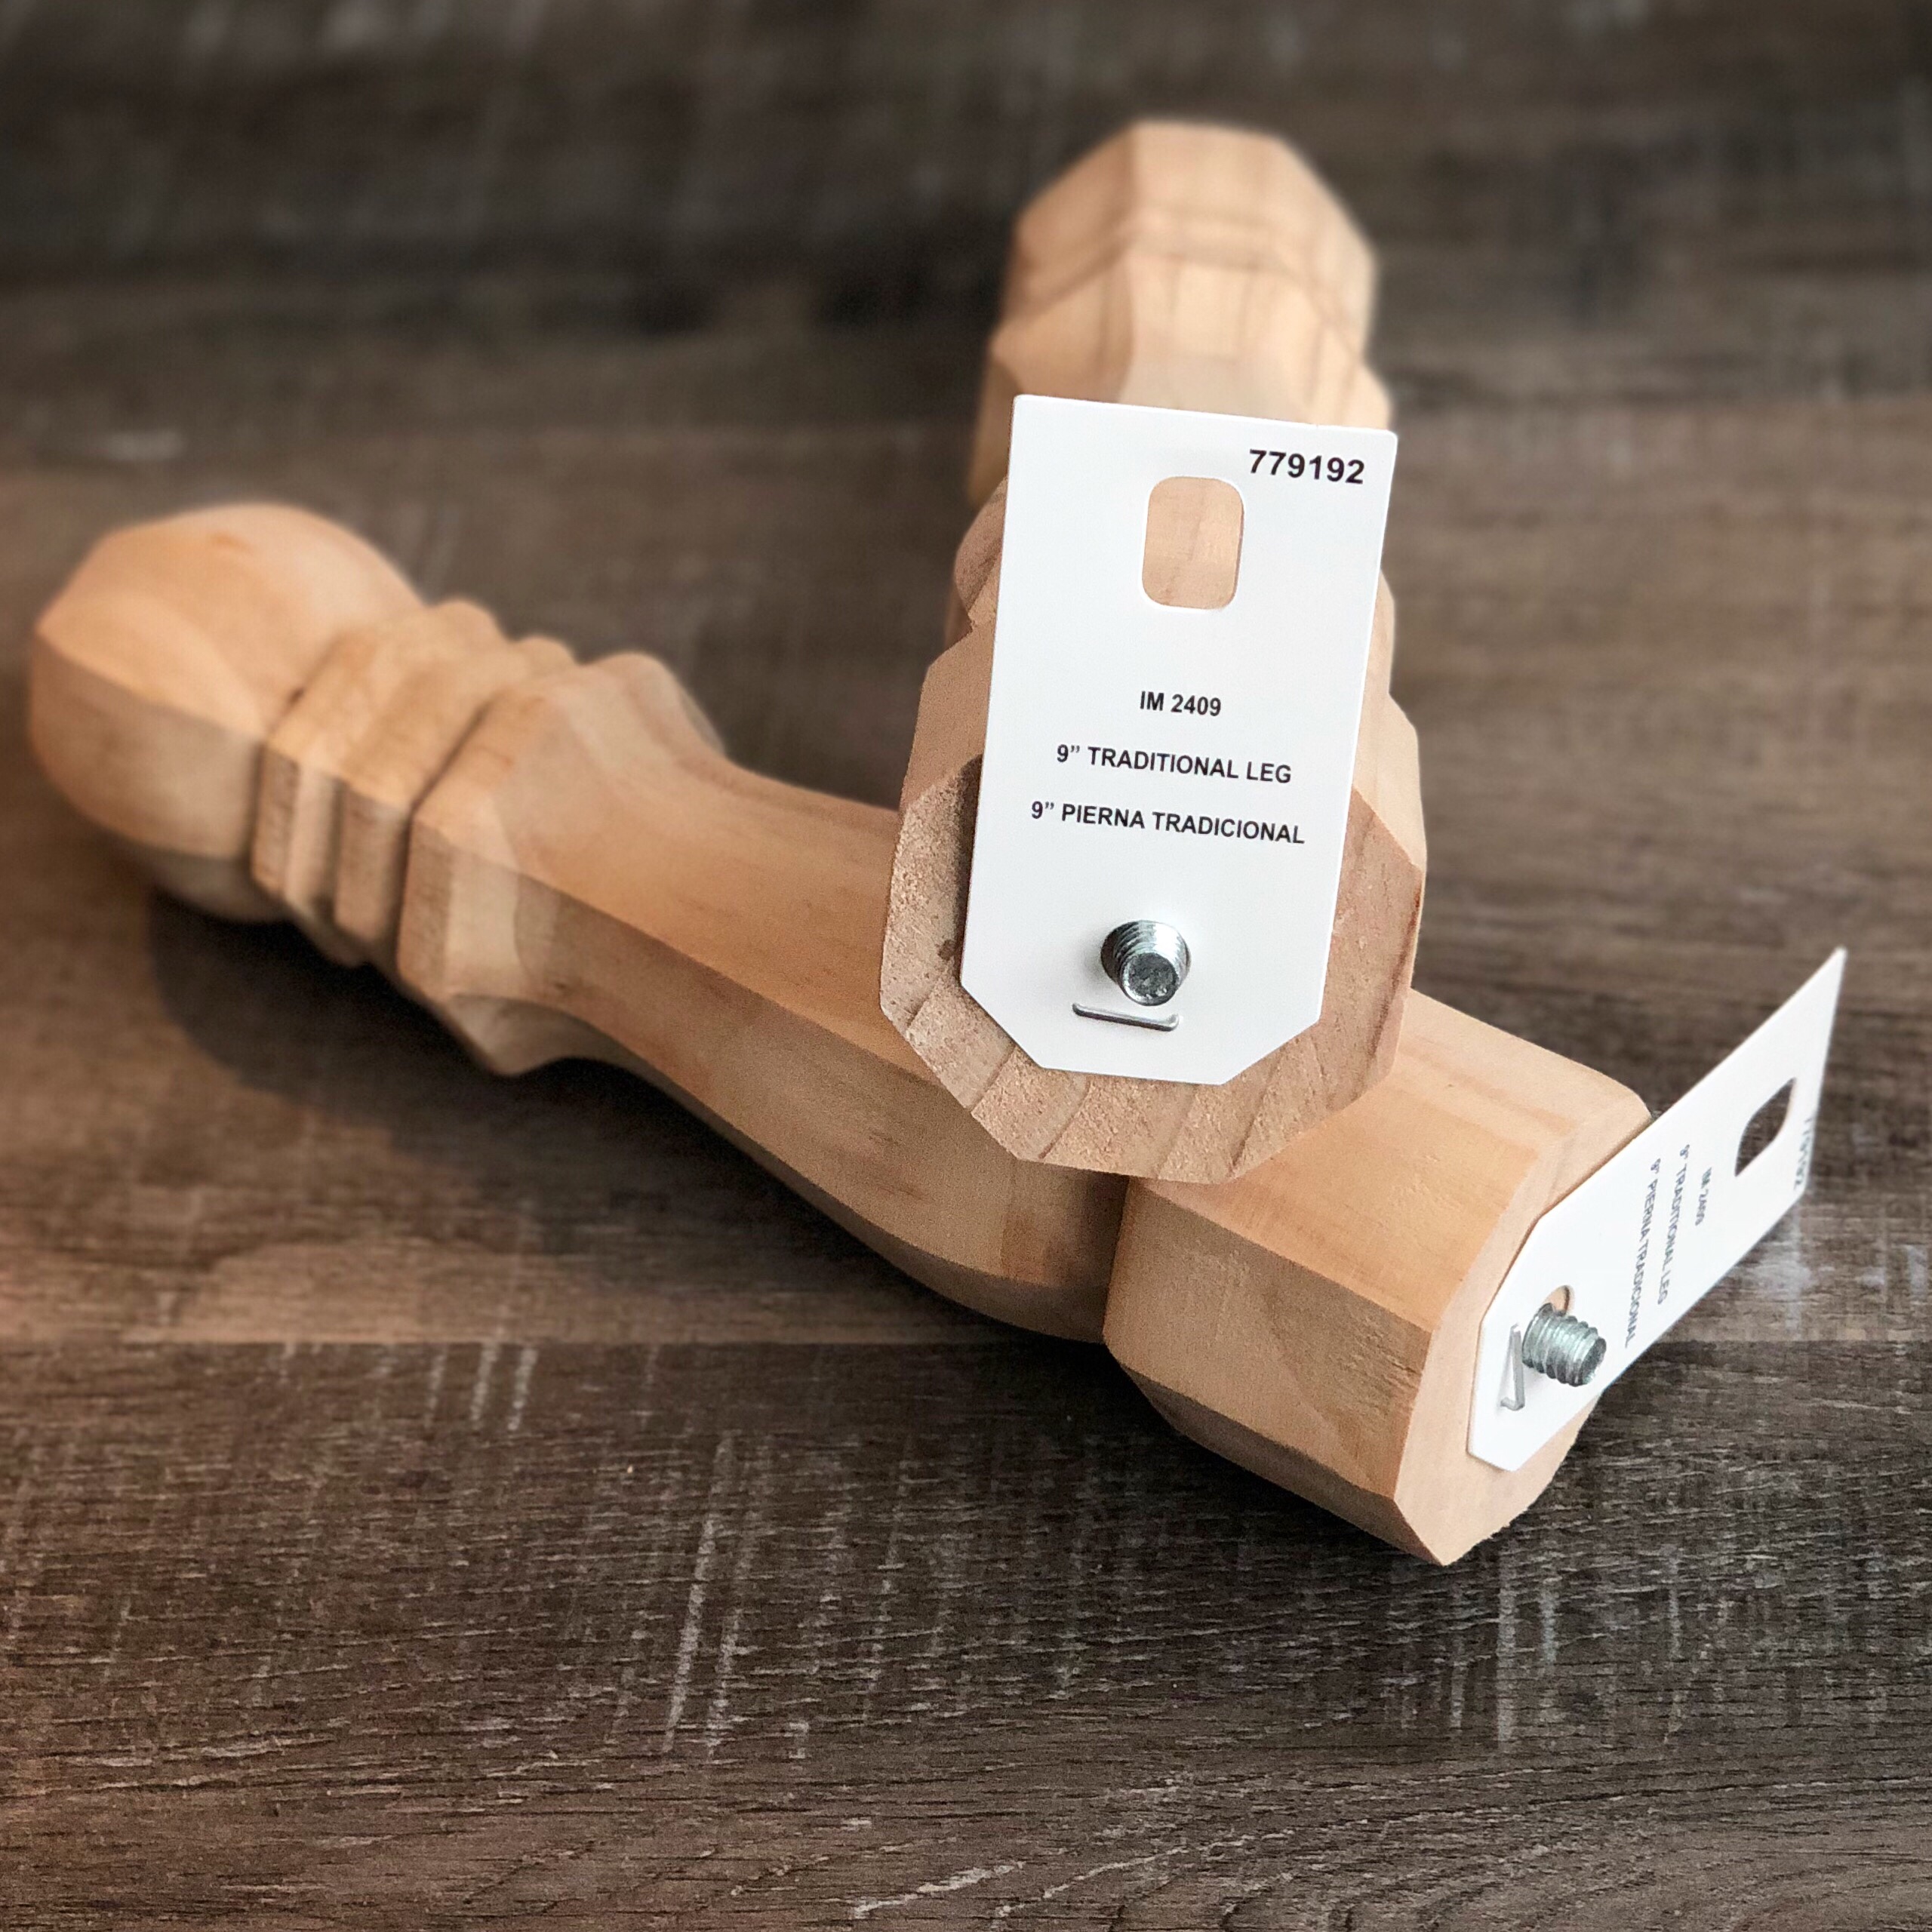
Unfinished wood table legs (the ones pictured below are 9-inch, I also used 6-inch and 14-inch table legs that you can see in the picture above)
4-inch terra cotta saucers (2 for each candlestick)
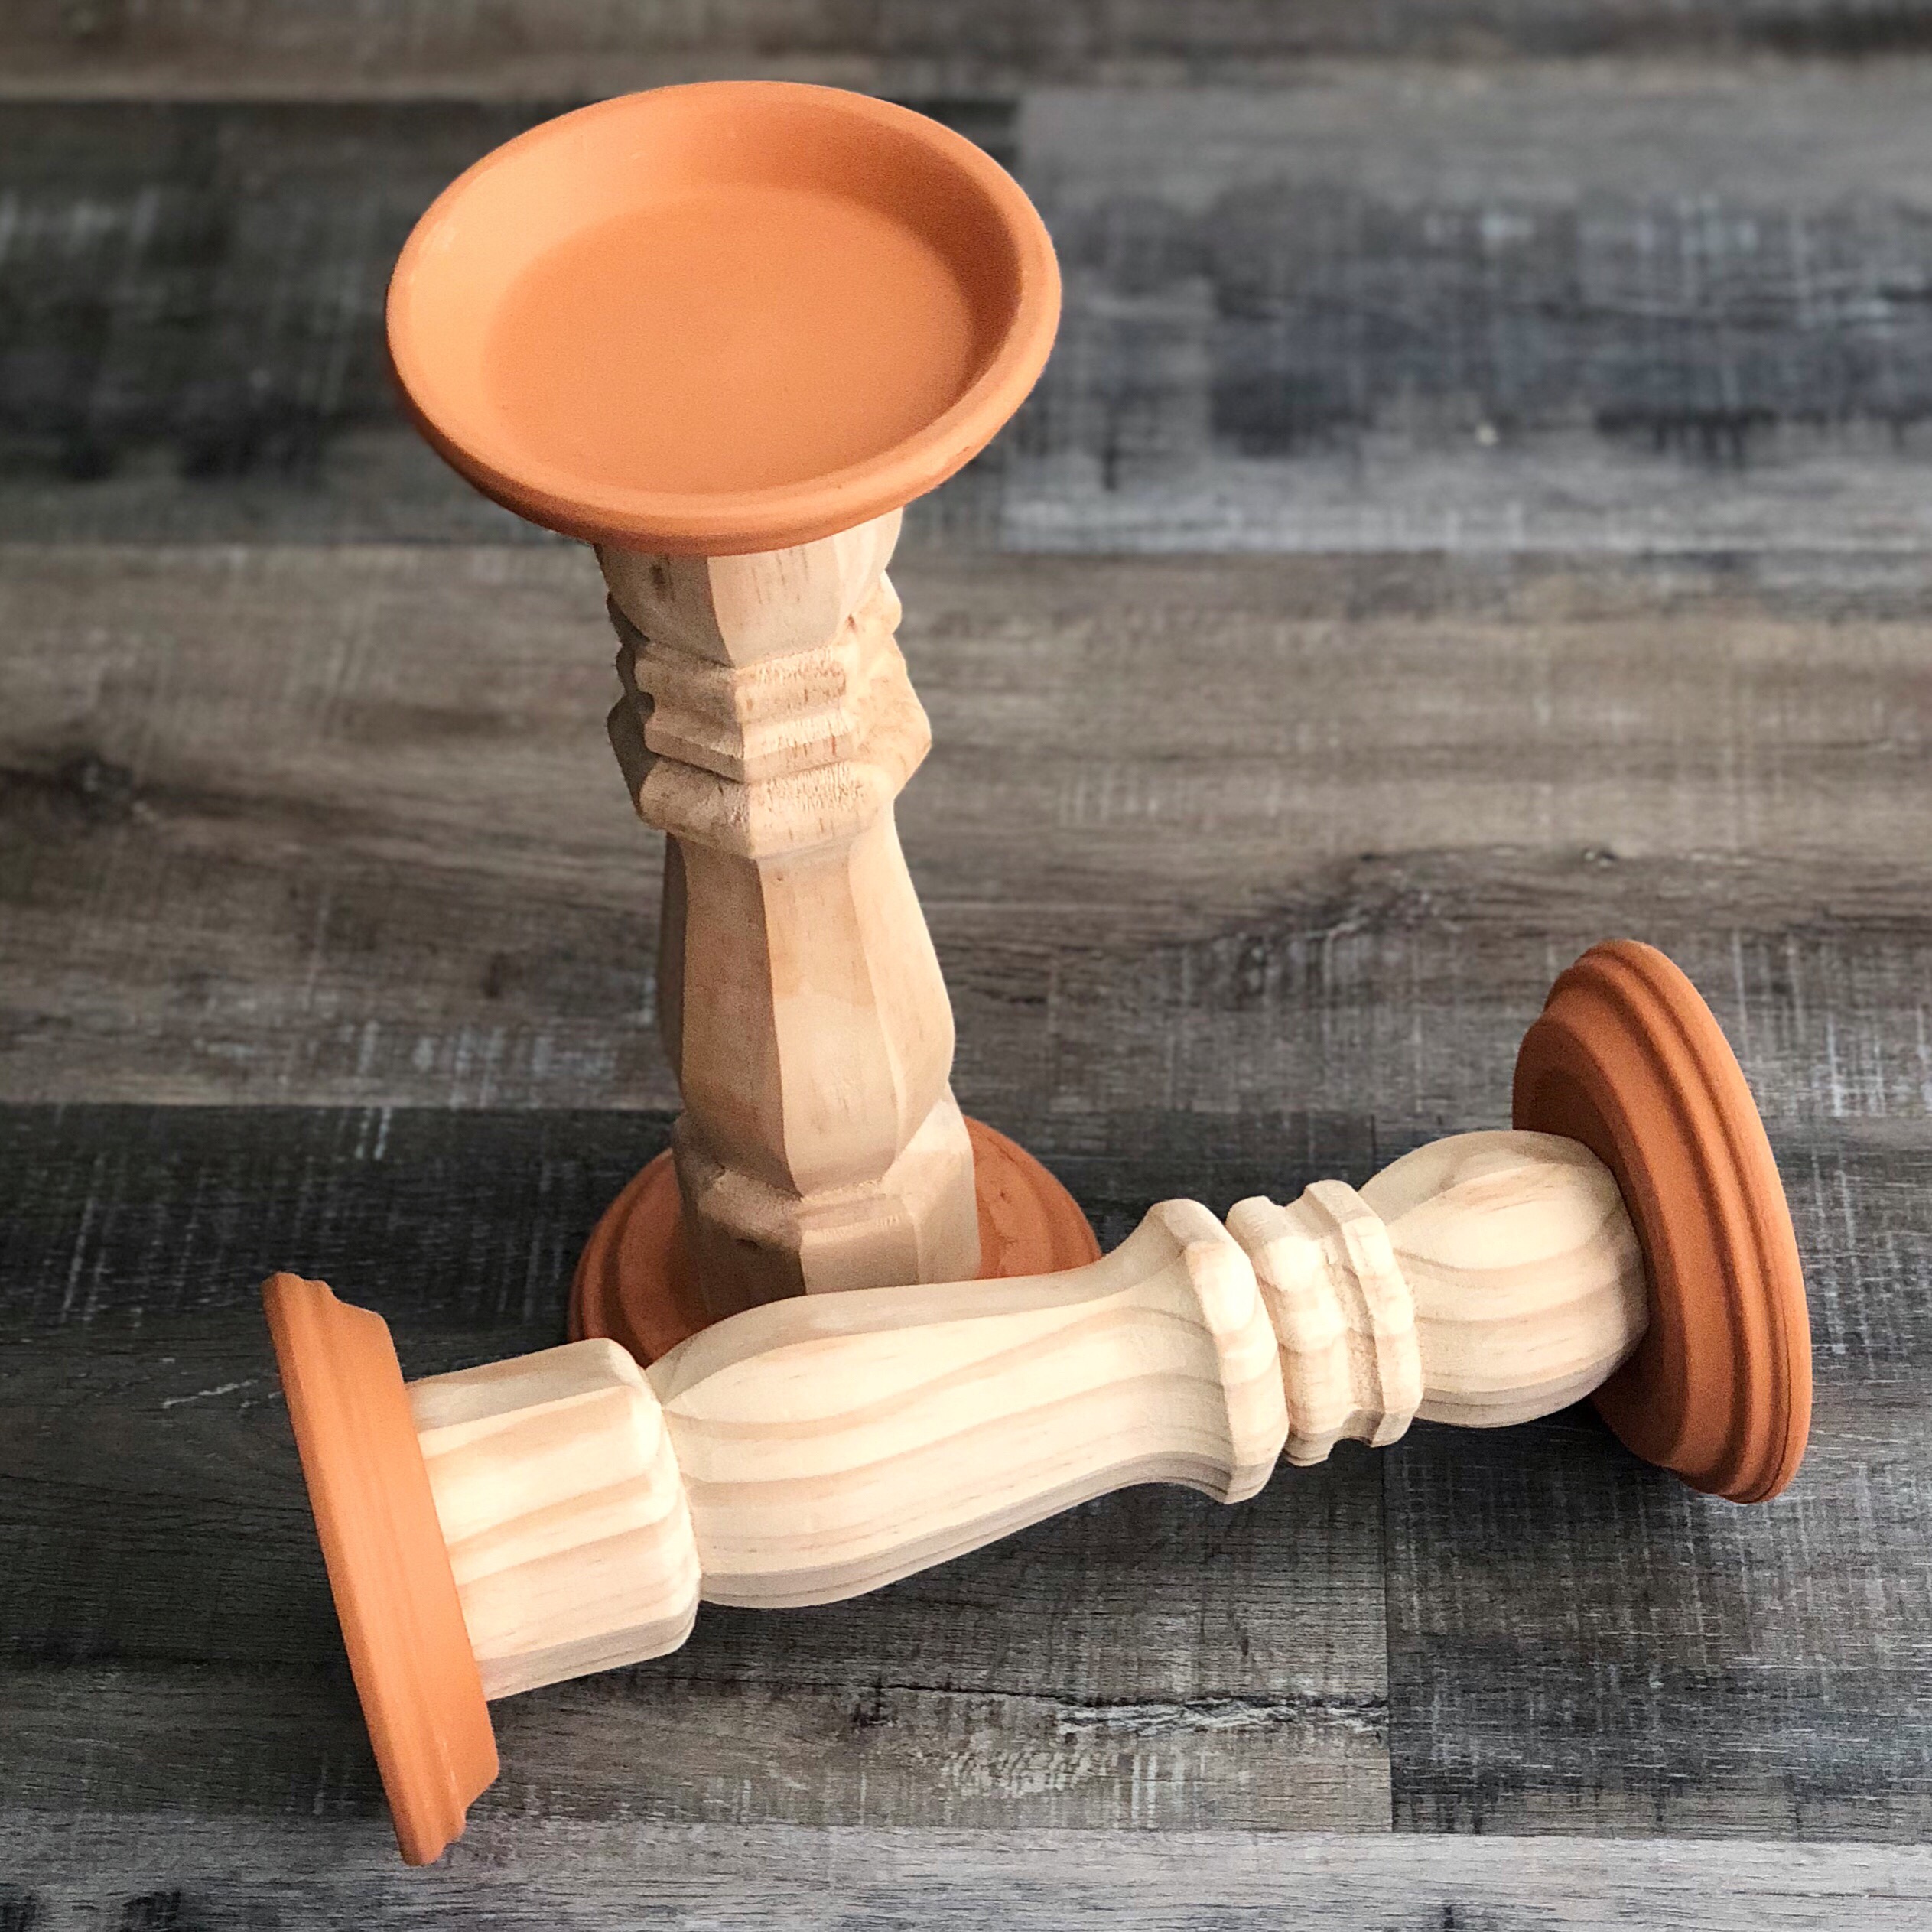
The first thing you need to do is remove the screws from the table legs using pliers – they will twist out. Then glue a terra cotta saucer to each end of the table leg. I just eyeballed them so they were centered on the legs. Let dry for a few hours or overnight.
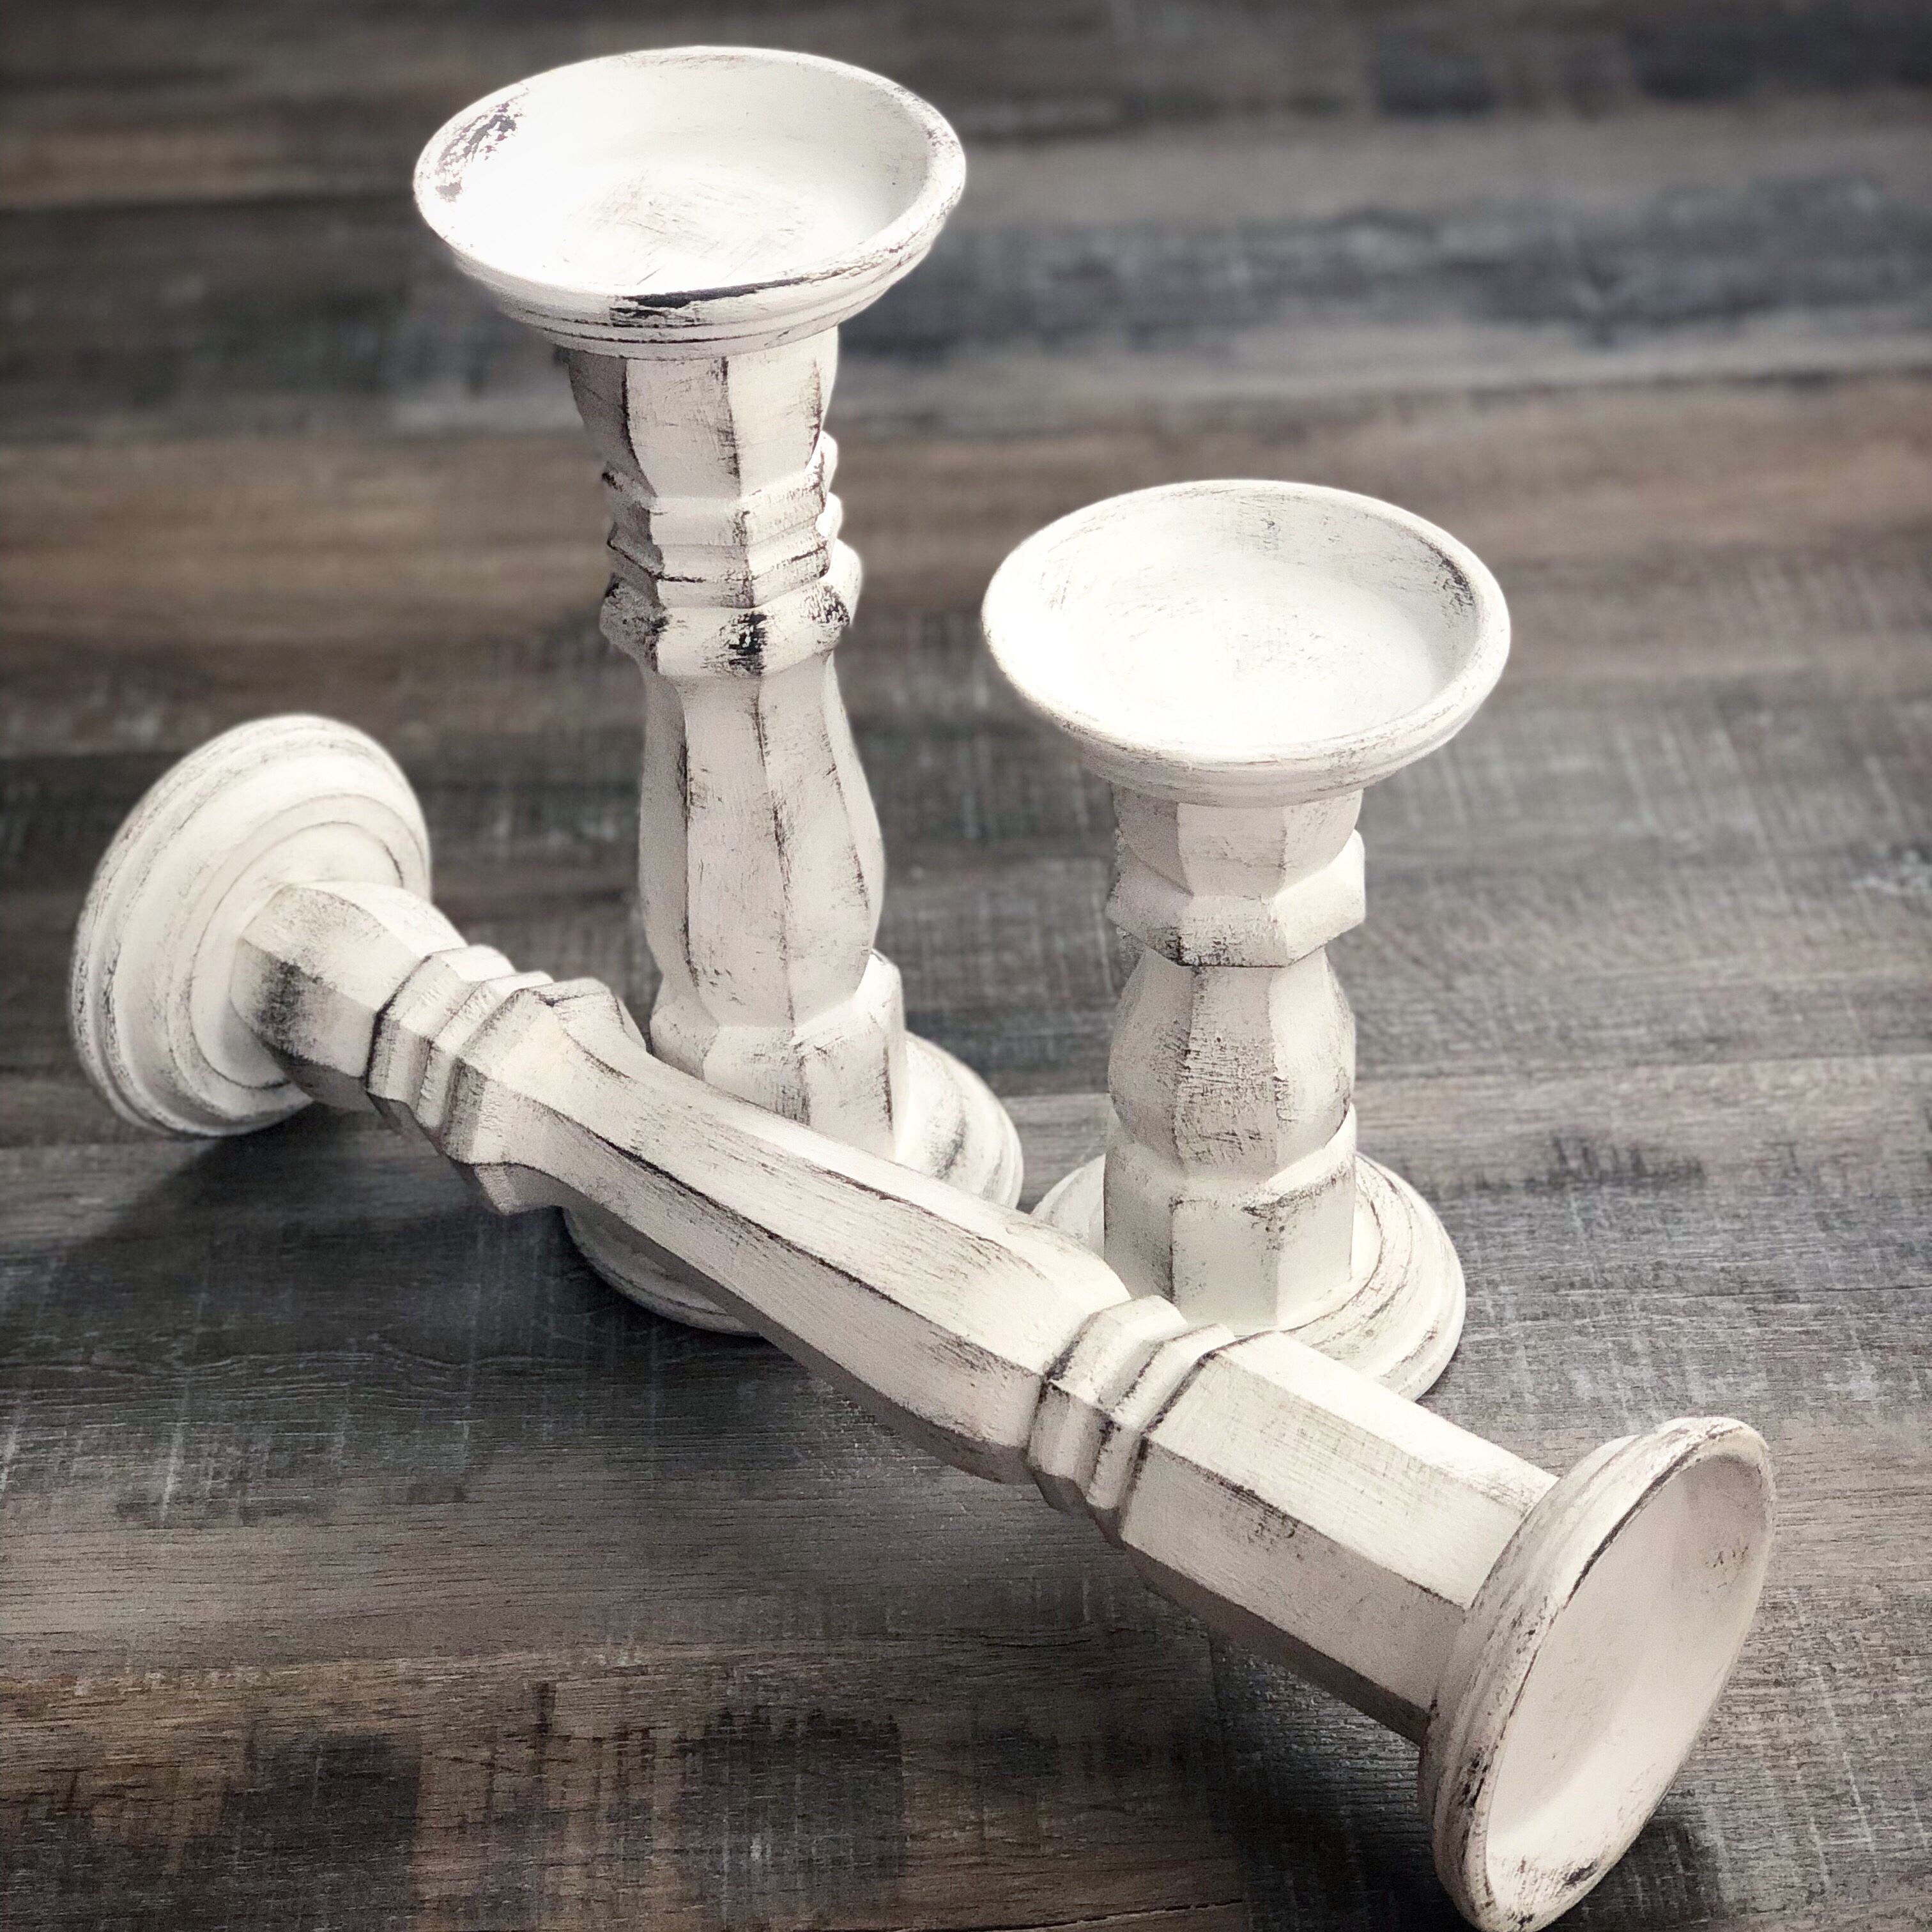
I painted my candlesticks with 2 coats the Everlasting chalk paint, making sure to let it dry thoroughly between coats.
Once the candlesticks were completely dry, I brushed on a thin coat of the clear wax and wiped the excess off with a soft cloth. The clear wax acts as a sealer and gives them a subtle sheen.
Here are all 3 sizes of my finished candlesticks. I’m still searching for the perfect turquoise candles to add to them. 🙂
These would make great gifts! They are so fun and easy to make!
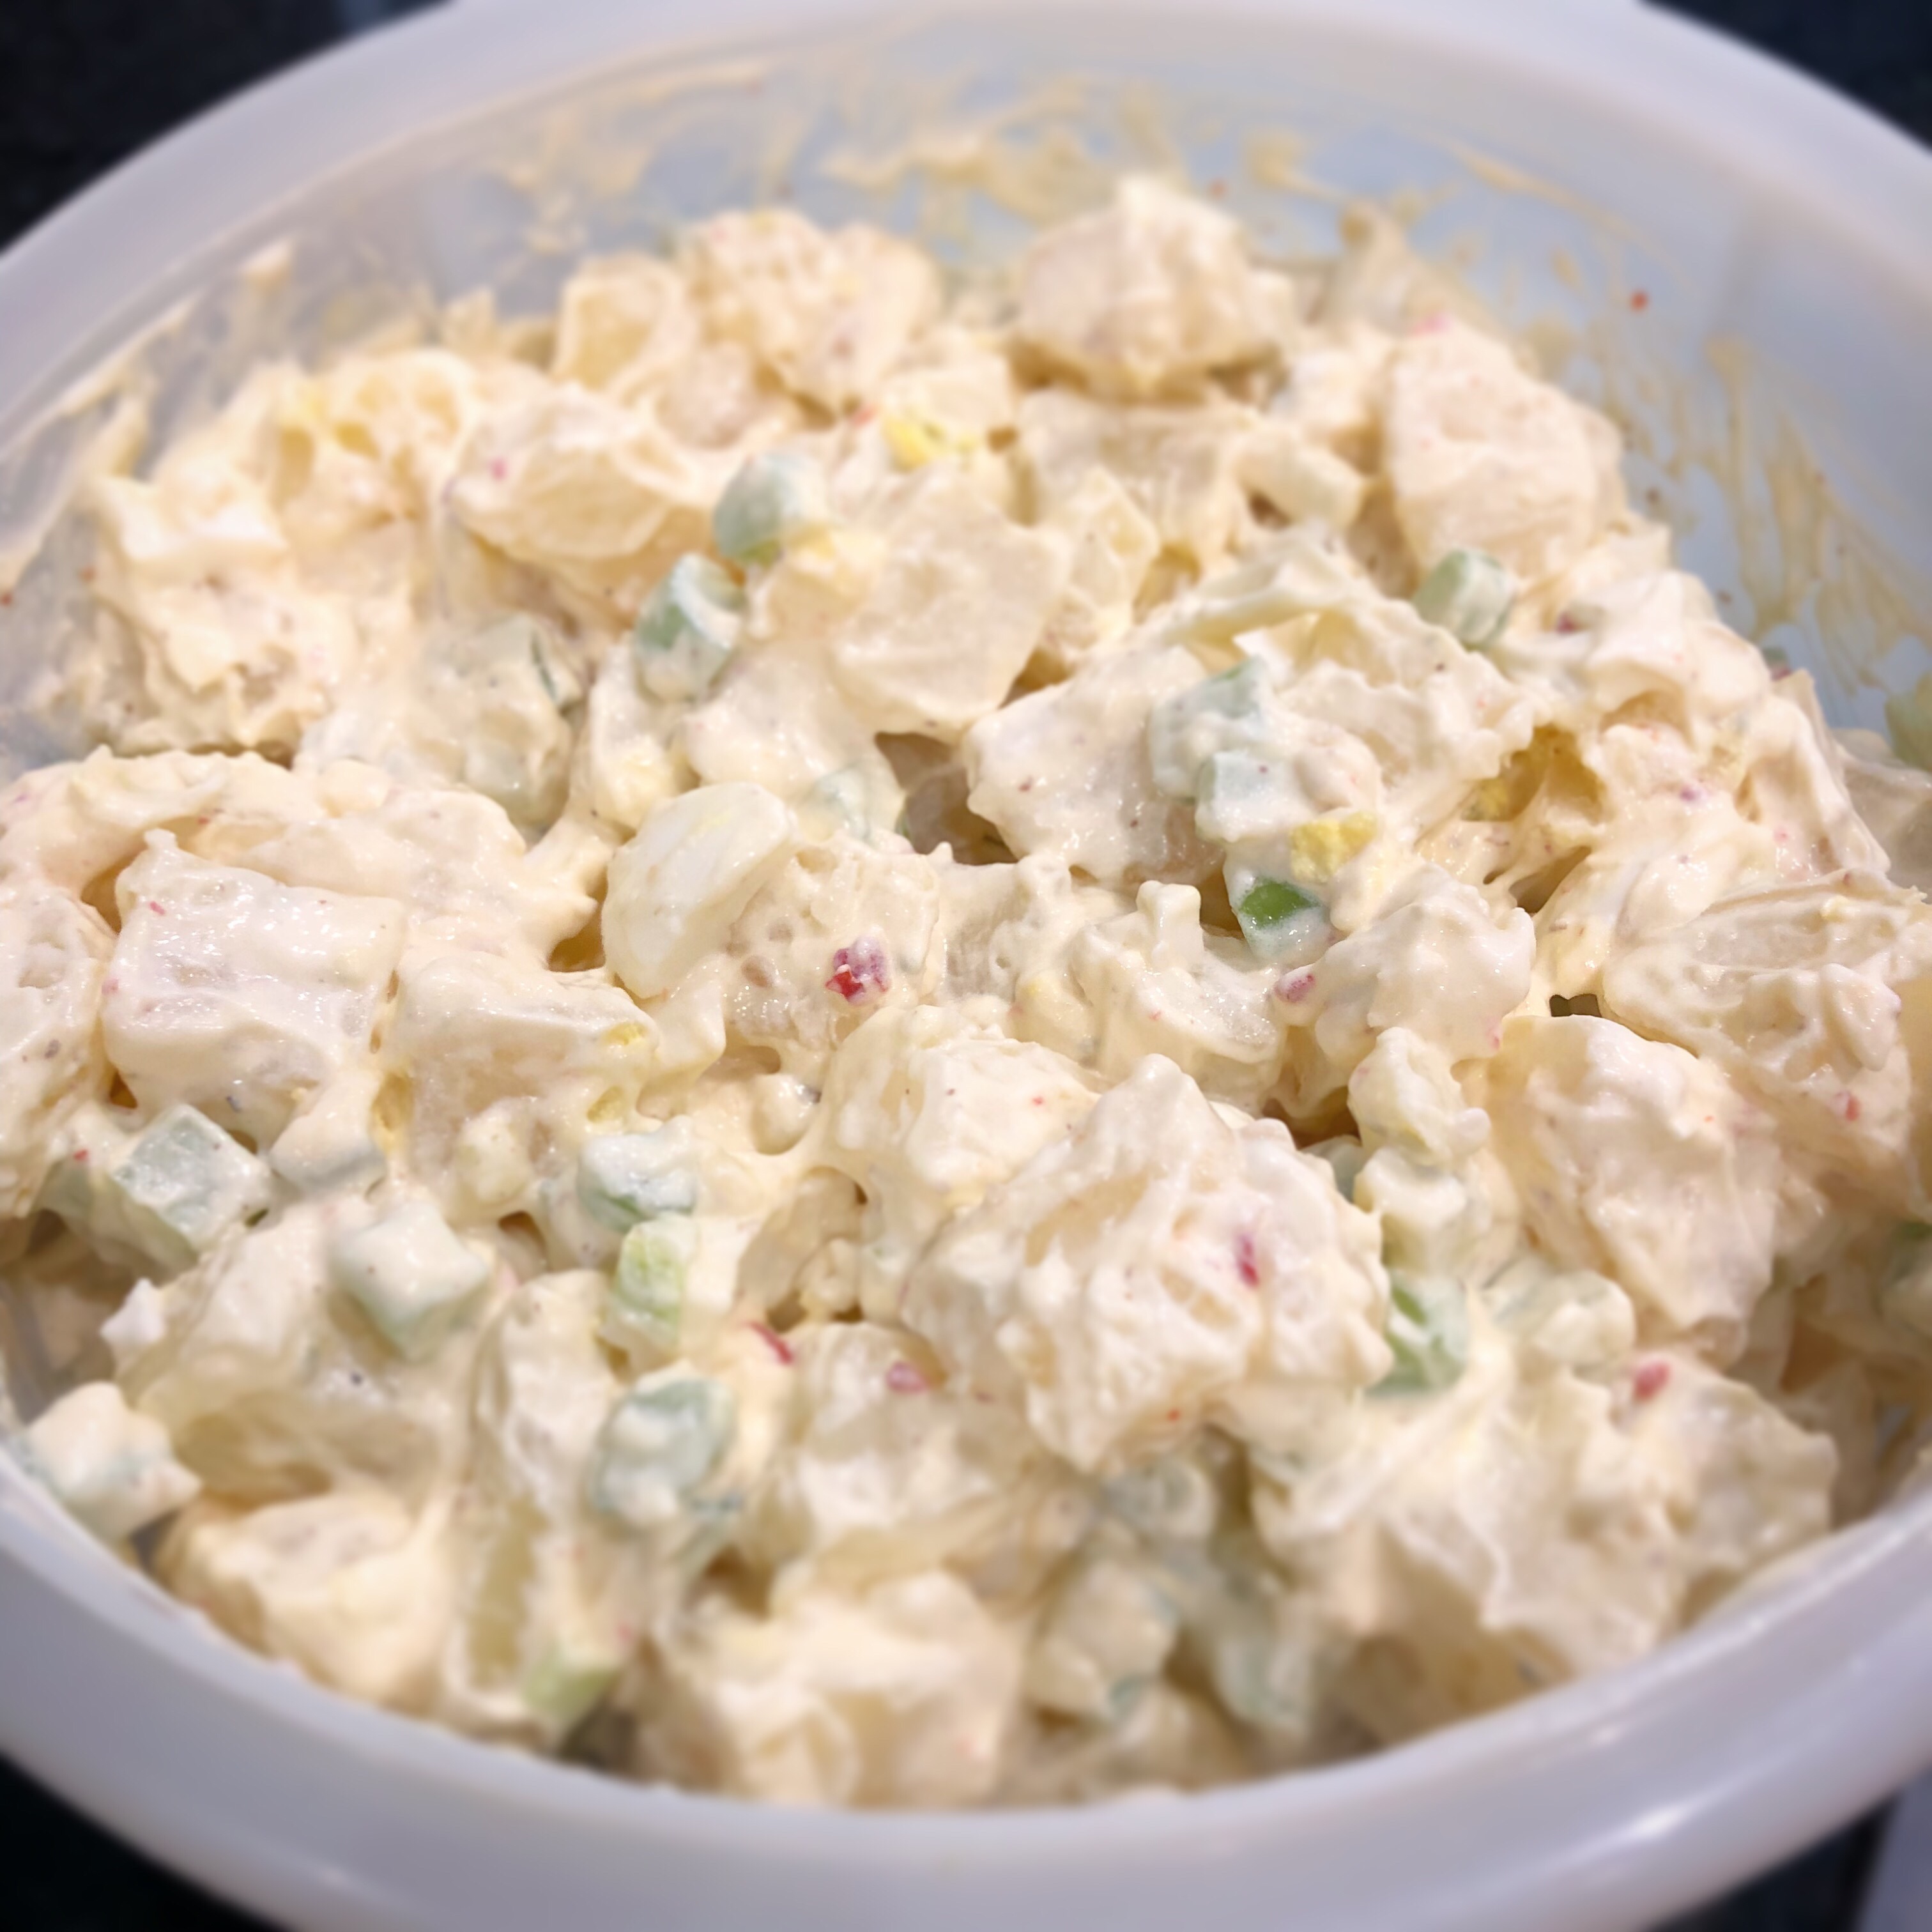
I can’t believe it’s Labor Day weekend! Where has this year gone?!?! Are you having one last Summer hurrah this weekend? Do you need a side dish for your picnic or BBQ? This Sour Cream Potato Salad may be just what you’re looking for.
My mother-in-law gave me this recipe when my husband and I were newly married. It is one of his favorites and we usually make it several times a year. Here’s the recipe…
Sour Cream Potato Salad
1/3 cup Italian salad dressing
7 medium potatoes, peeled, cut into bite-size pieces, and boiled until just tender; drain
3/4 cup diced celery
1/3 cup sliced green onion
4 hard-boiled eggs, diced
1 cup mayonnaise
1/2 cup sour cream
1-1/2 teaspoons prepared horse-radish mustard
salt and pepper to taste
Pour Italian dressing over warm potatoes in a bowl. Cover and chill at least 2 hours – longer if you have time. Add celery, green onions, and diced eggs to potatoes; toss. Mix mayonnaise, sour cream, and mustard together in a small bowl. Add to potato mixture and mix well. Add salt and pepper to taste.
We also love to make this during the holidays – it is great with leftover ham sandwiches!
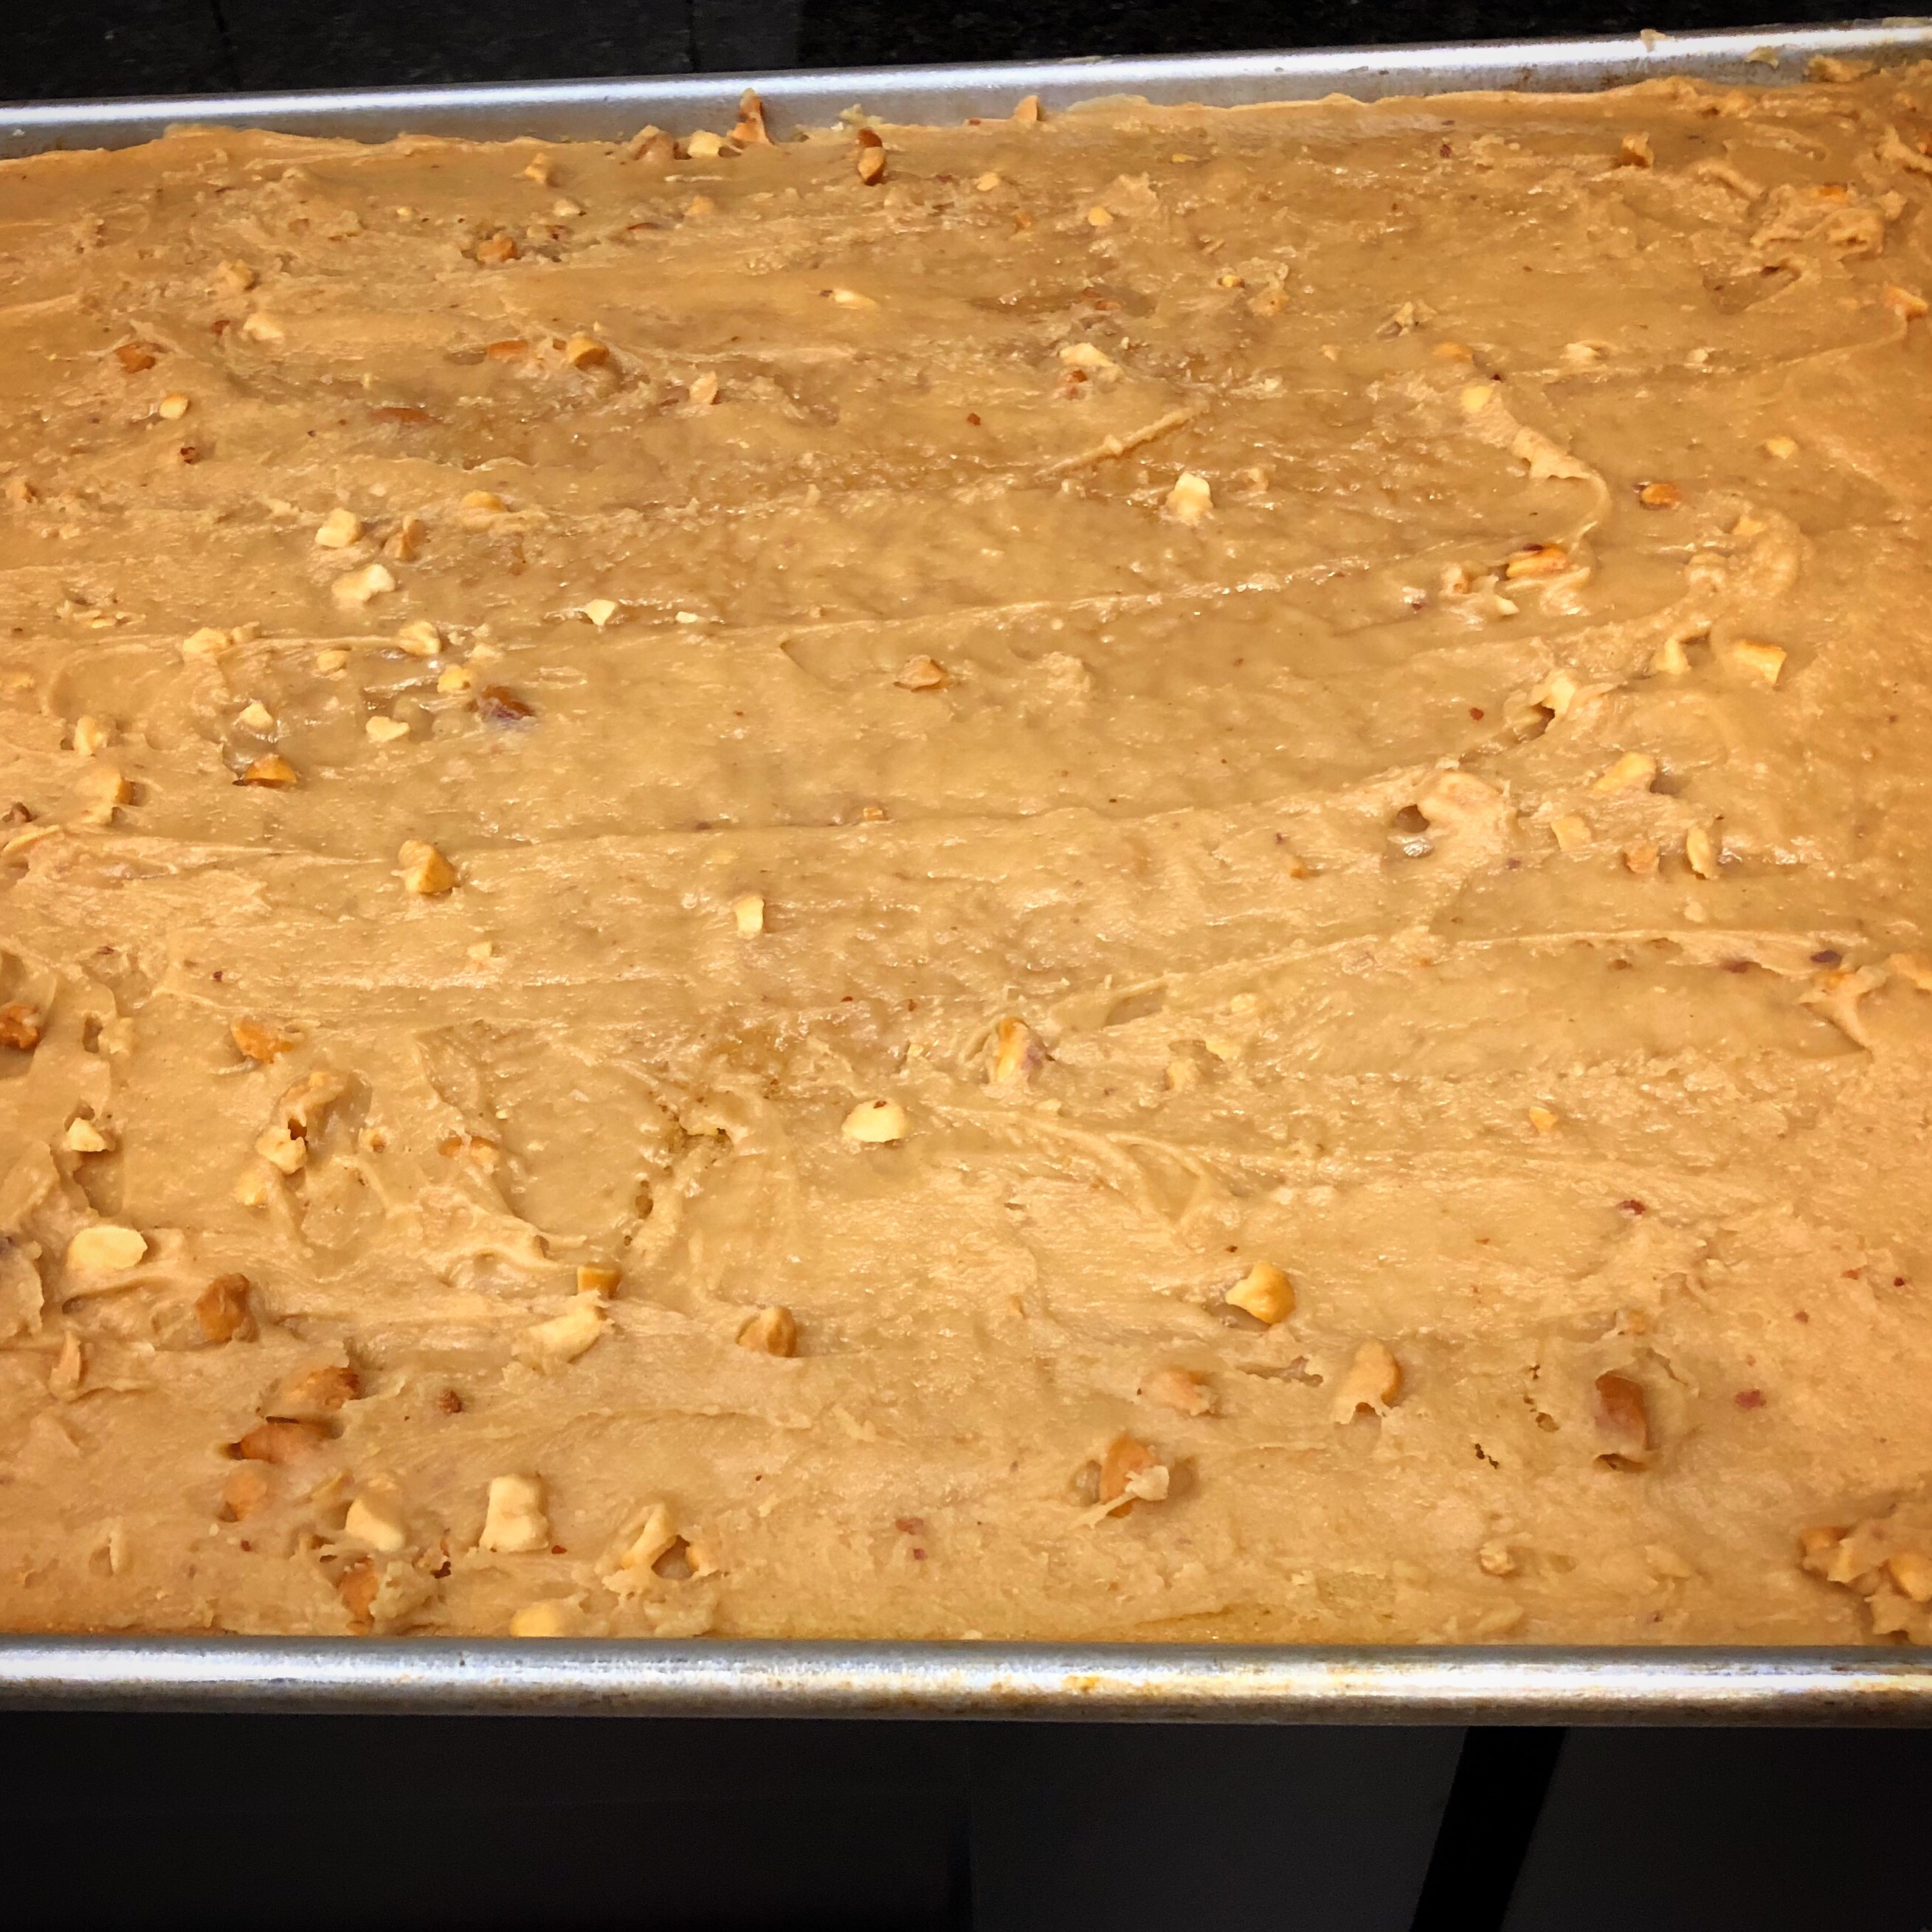
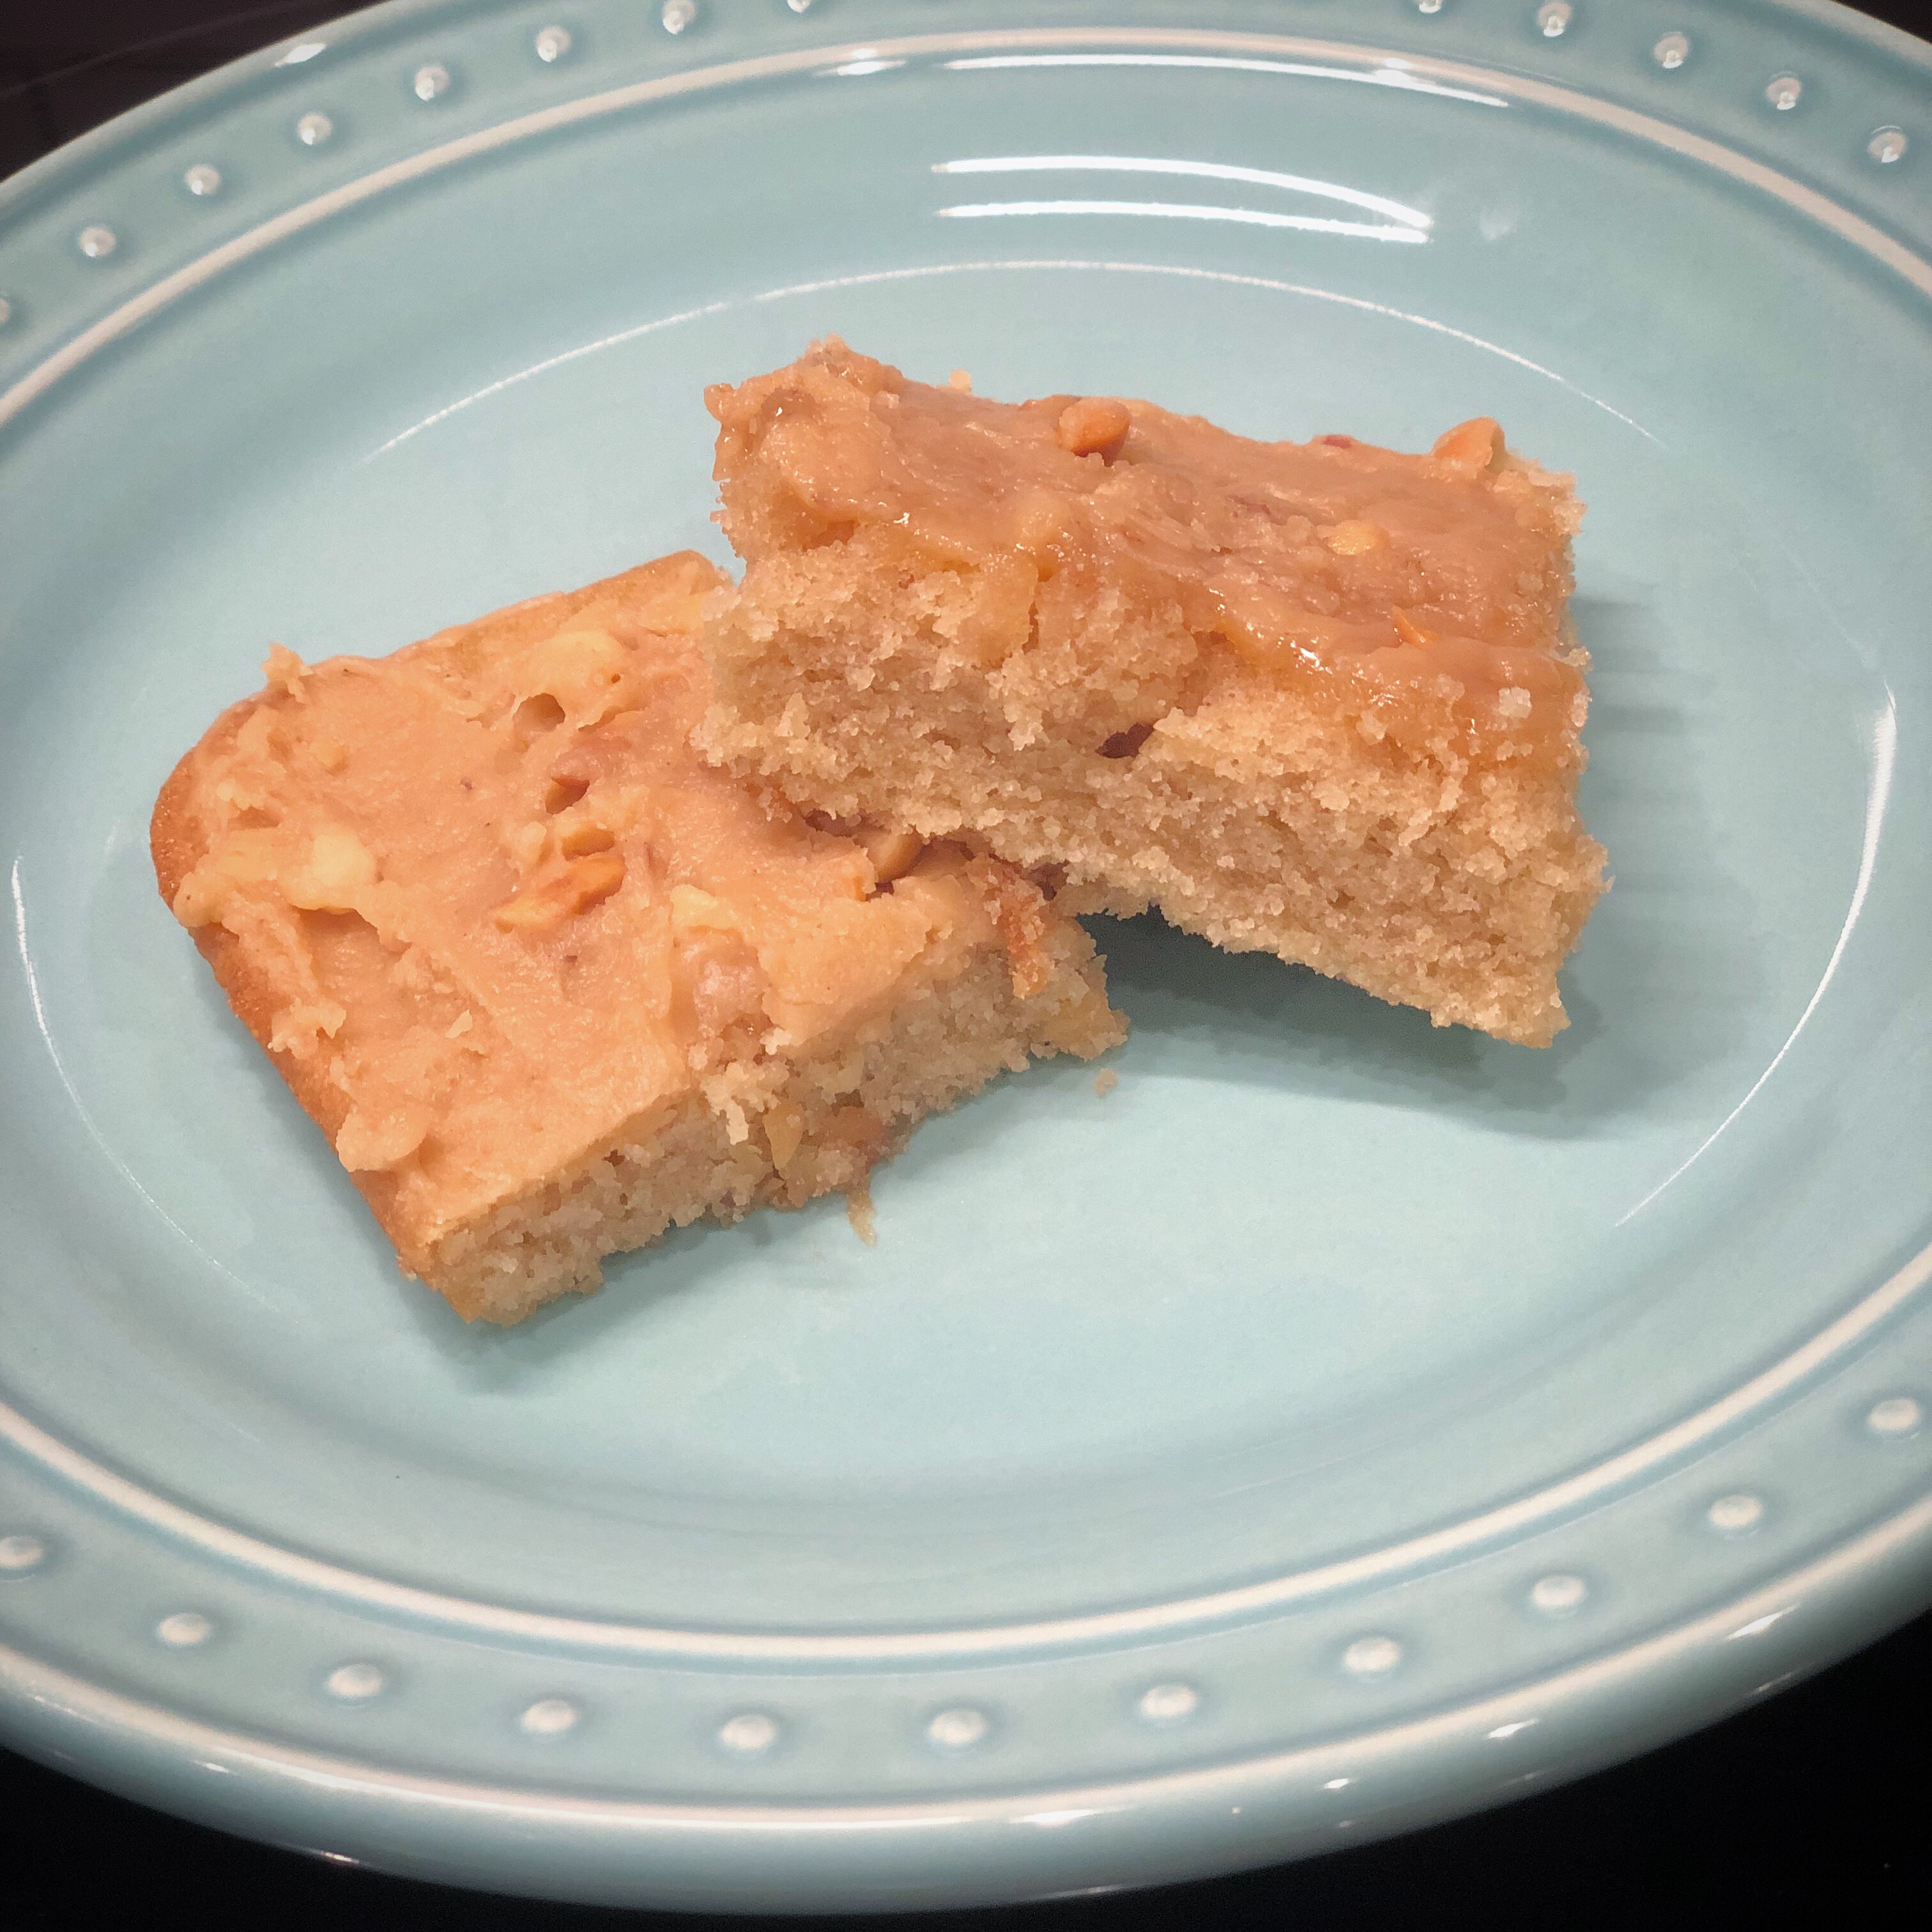
Do you love peanut butter like I do? If you do, you just might like this Peanut Butter Sheet Cake! It’s super easy to make and you bake it in a jelly roll pan so it is a great dessert to take to a potluck or anywhere you want to feed a lot of people – or keep it at home and eat it all yourself. 😉
You can find the recipe here at Allrecipes.com. It takes less than an hour from start to finish. Here it is fresh from the oven…
Here’s a quick and easy crochet pattern for Candy Corn Coasters to add a little touch of whimsy to your Fall table. These work up very quickly – I made up several in just a couple of hours! Worked with worsted weight cotton yarn, they will protect your table while looking very cute. 🙂
(Please link back to my pattern if you make any of these cute coasters. I’d appreciate it if you wouldn’t copy or rewrite my pattern onto another page. Thank you!)
Disclosure: Some of the links on my site are affiliate links, meaning, at no additional cost to you, I will earn a small commission if you click through and make a purchase. As an Amazon Associate I earn from qualifying purchases.